Road Bike Refresh Part 3: Reassembly

1 Comment

Road Bike Refresh Part 3: Reassembly

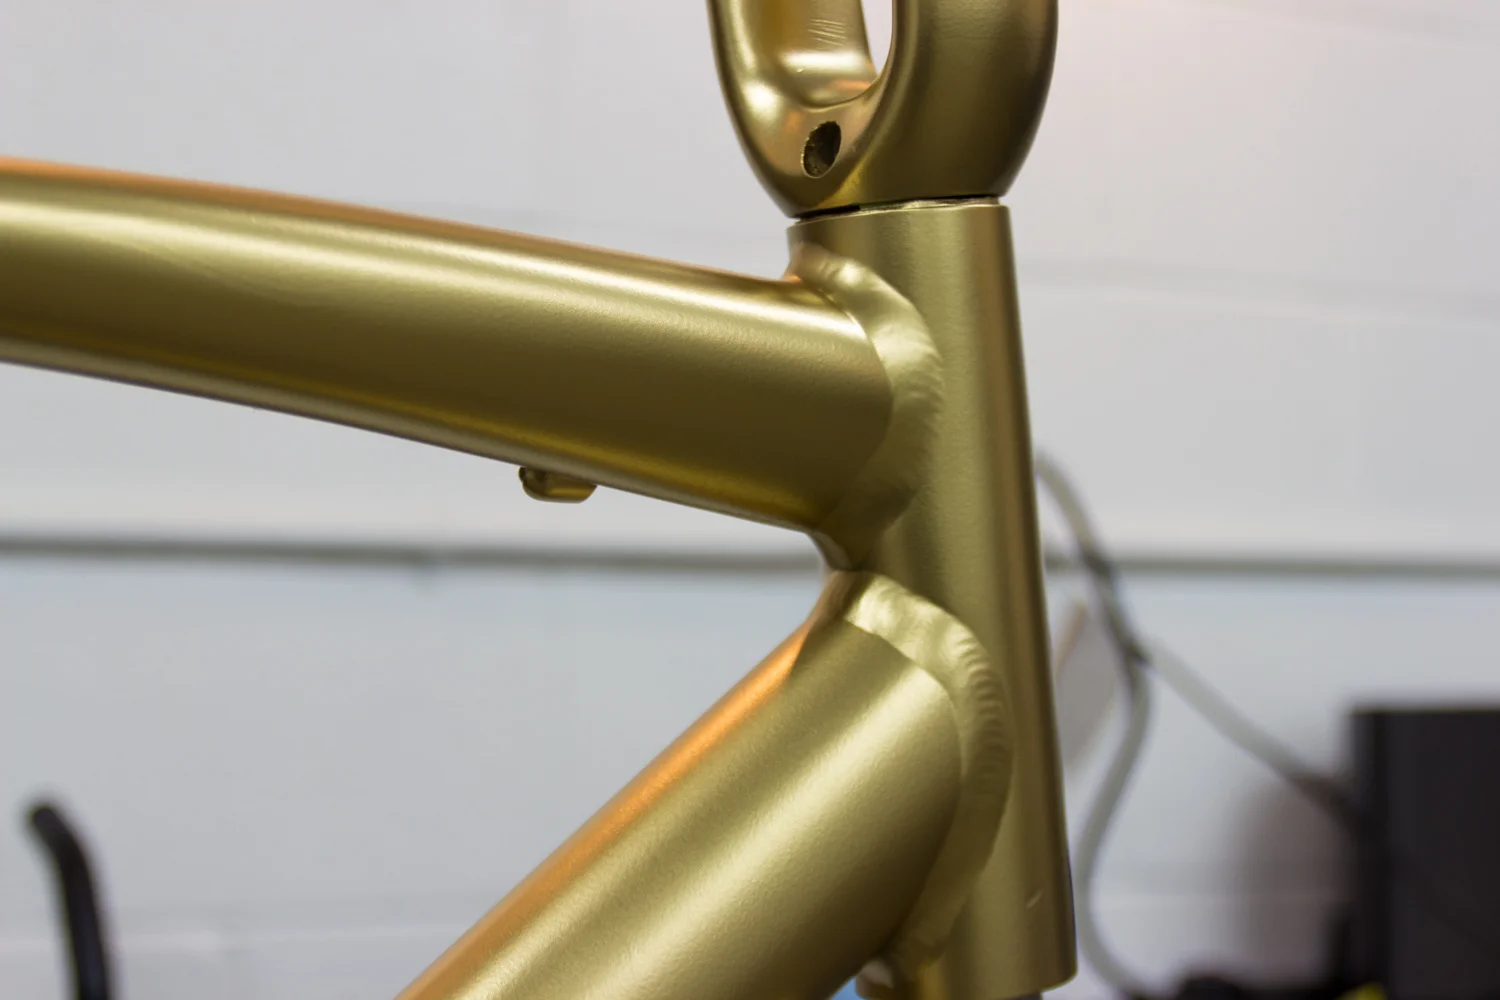
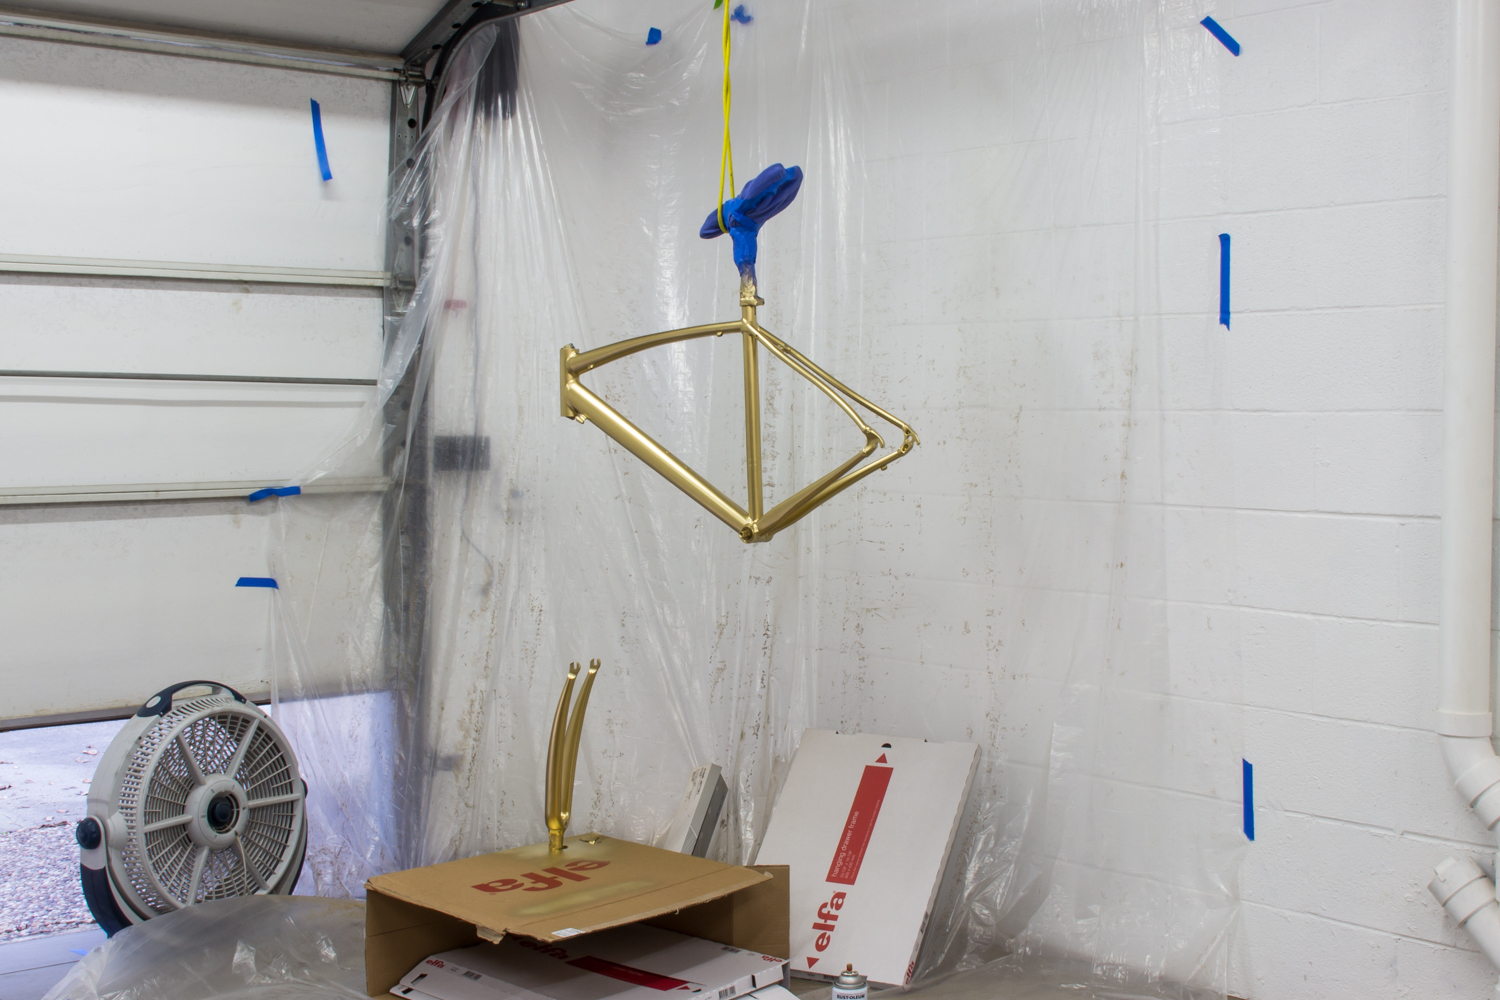
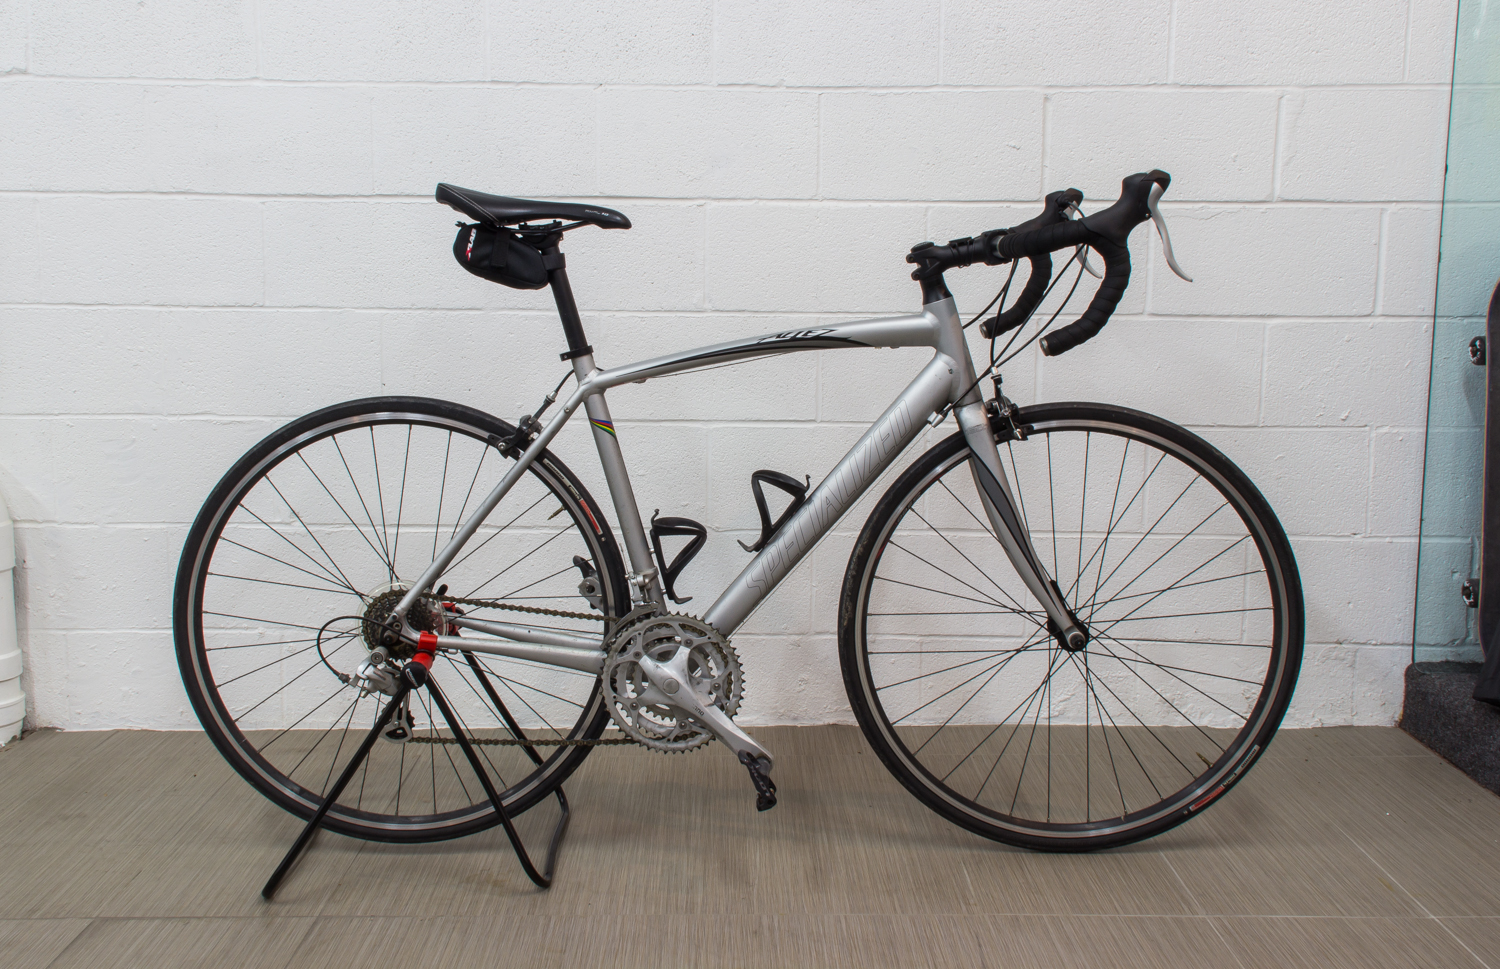
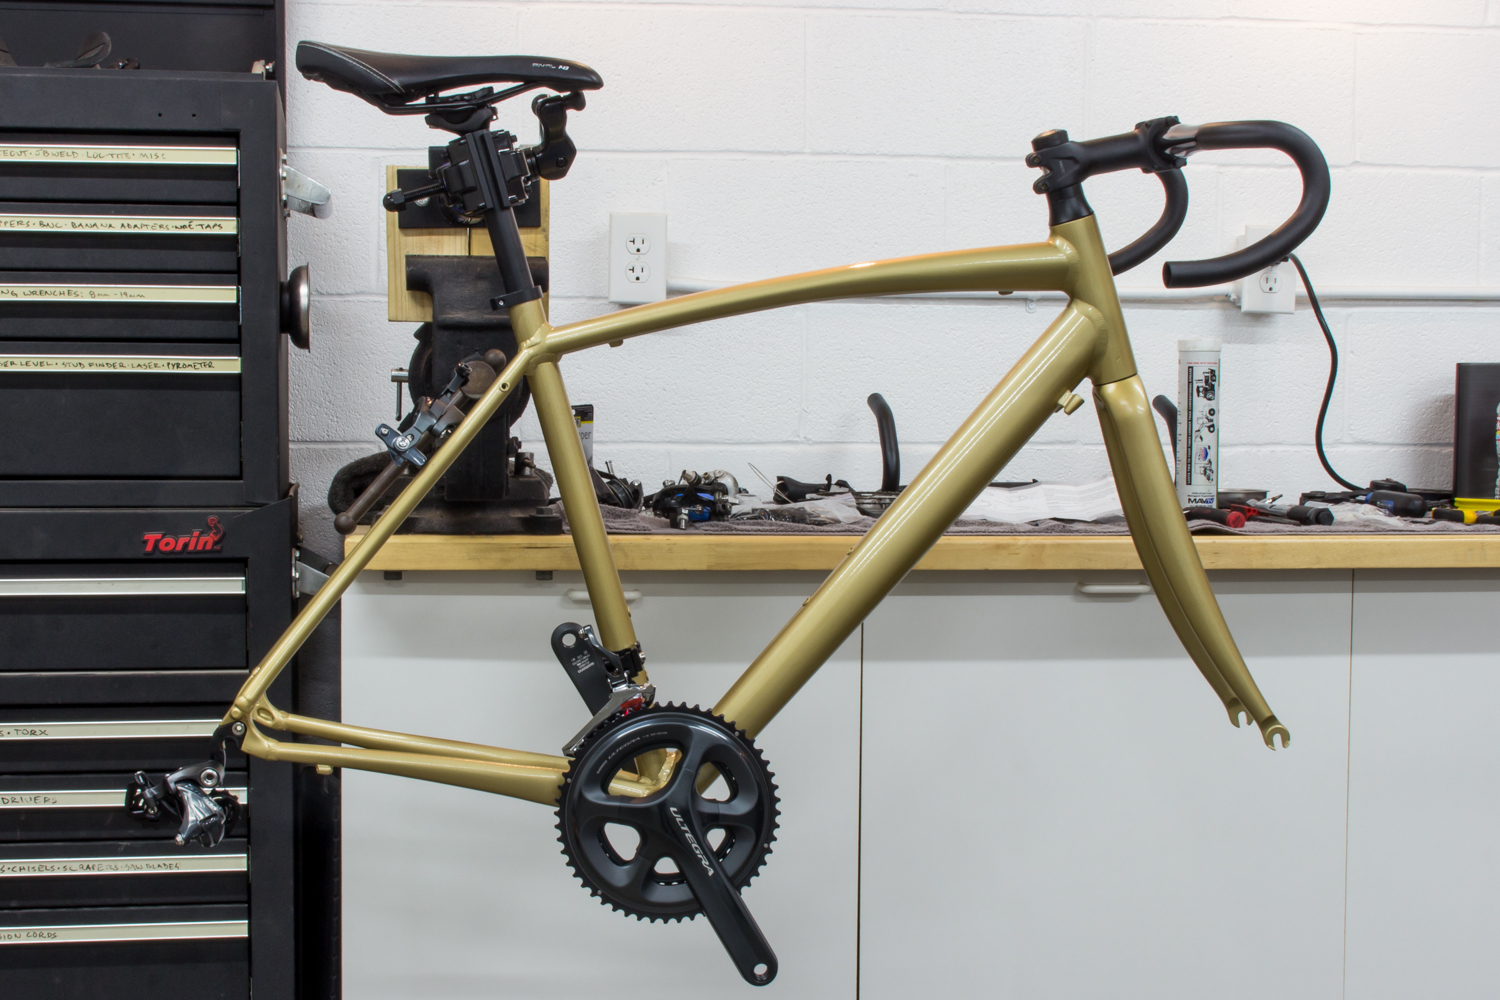
The gold bike lives!

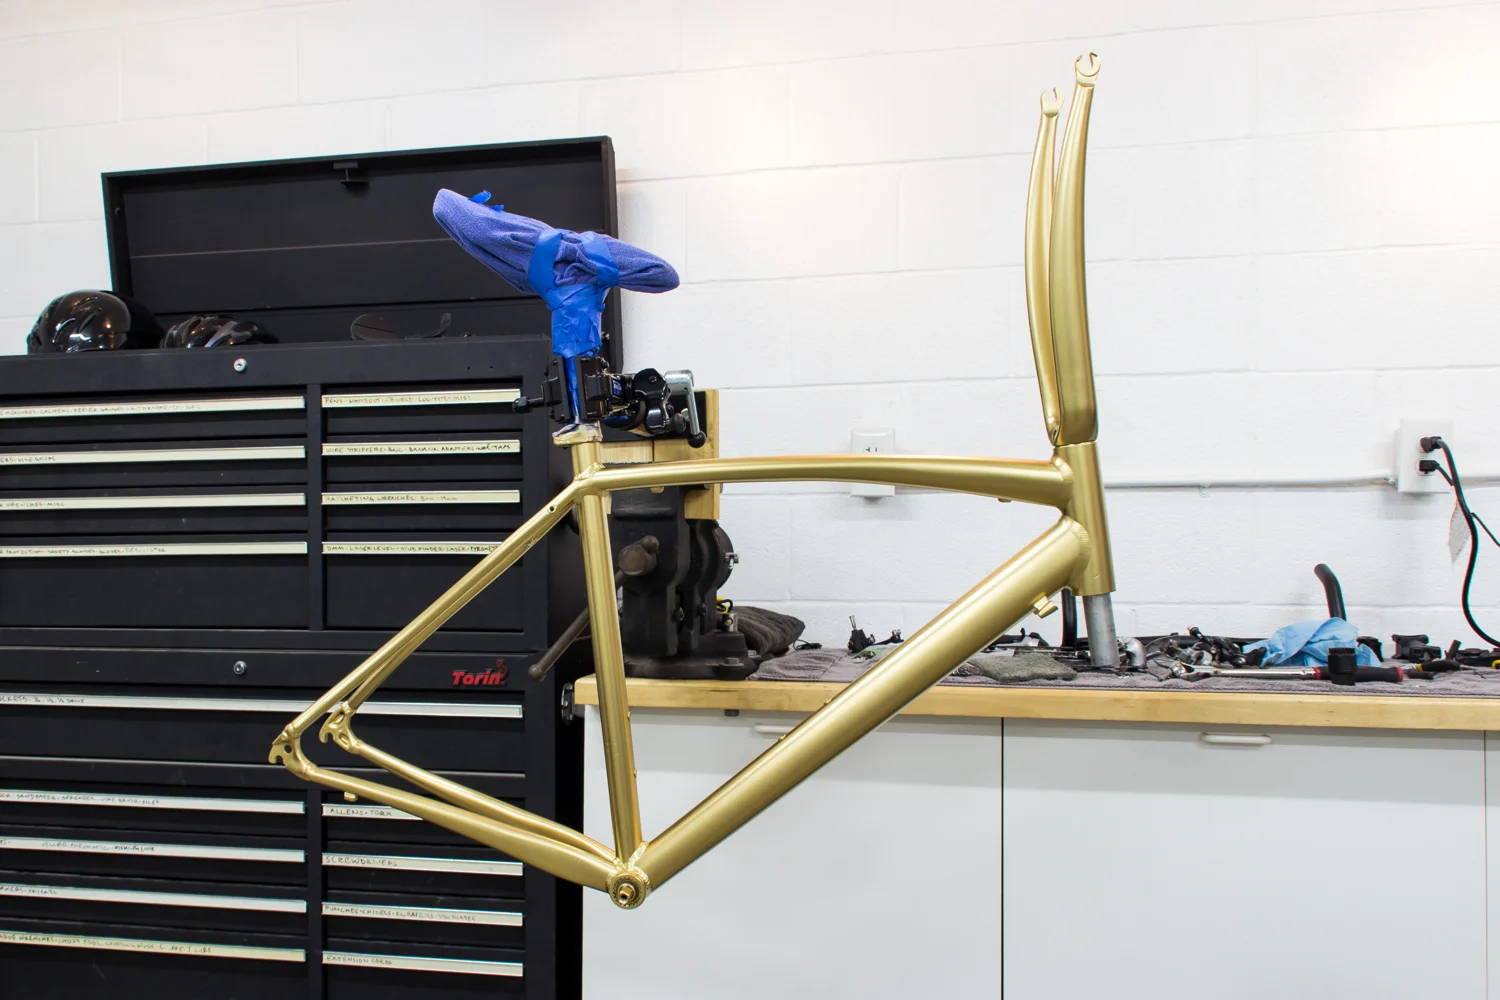
We've made it to the rebuild of my old Specialized Allez. In case you need caught up:

Part 1: Disassembly

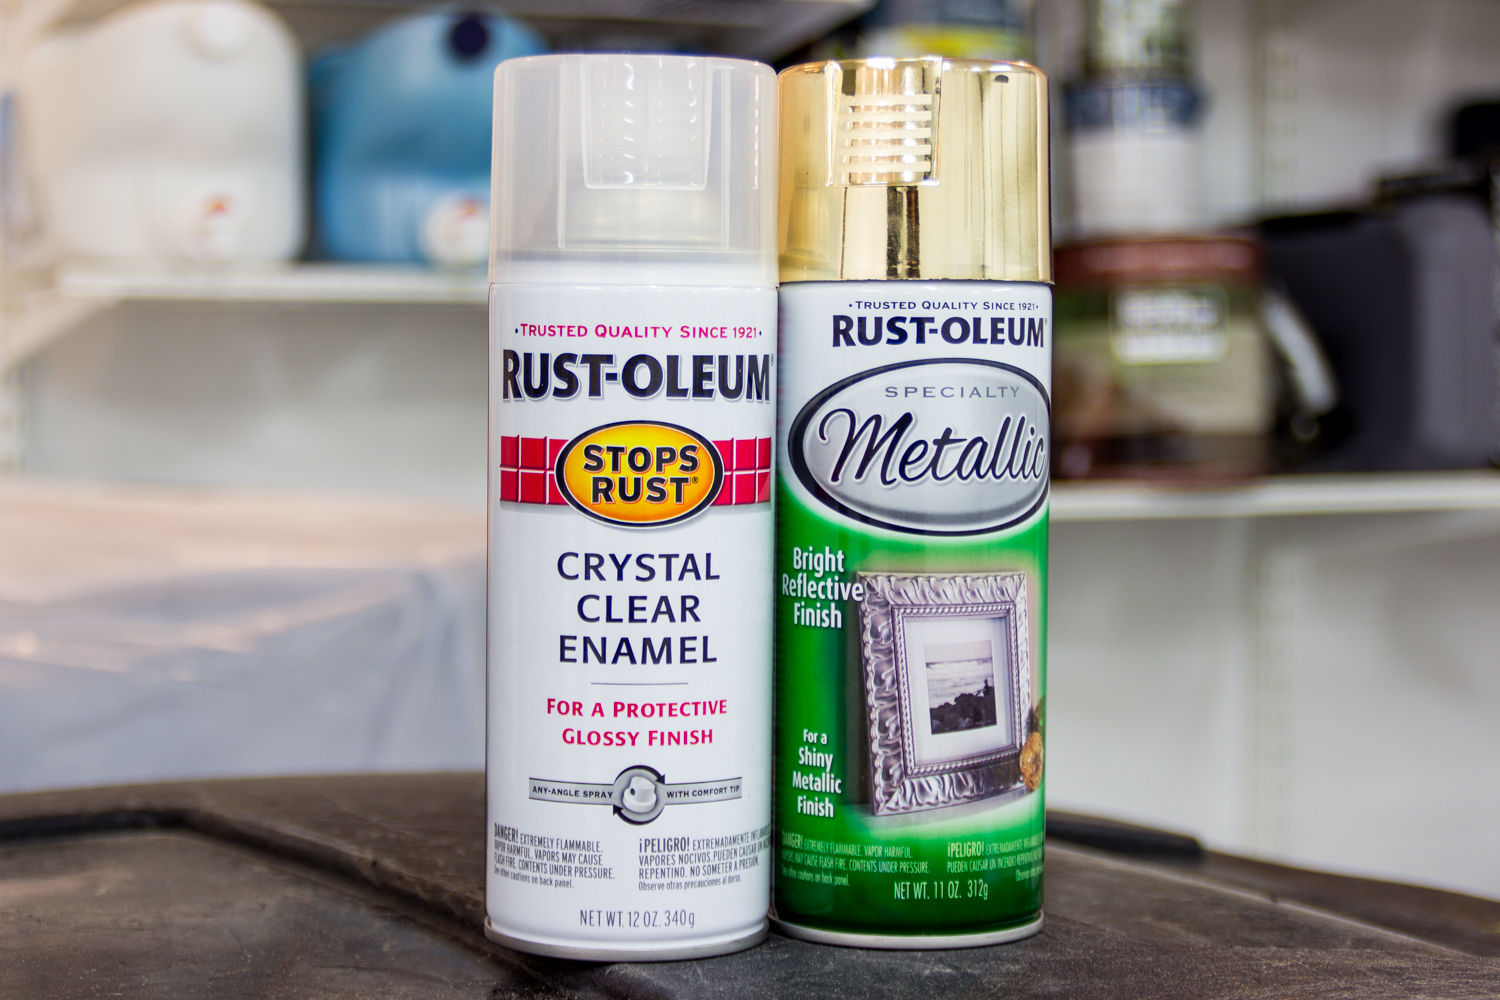
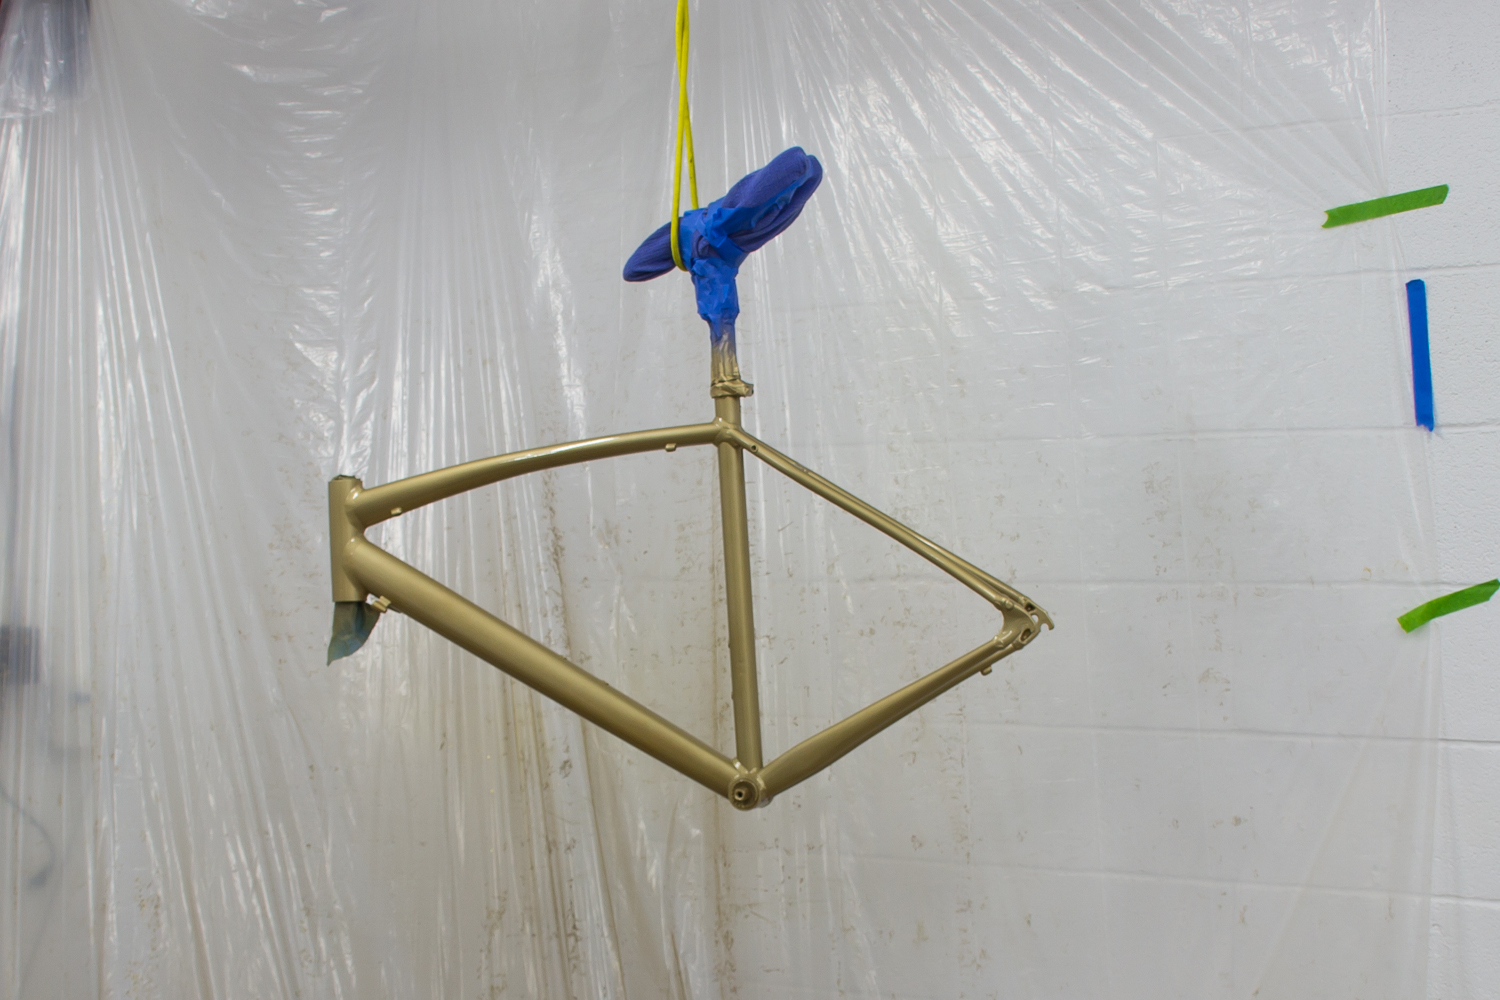
Part 2: Painting It Goooooold

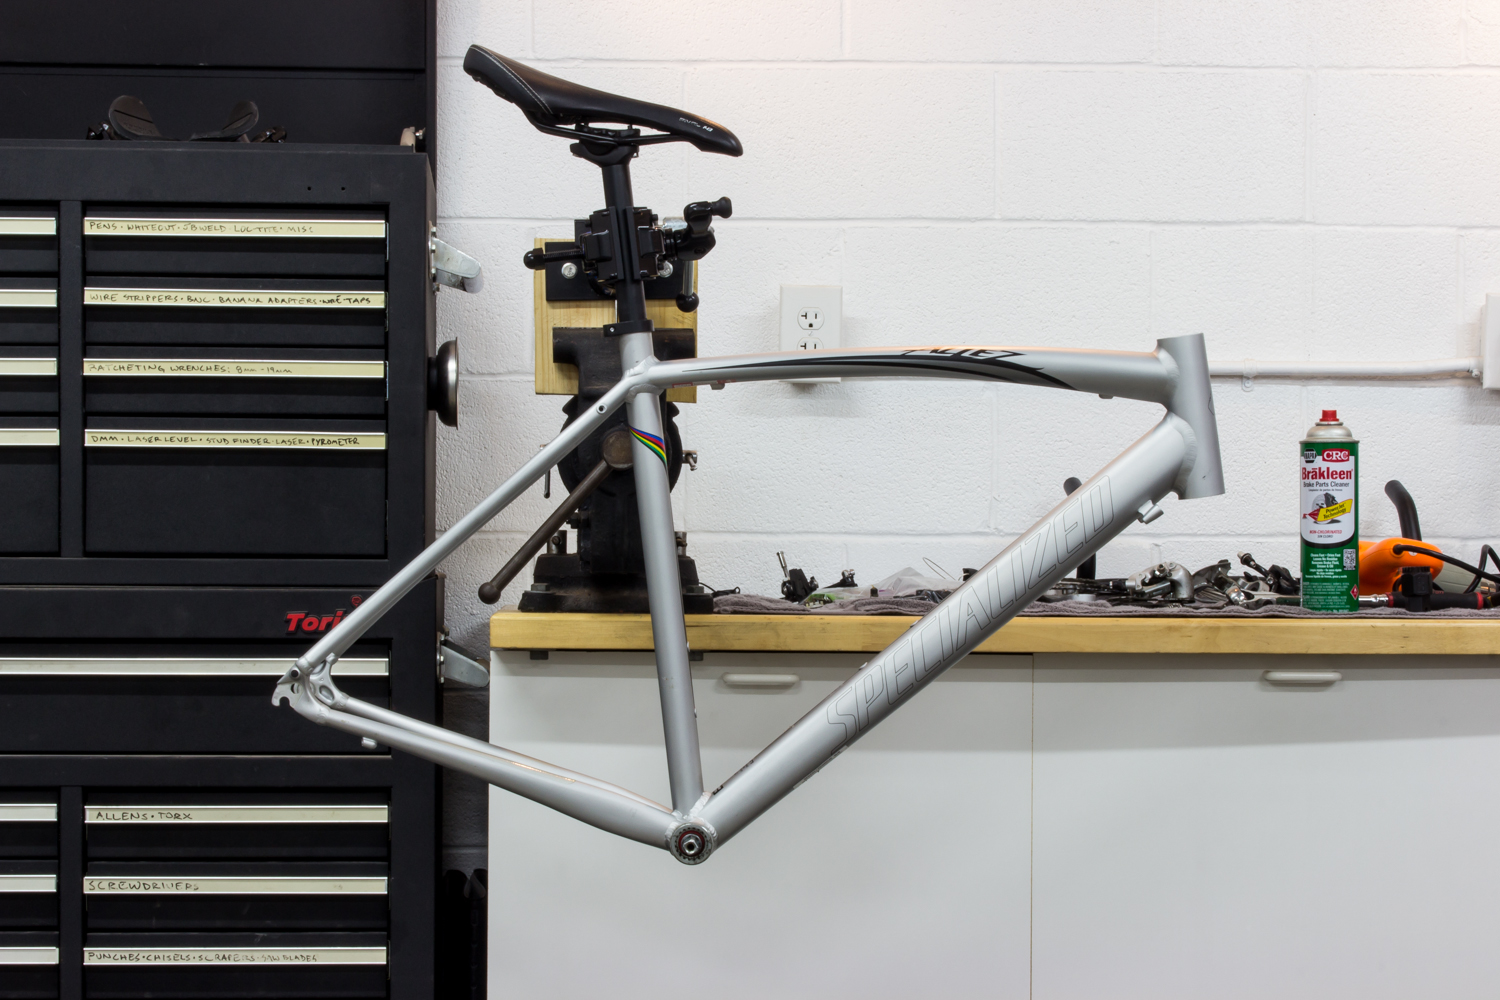
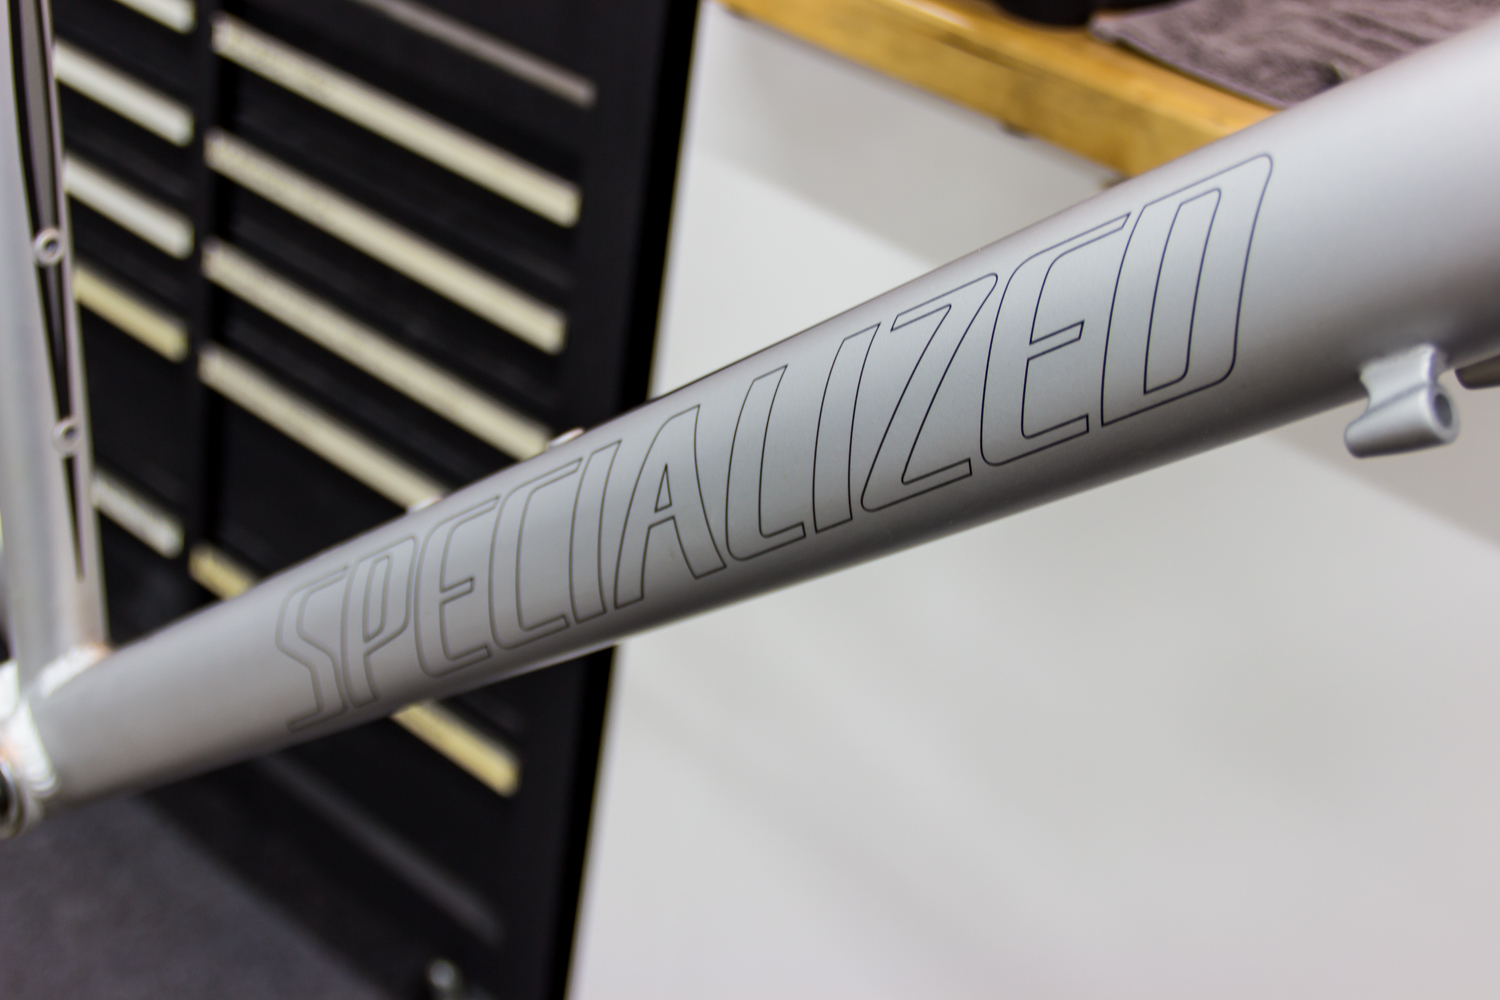
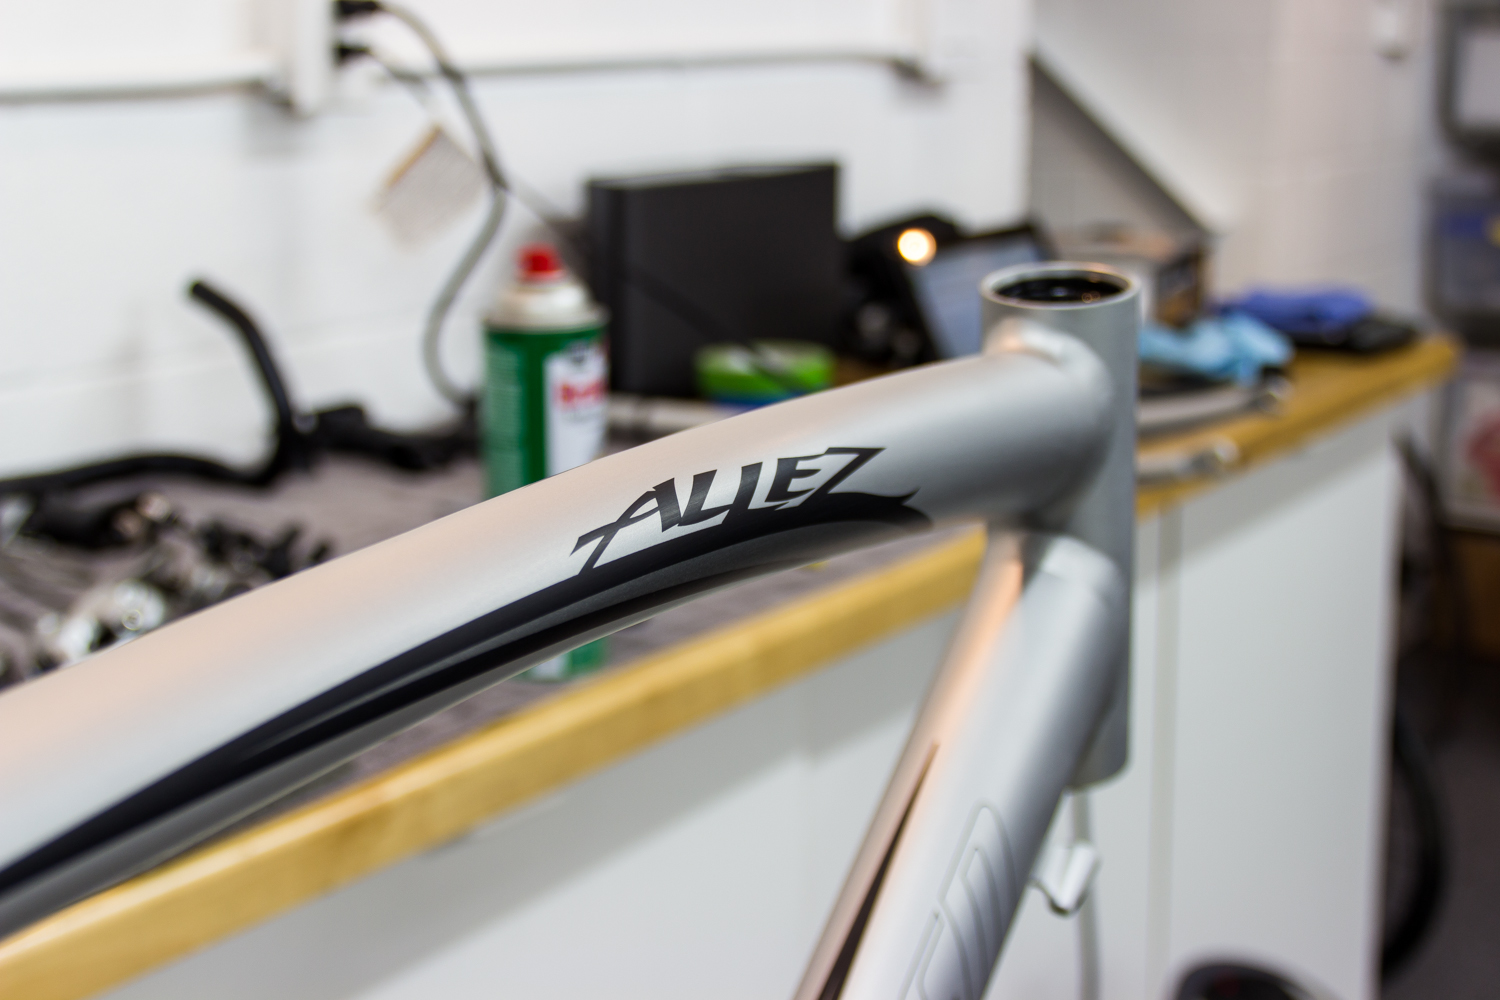
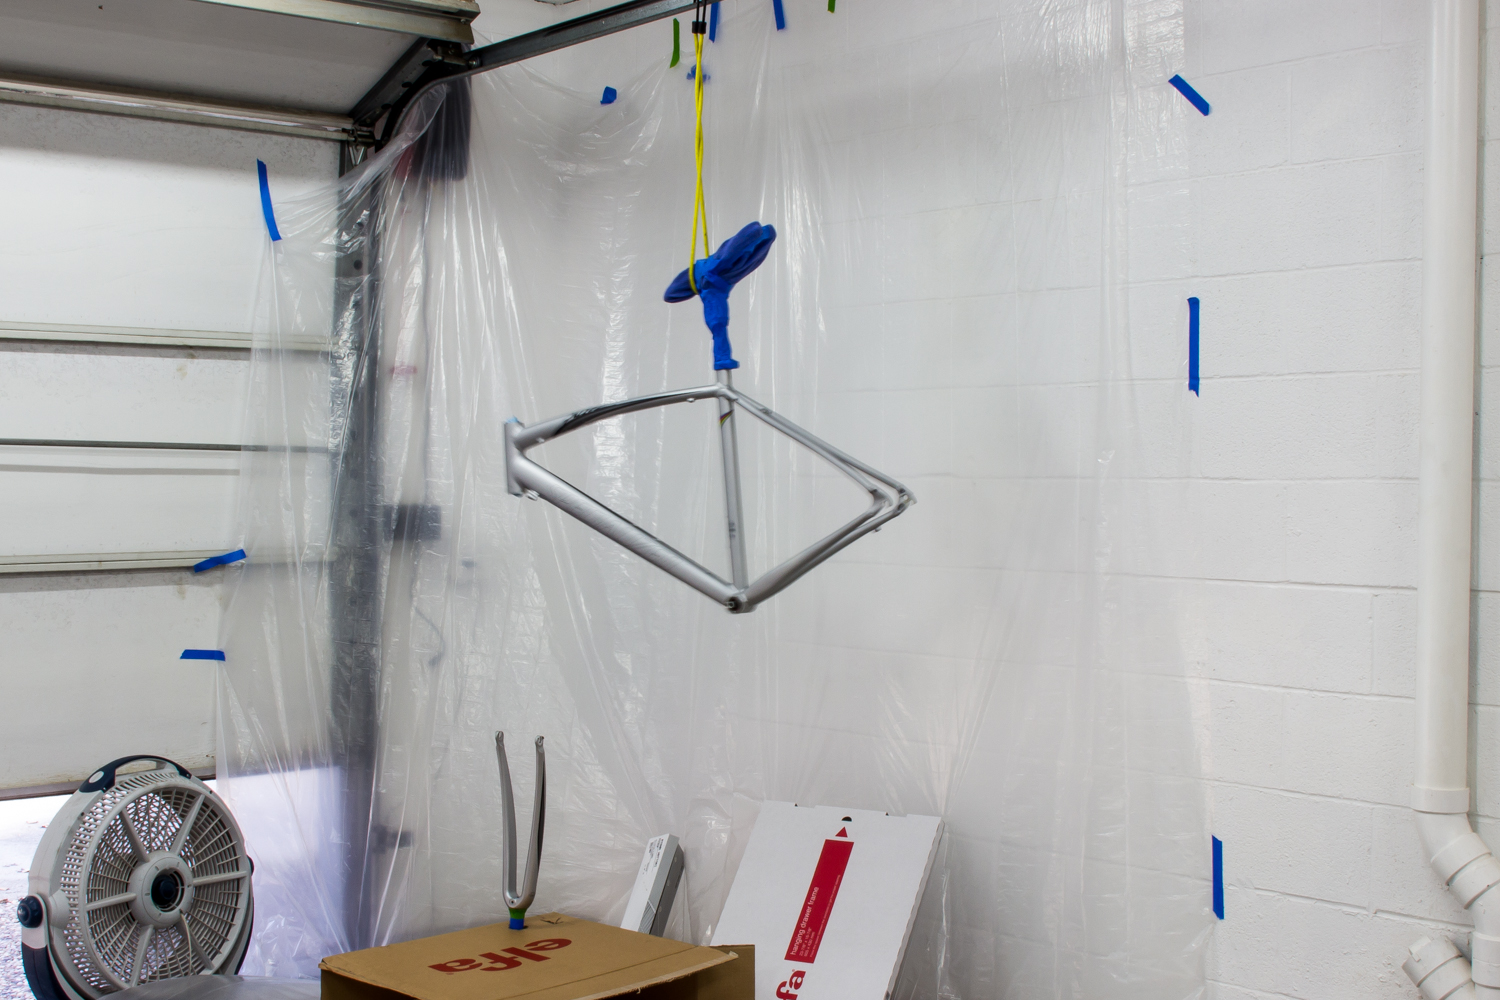
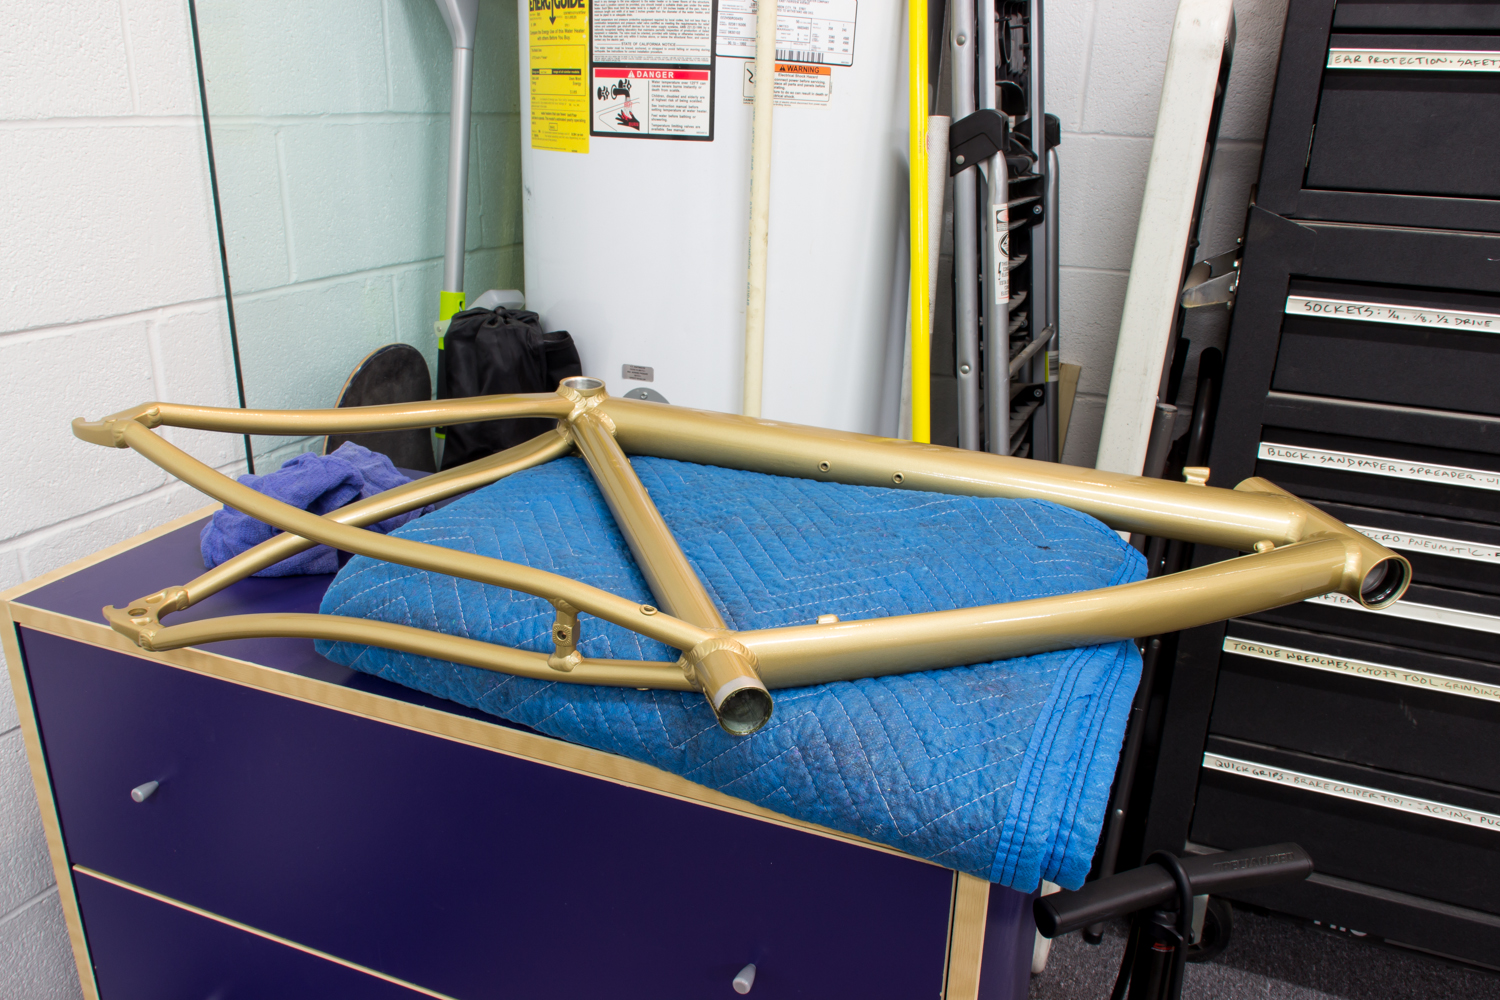
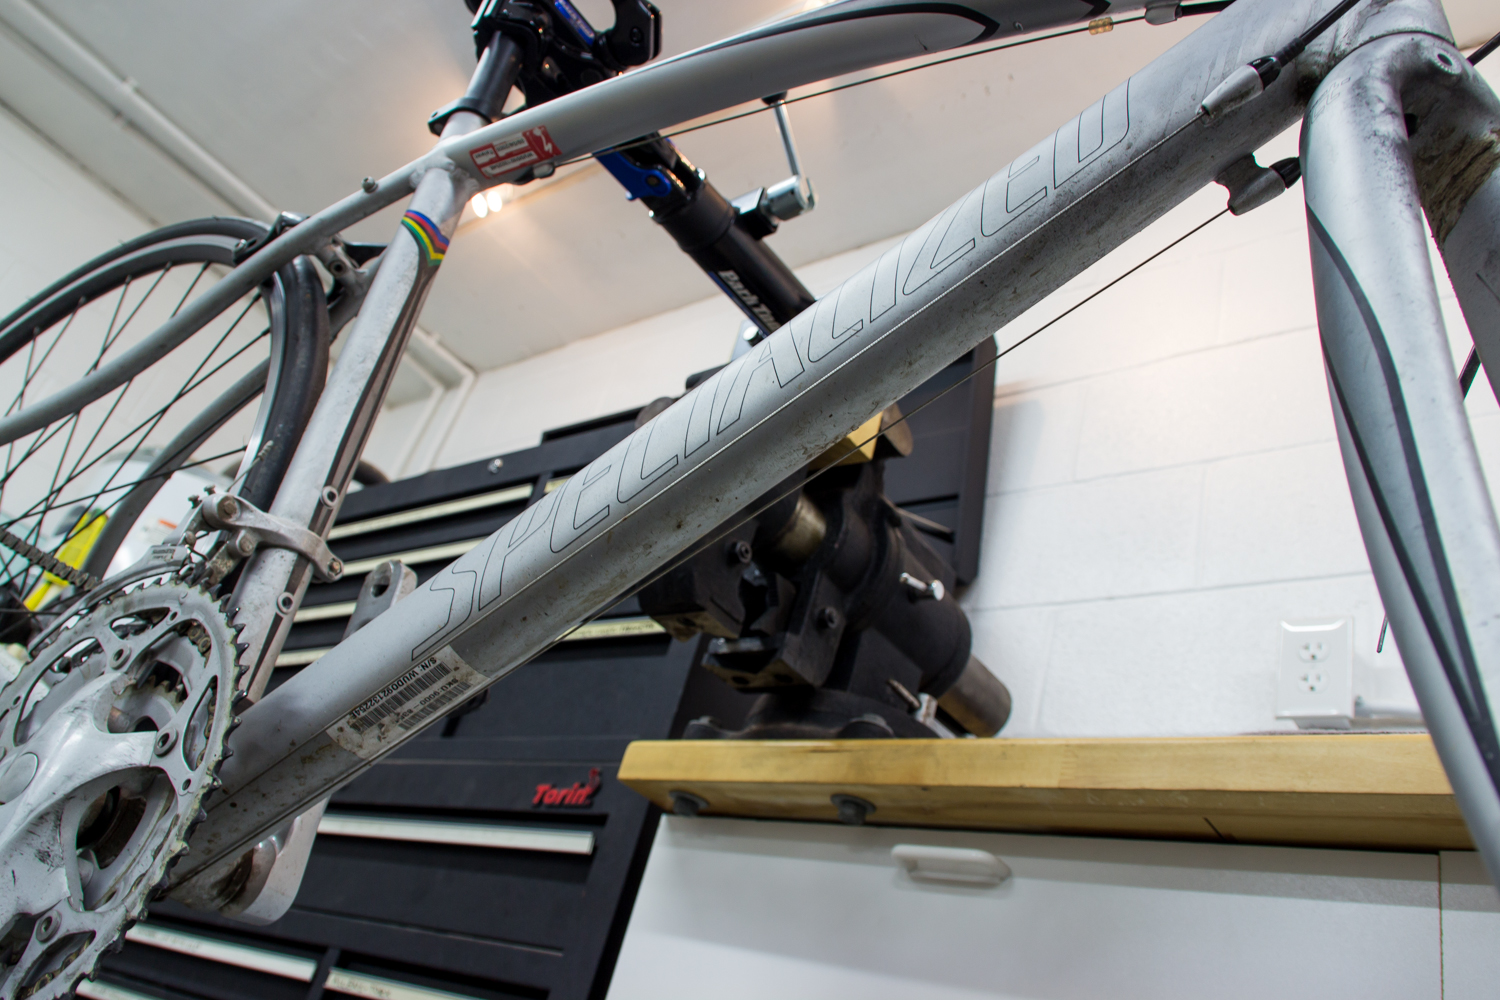
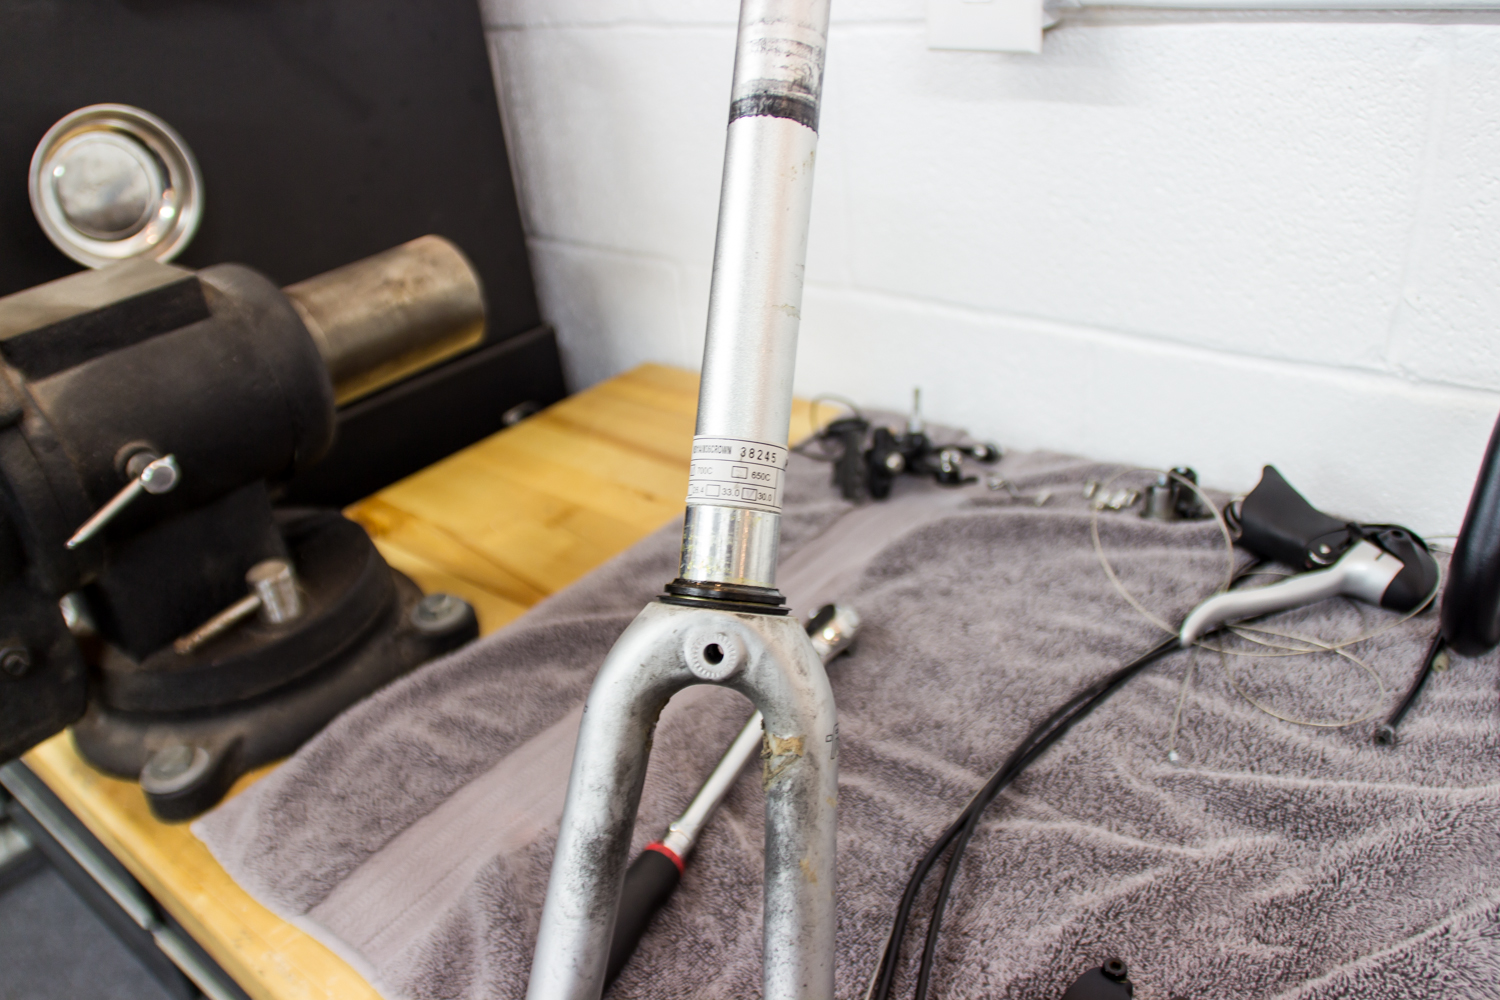
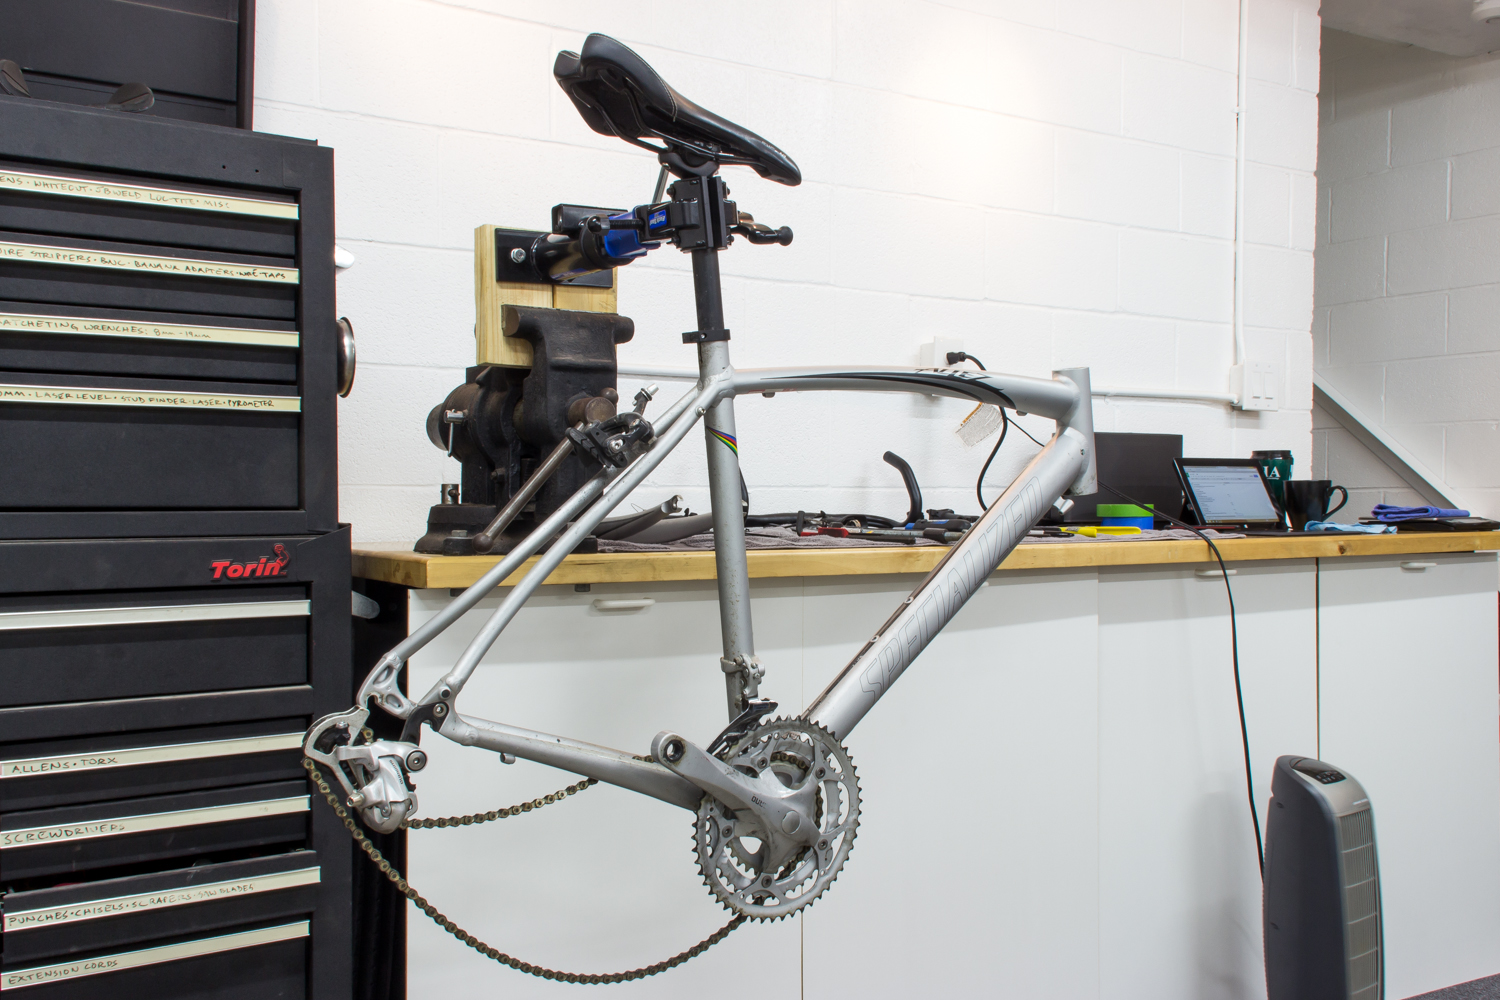
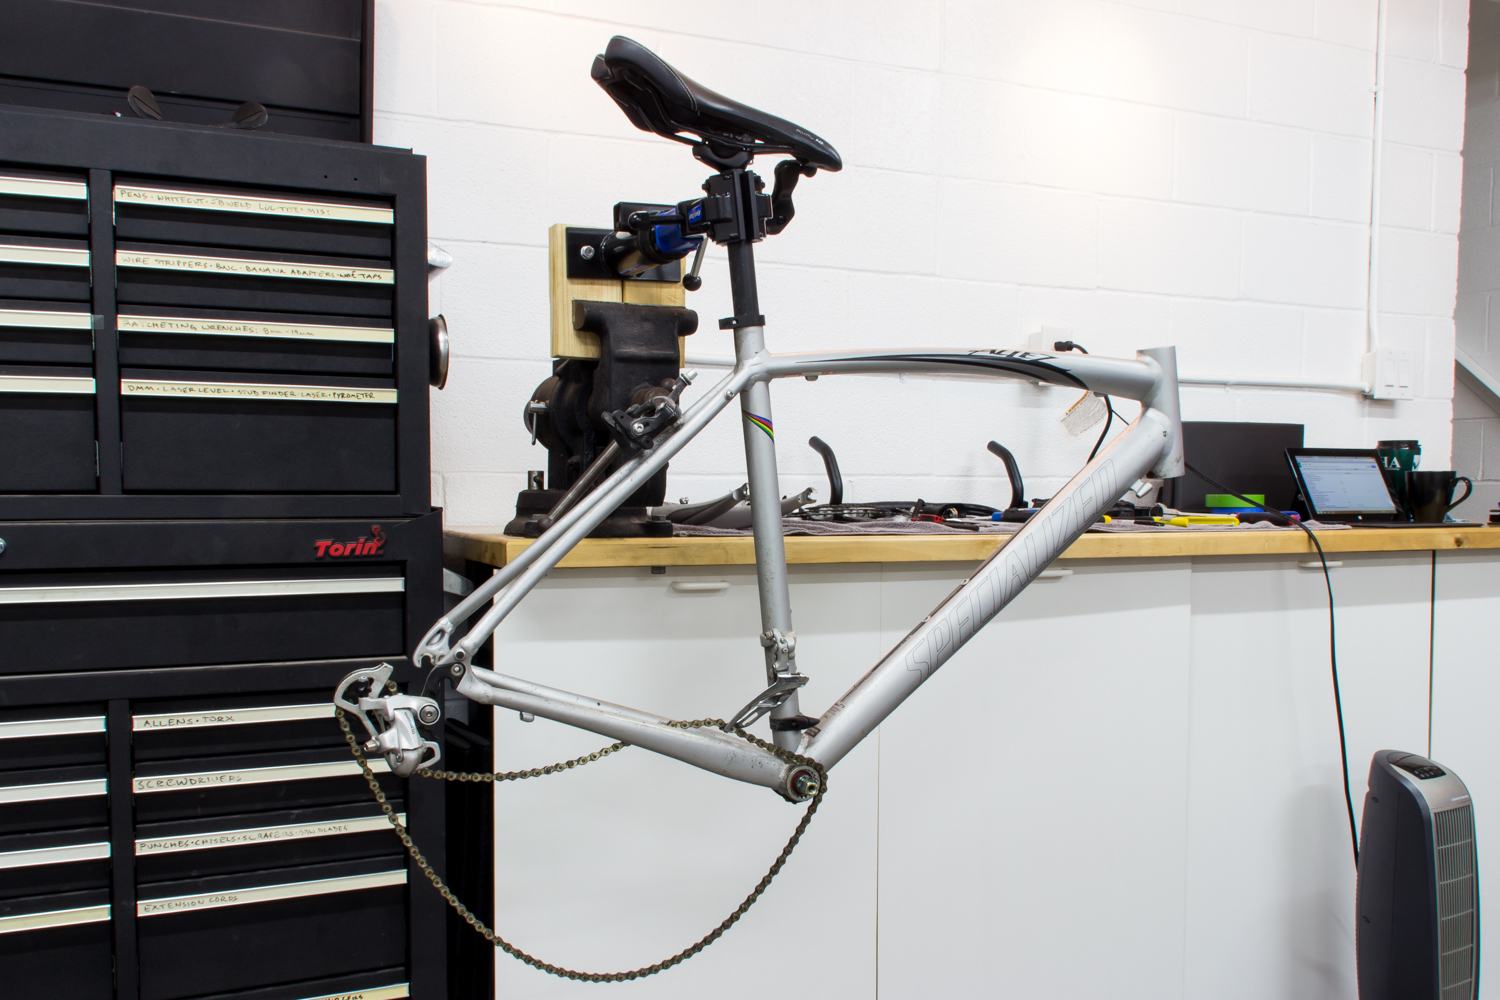
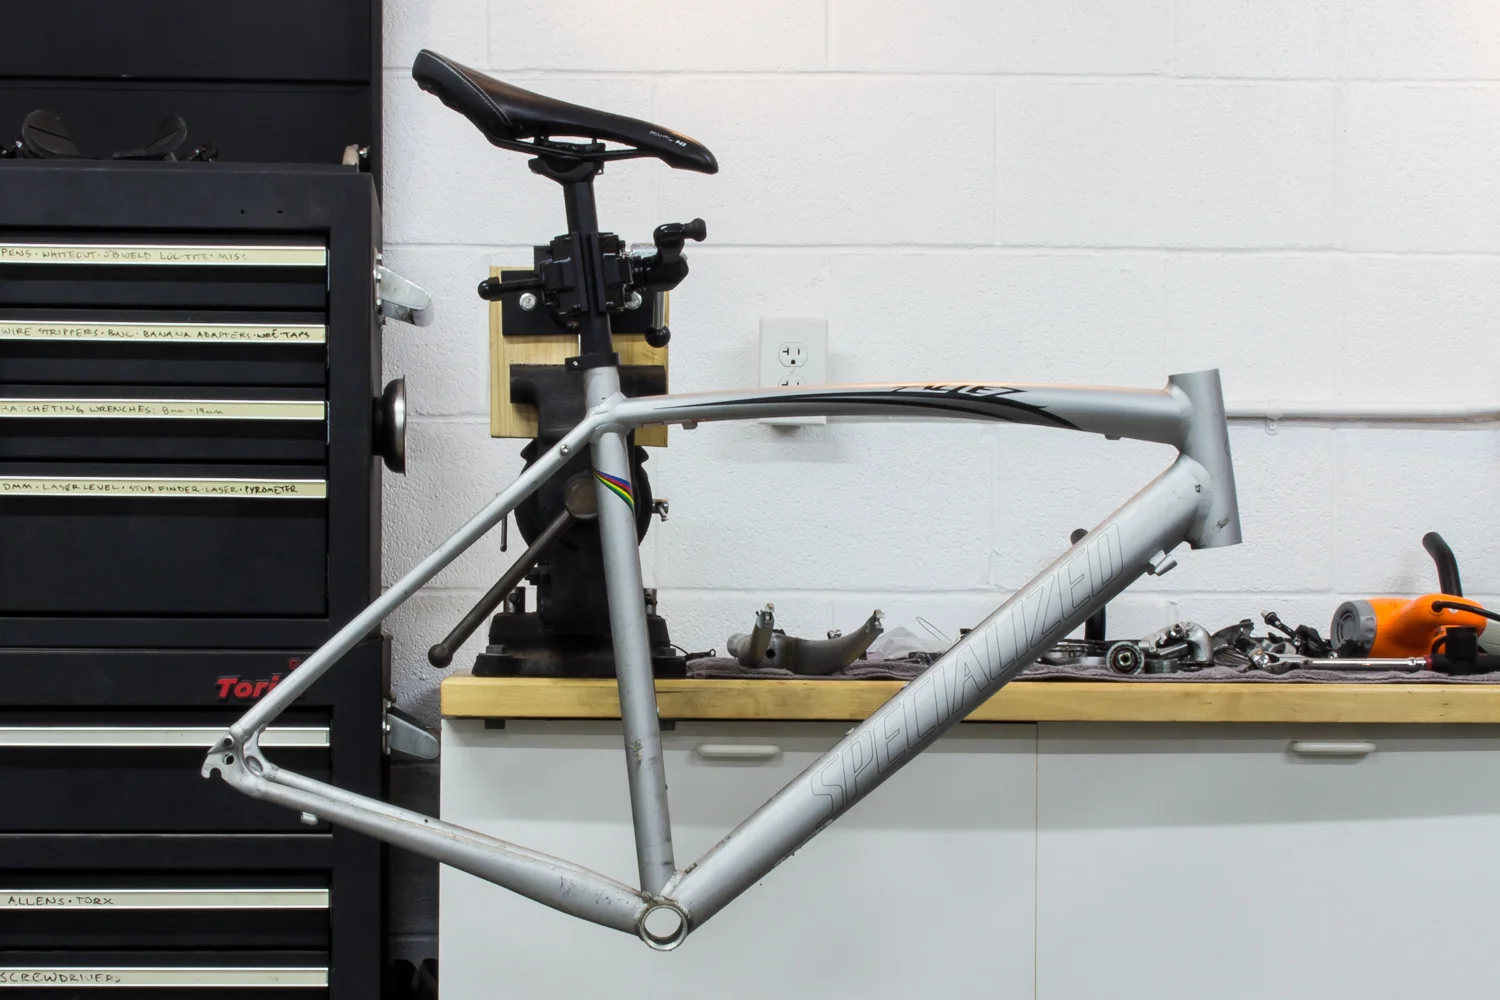
Here's where we left off, with the frame all painted and ready to have the new parts installed:

Component Weight (grams) Notes
Frame with paint 1,473 2010 Specialized Allez, includes seatpost clamp
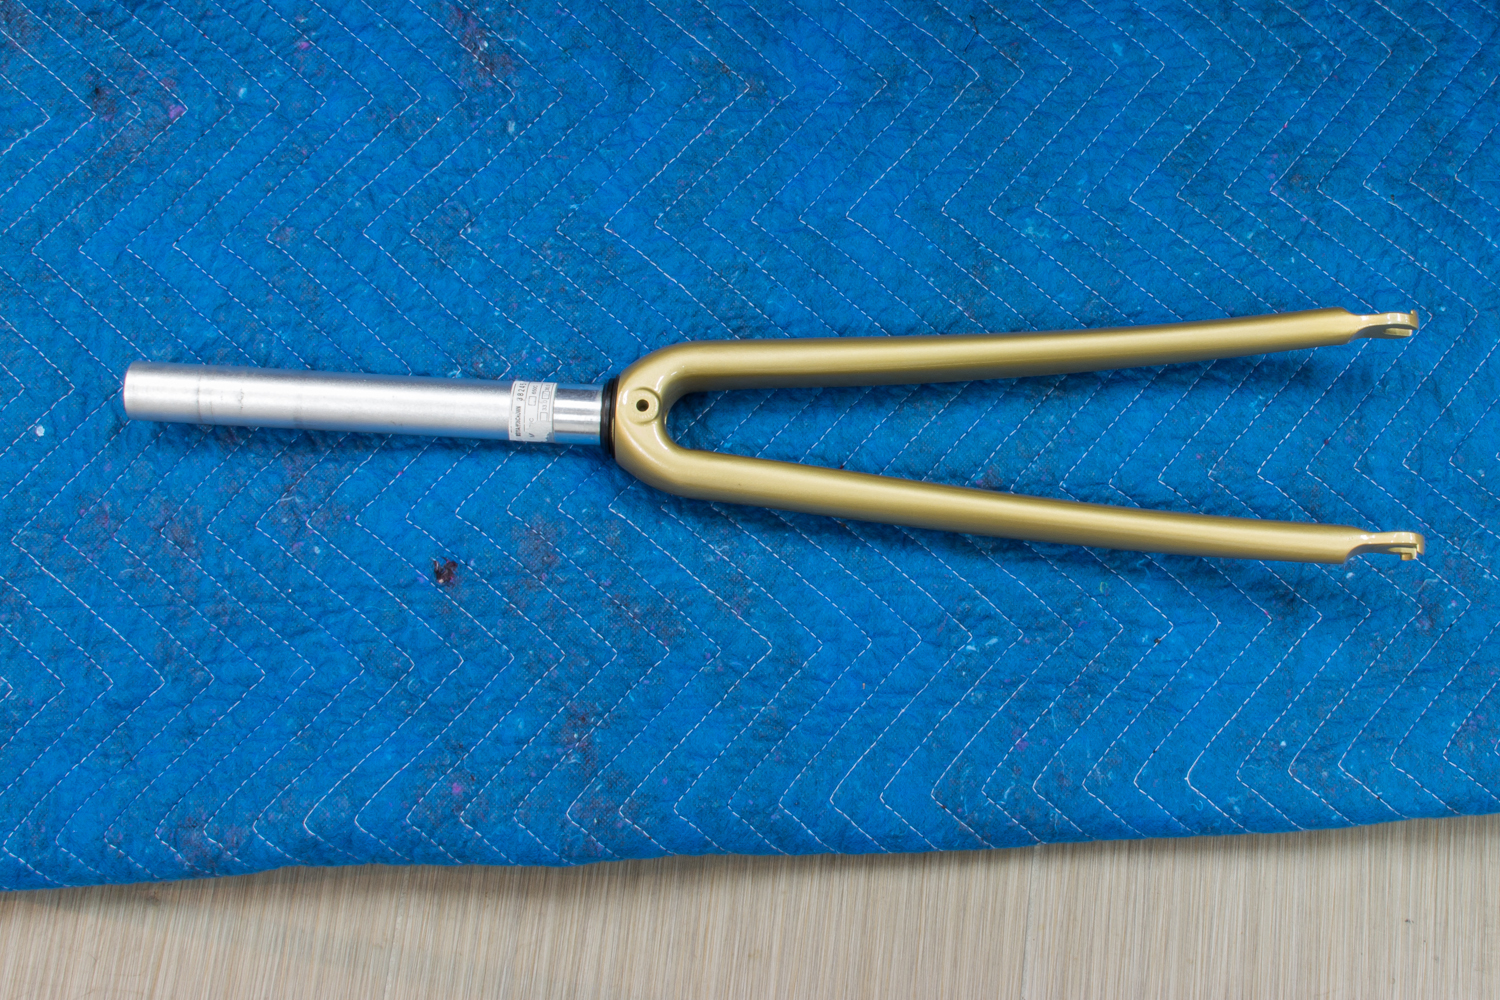
Fork 576 Alloy steerer, carbon fork
Stock seatpost with Hardware 318 Specialized Alloy
Seat 310 Specialized Rival 143

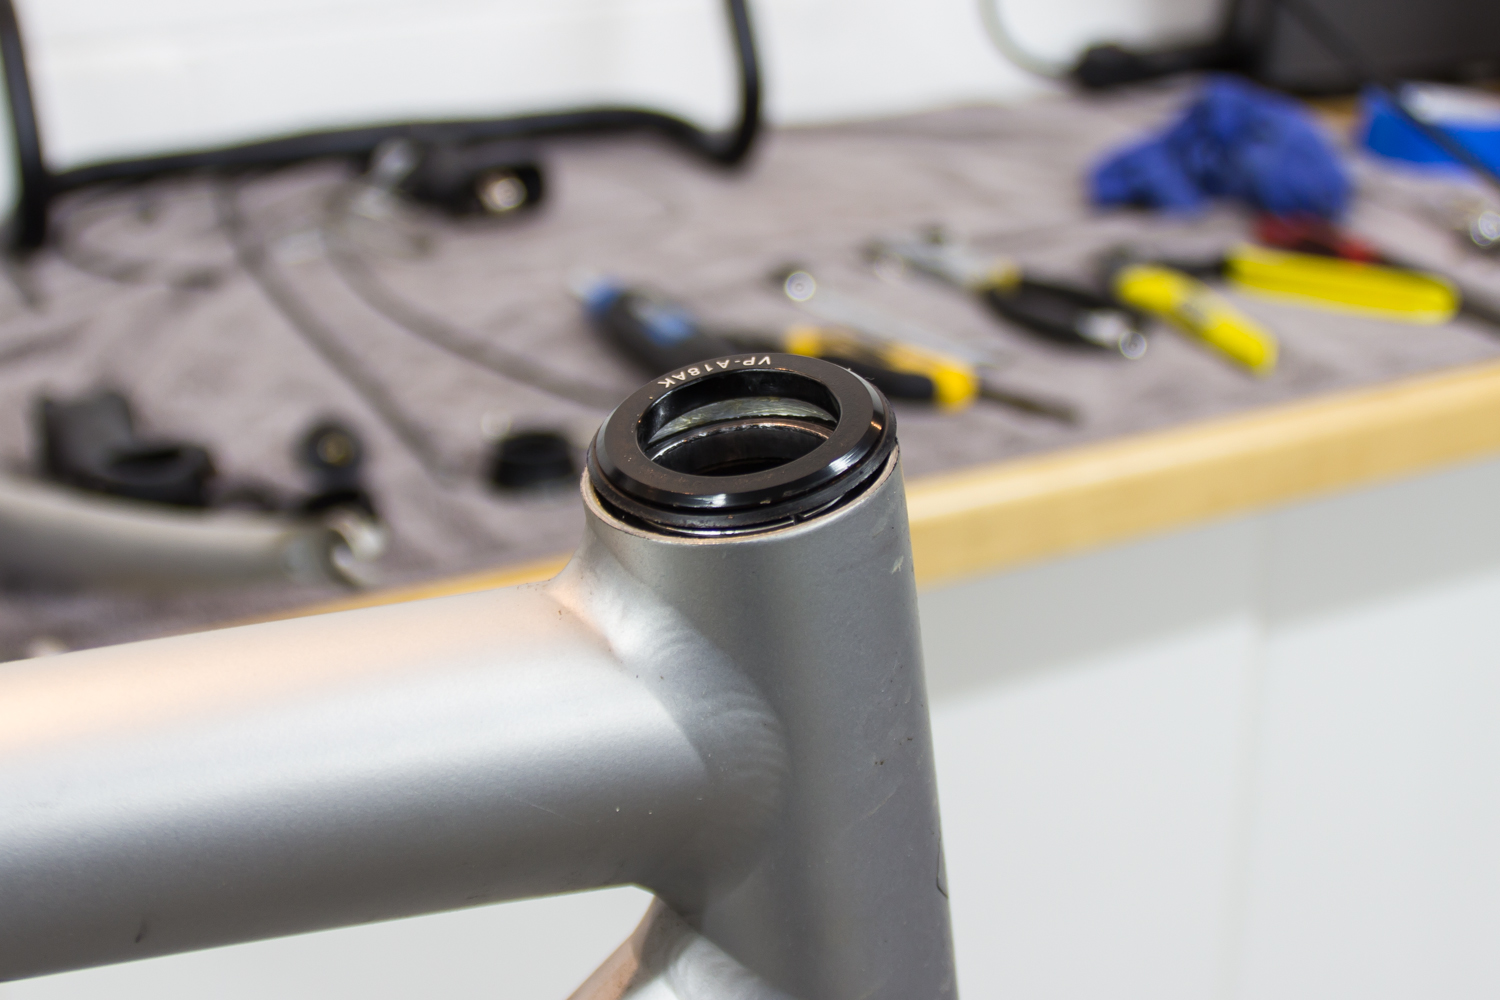
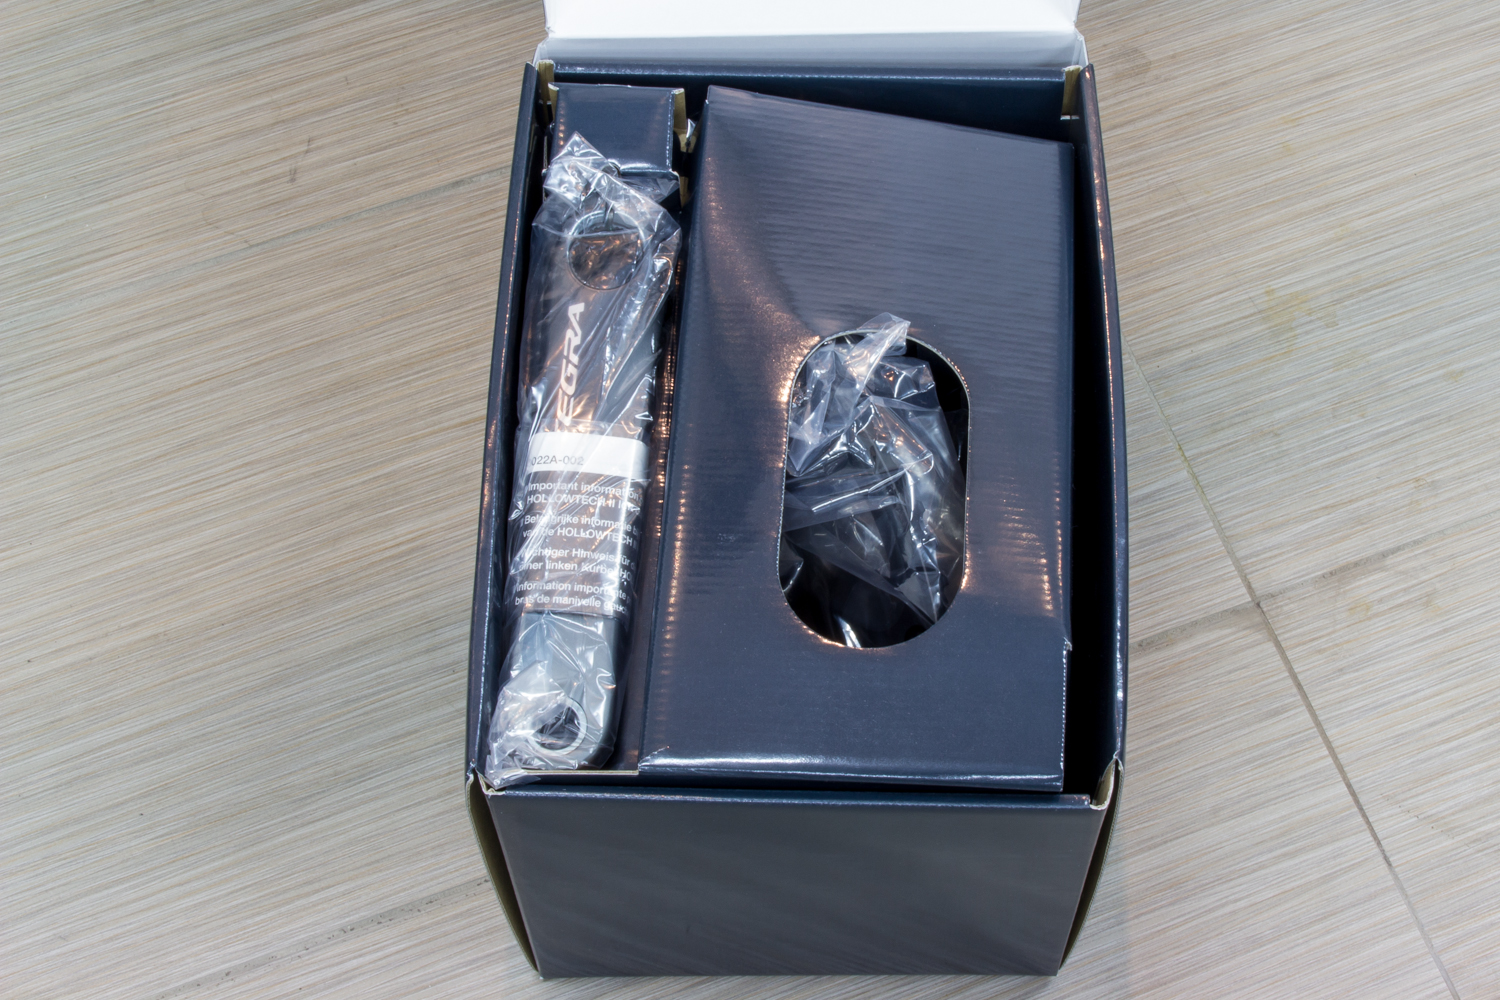
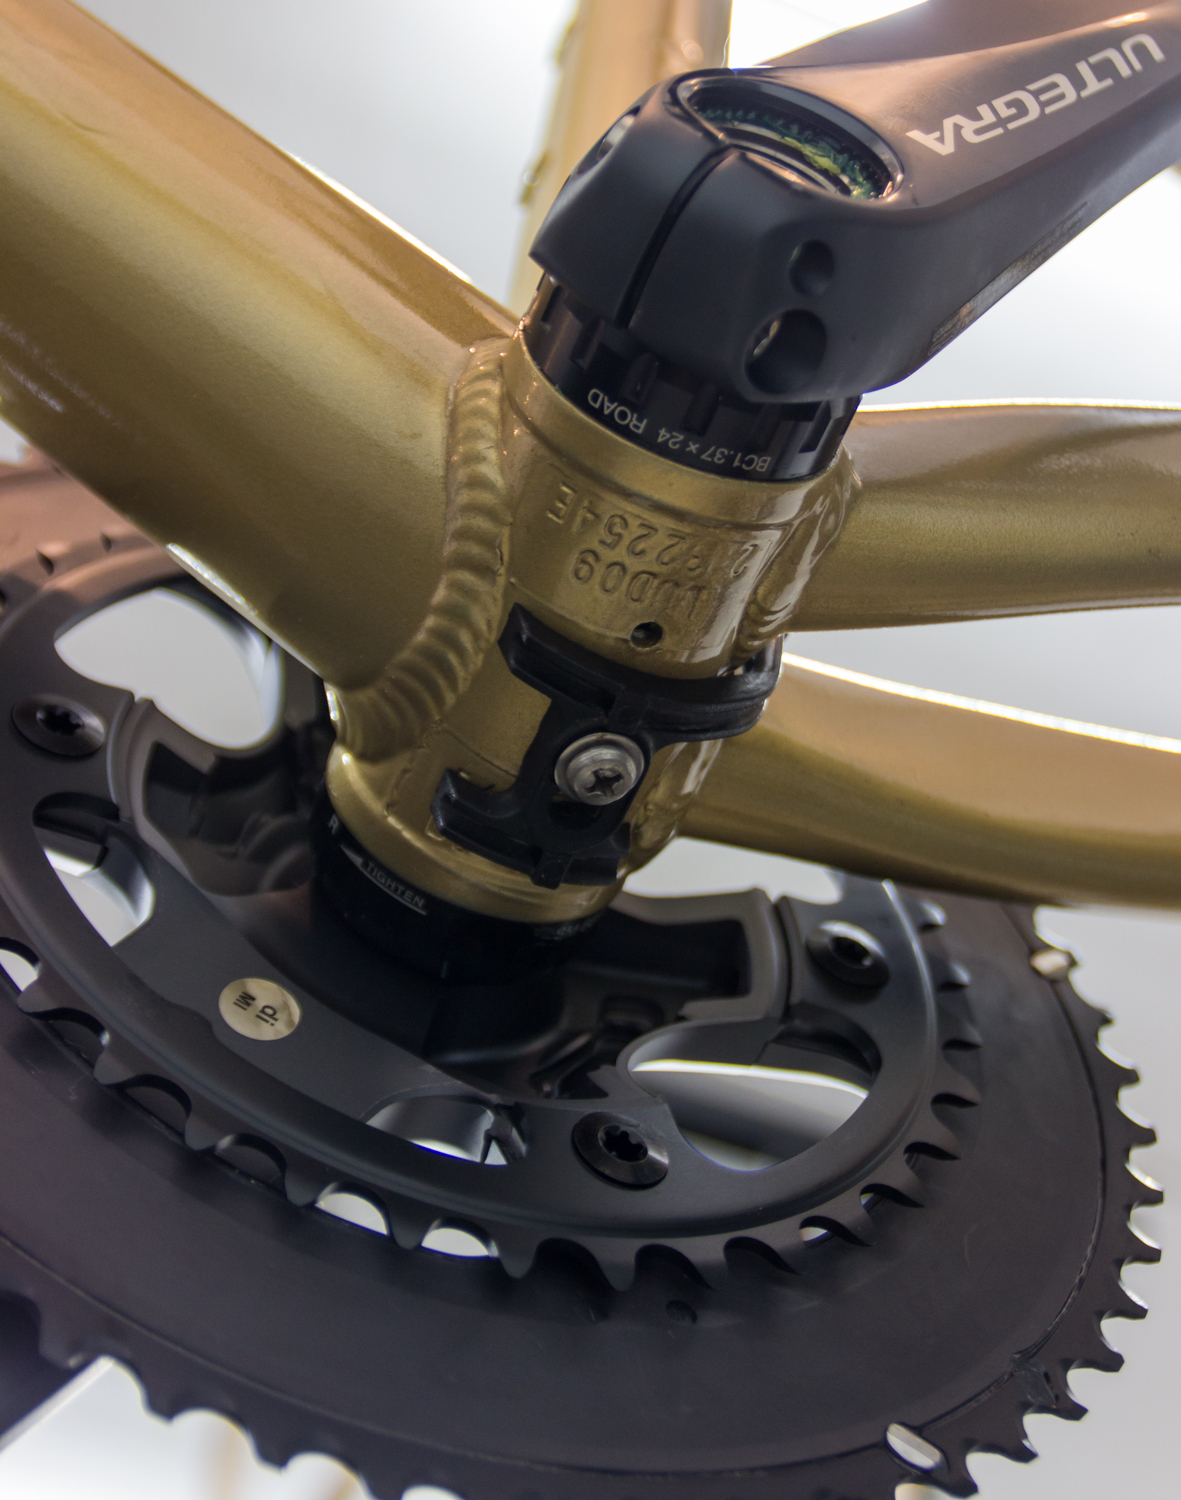
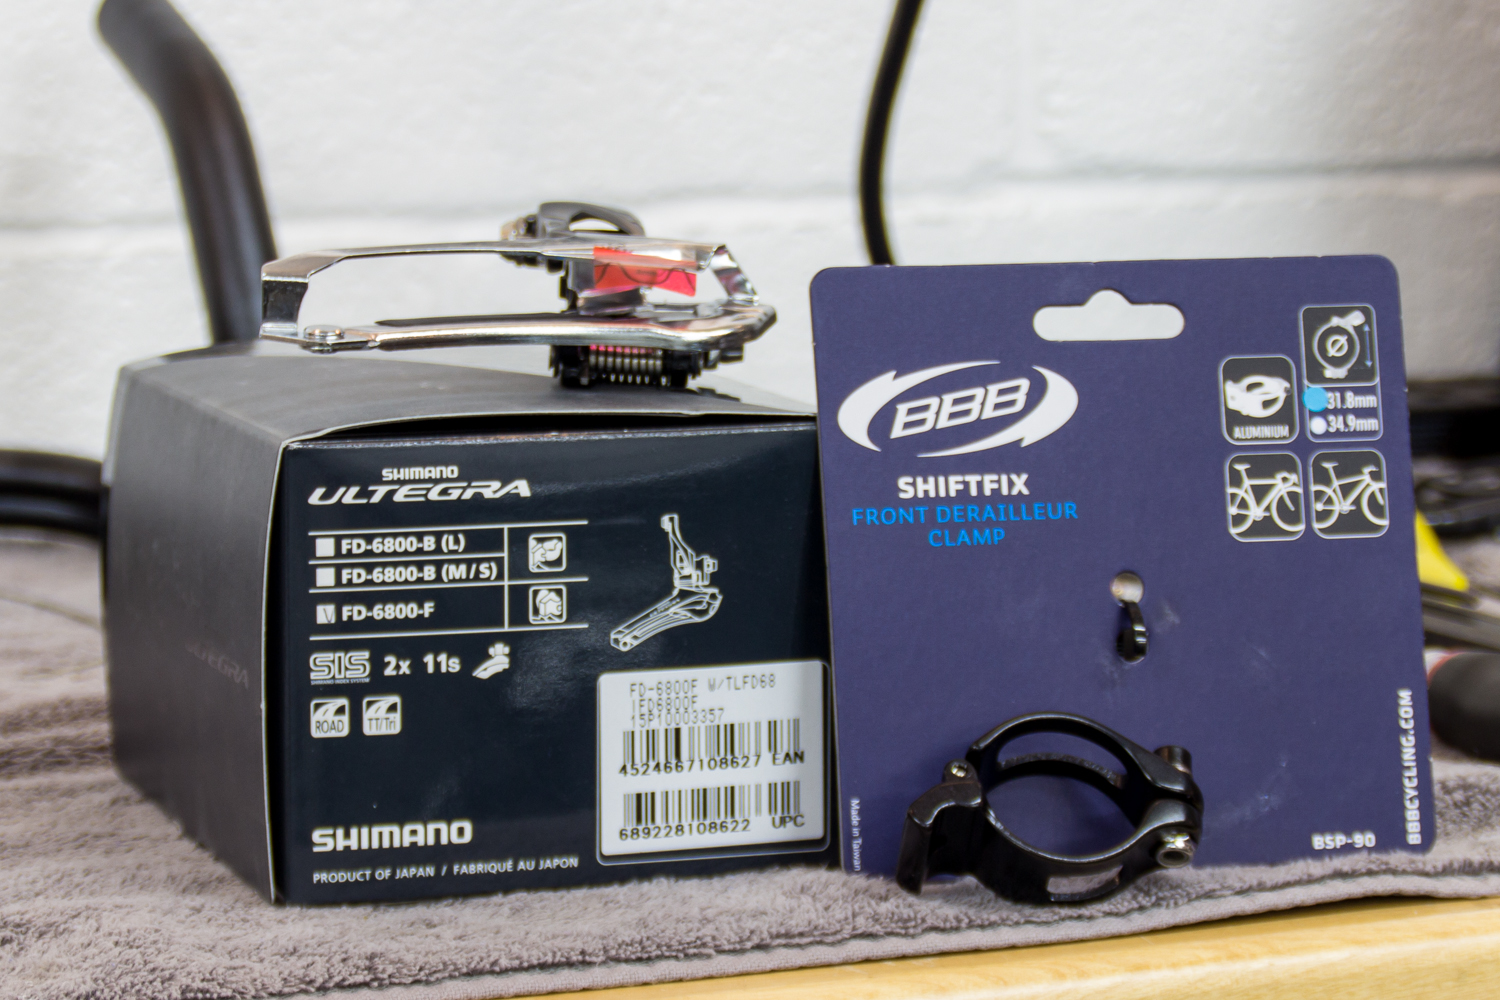
I went with Shimano's 11-speed Ultegra 6800 Groupset. It's an excellent groupset at any price, but happens to be quite affordable as well. The first item to go back on was the 68mm BSA English threaded bottom bracket. 68mm is the width of the thread shell in the frame, and the two threaded cups below screw right in. This is Shimano's HollowtechII standard.

Component Old Part Weight (grams) New Part Weight (grams) Notes
Bottom Bracket 317 74 Old = square taper, New = BBR-60 HTII

That's a 243g saving, just in the bottom bracket! Hopefully this trend will continue and help lighten this bike up significantly.

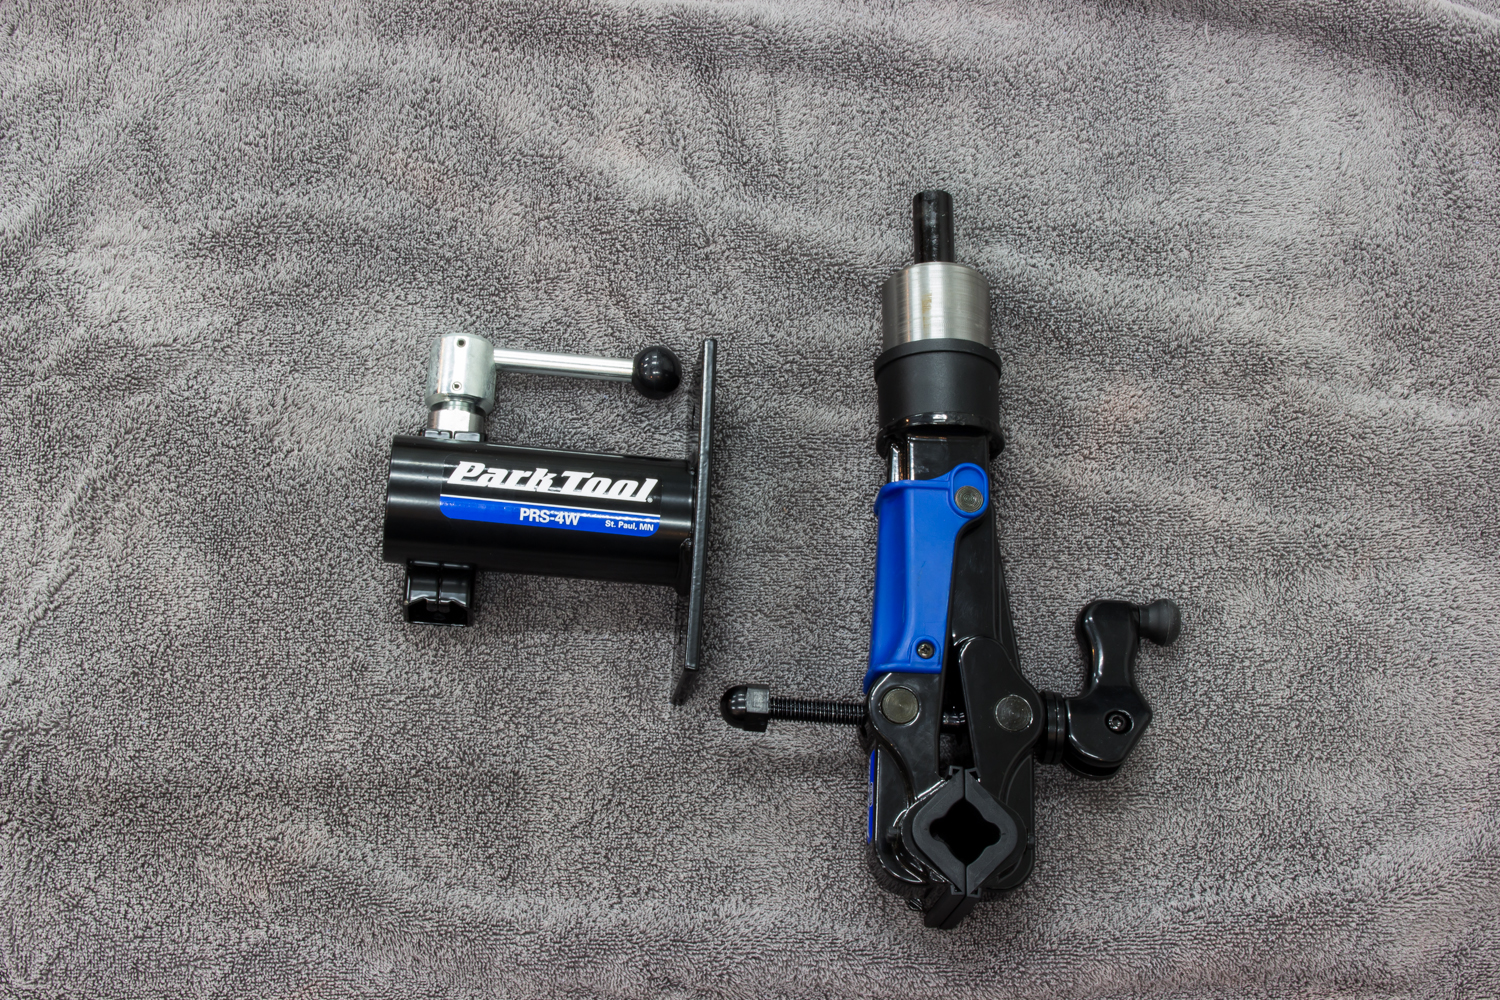
I greased the threads up with some heavy-duty marine grease, then used Park Tool's BBT-9 installation tool to tighten it up.

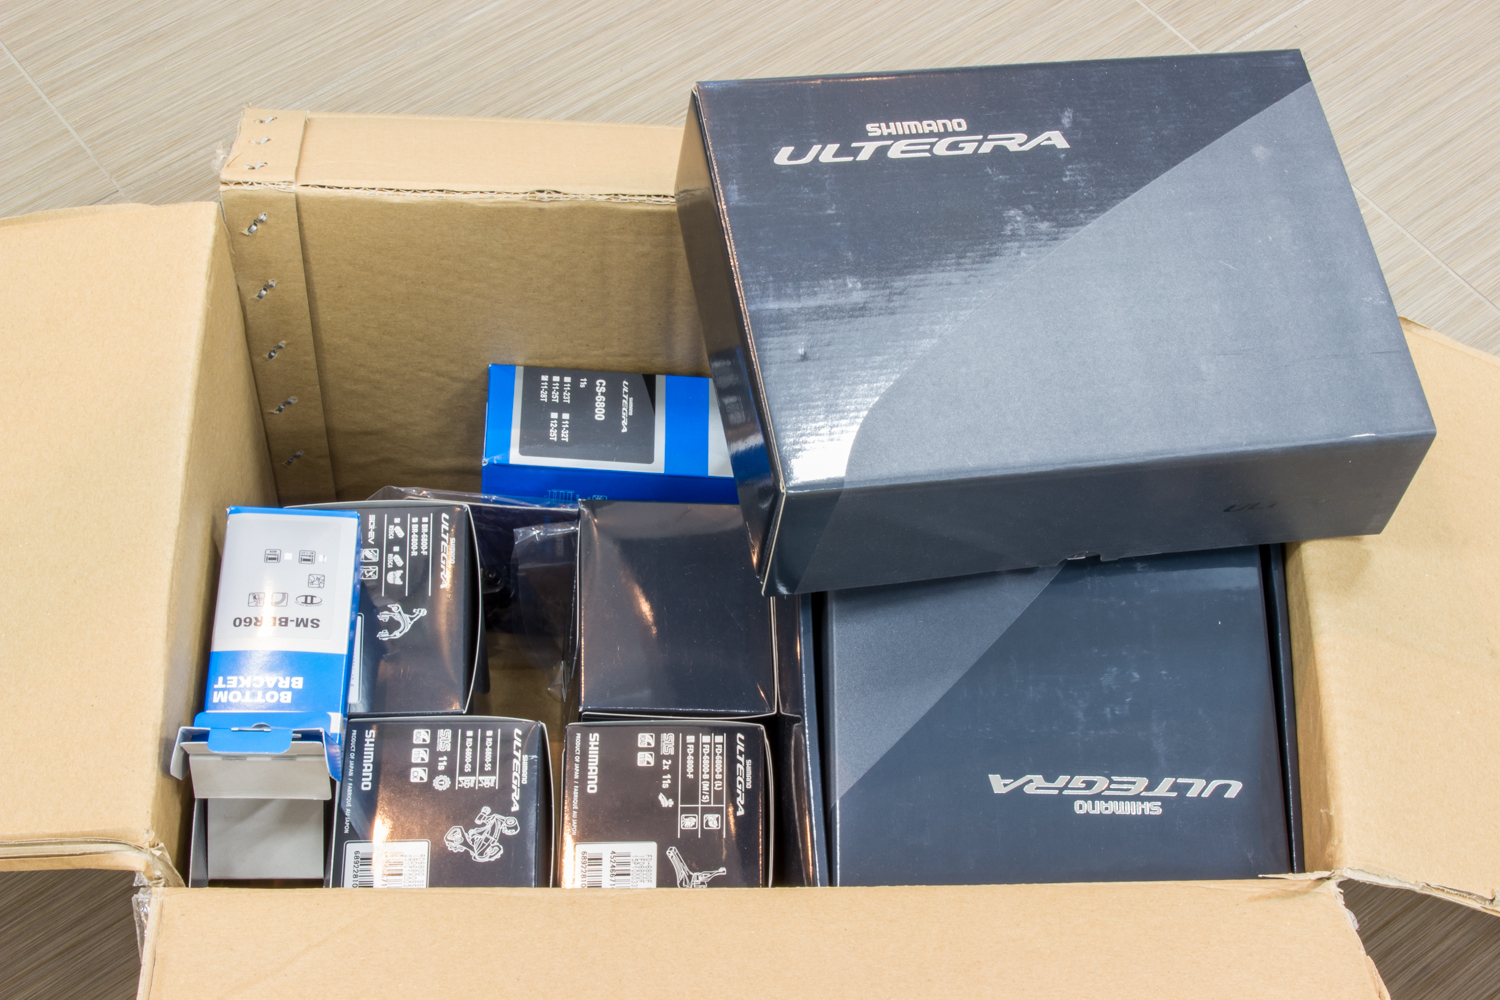
I ordered the complete groupset together. Opening the box was like Christmas!

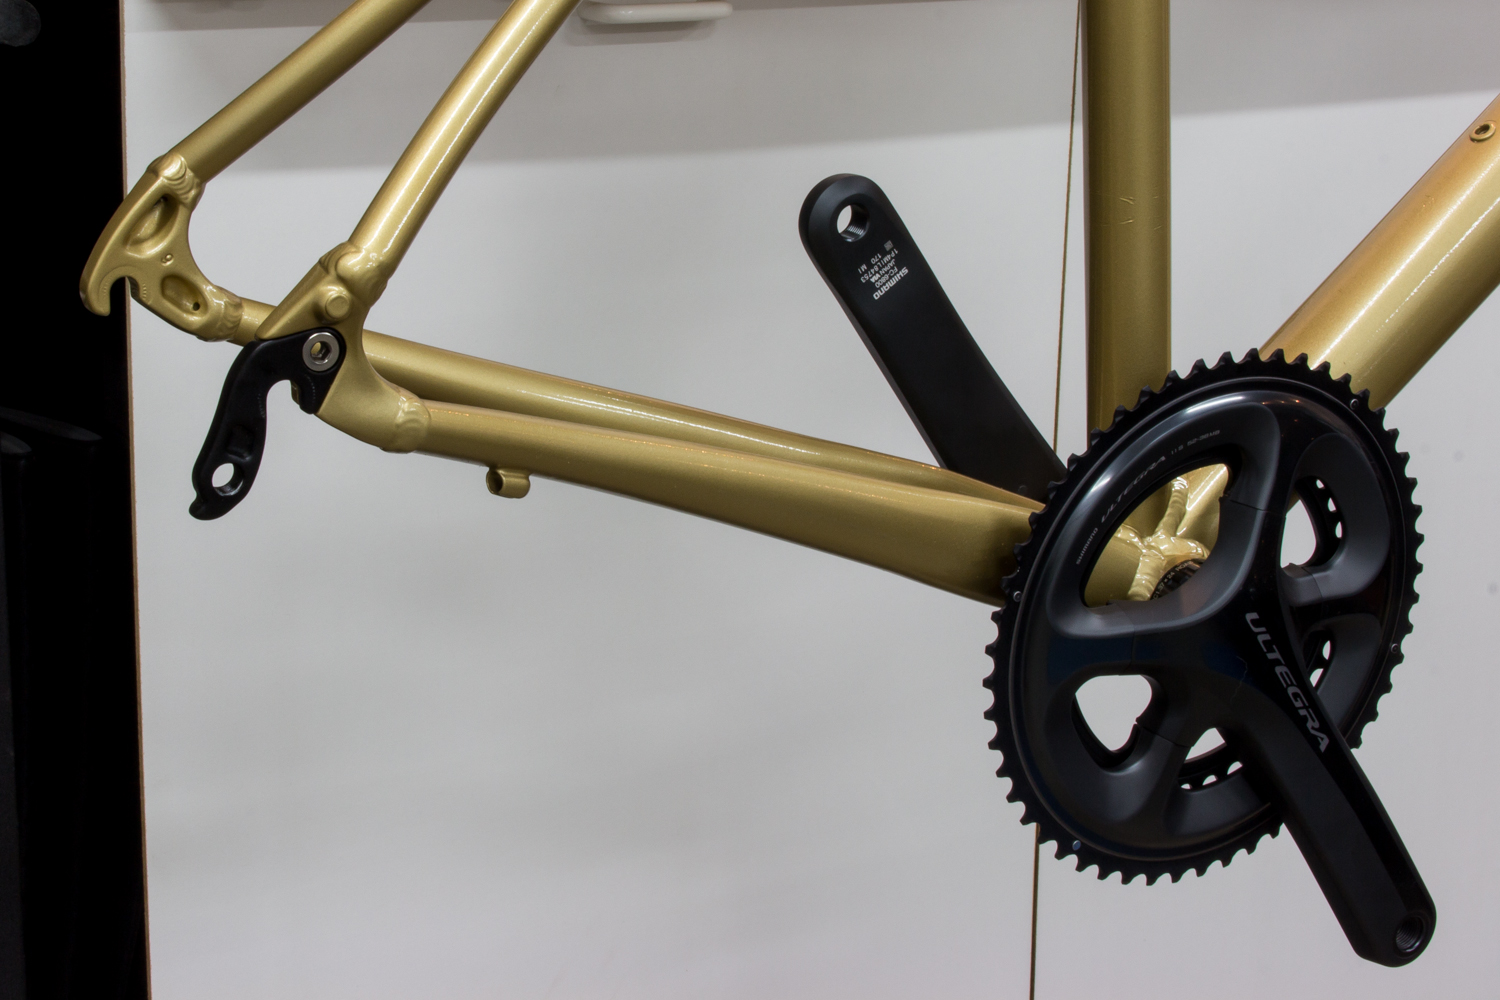
The crankset I ordered was 170mm cranks with a semi-compact 52-36T chainring set.

Component Old Part Weight (grams) New Part Weight (grams) Notes
Drive-side crank w/ rings 795 482 Old = 170mm FC-2303, New = 170mm FC-6800
Non-drive crank arm 227 192 Old = 170mm FC-2303, New = 170mm FC-6800

Another 348g saved. That's a total of 591g so far. Some light tapping with a rubber mallet helped slide everything nicely into place.

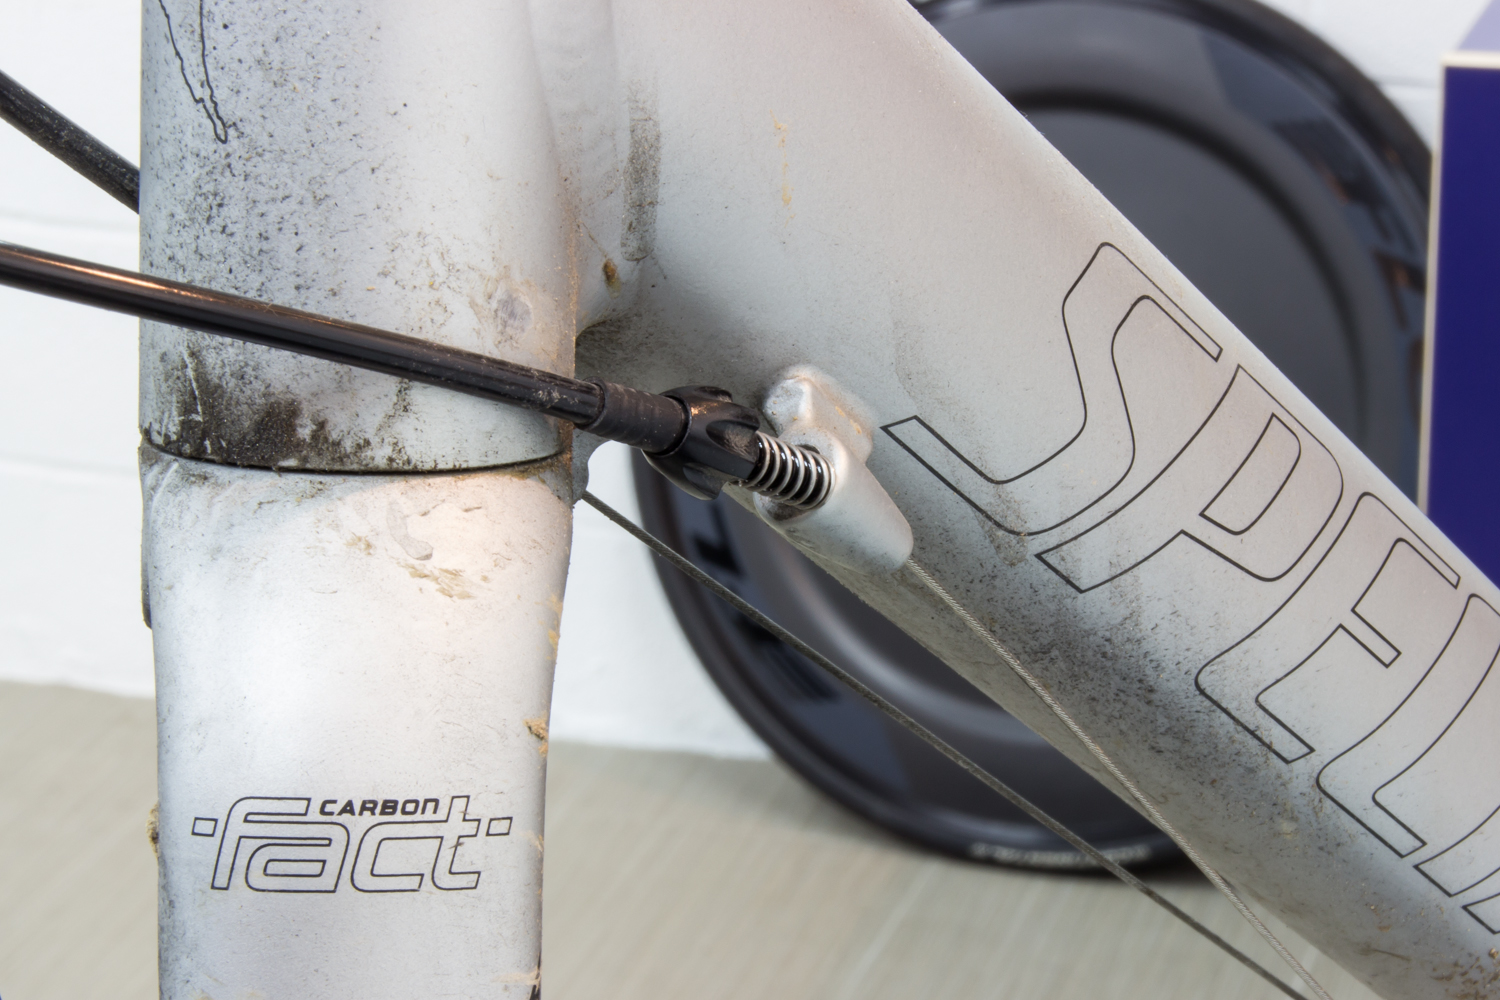
I re-installed the cable guide beneath the bottom bracket while I was down there. This is the original piece.

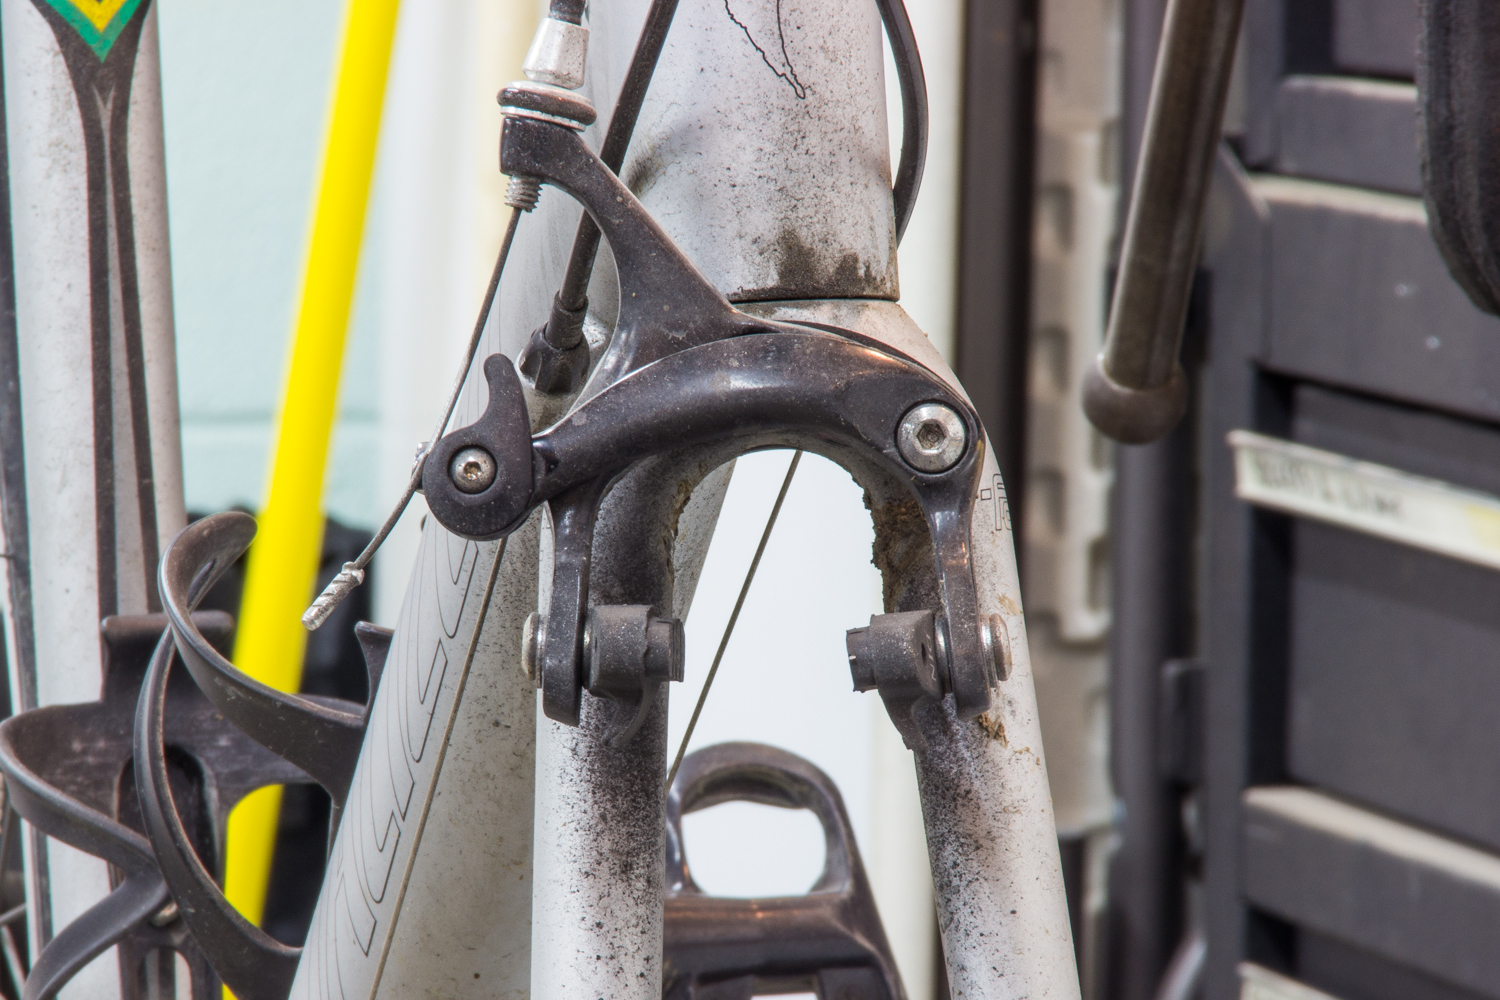
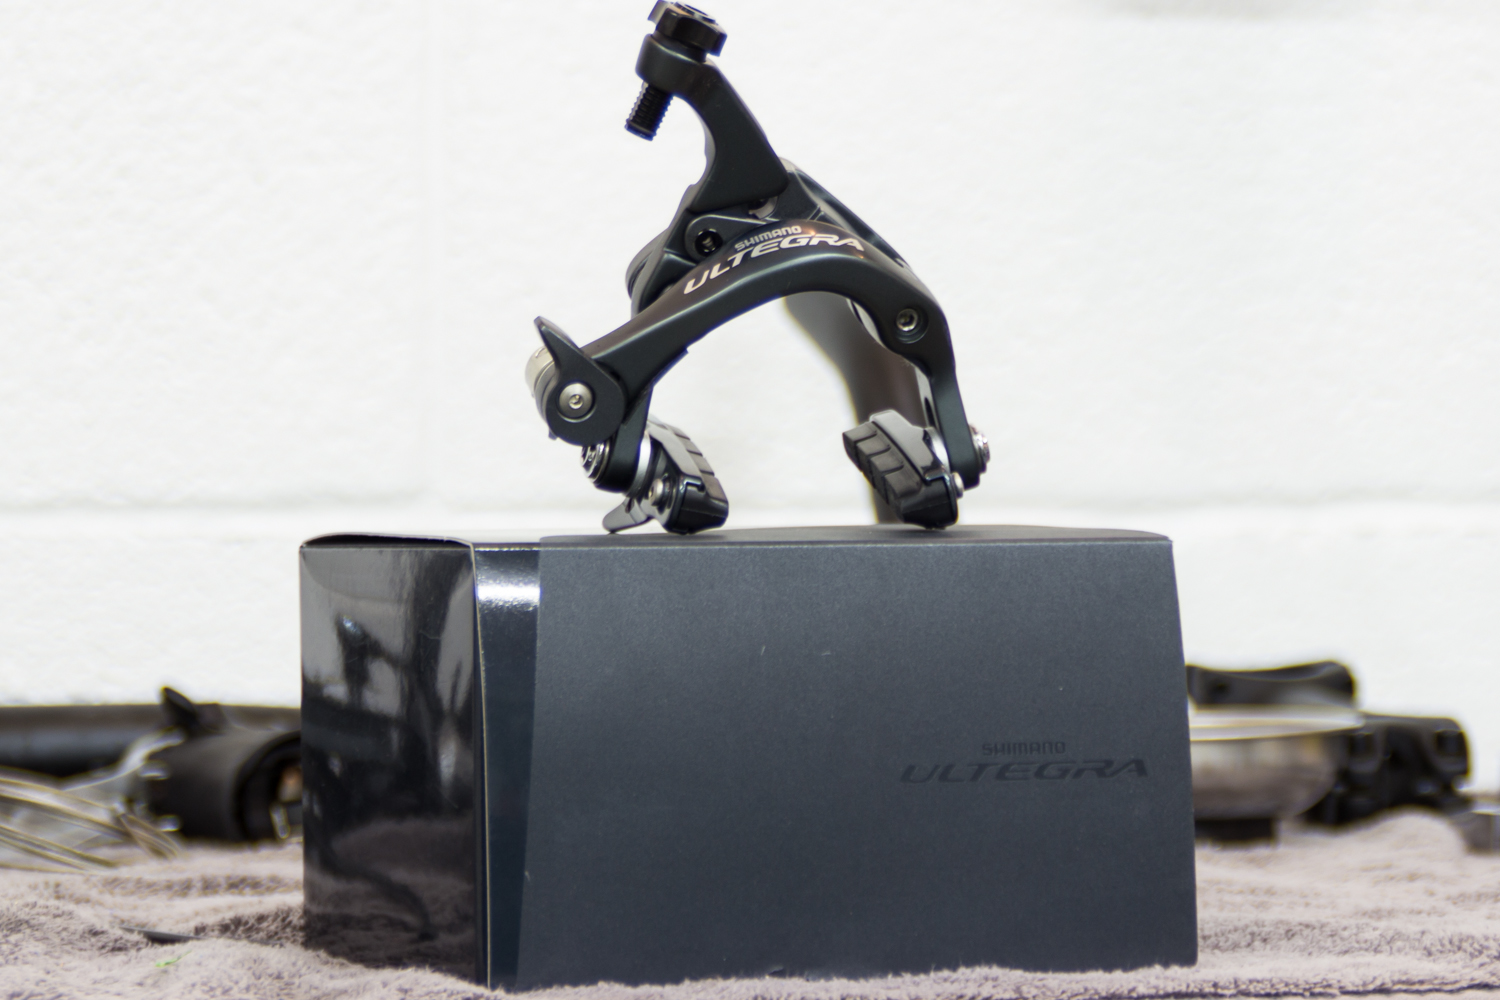
The rear brake was next. Fortunately, I learned during my disassembly that you don't in fact have to take the brake apart to install it. It just installs via one bolt and special long nut through the frame.

Component Old Part Weight (grams) New Part Weight (grams) Notes
Rear brake 176 168 Old = ?, New = BR-6800

The old brake wasn't too heavy; we save just 8g here, but the stopping power and modulation is supposed to be much improved. Cumulative weight savings: 599g.

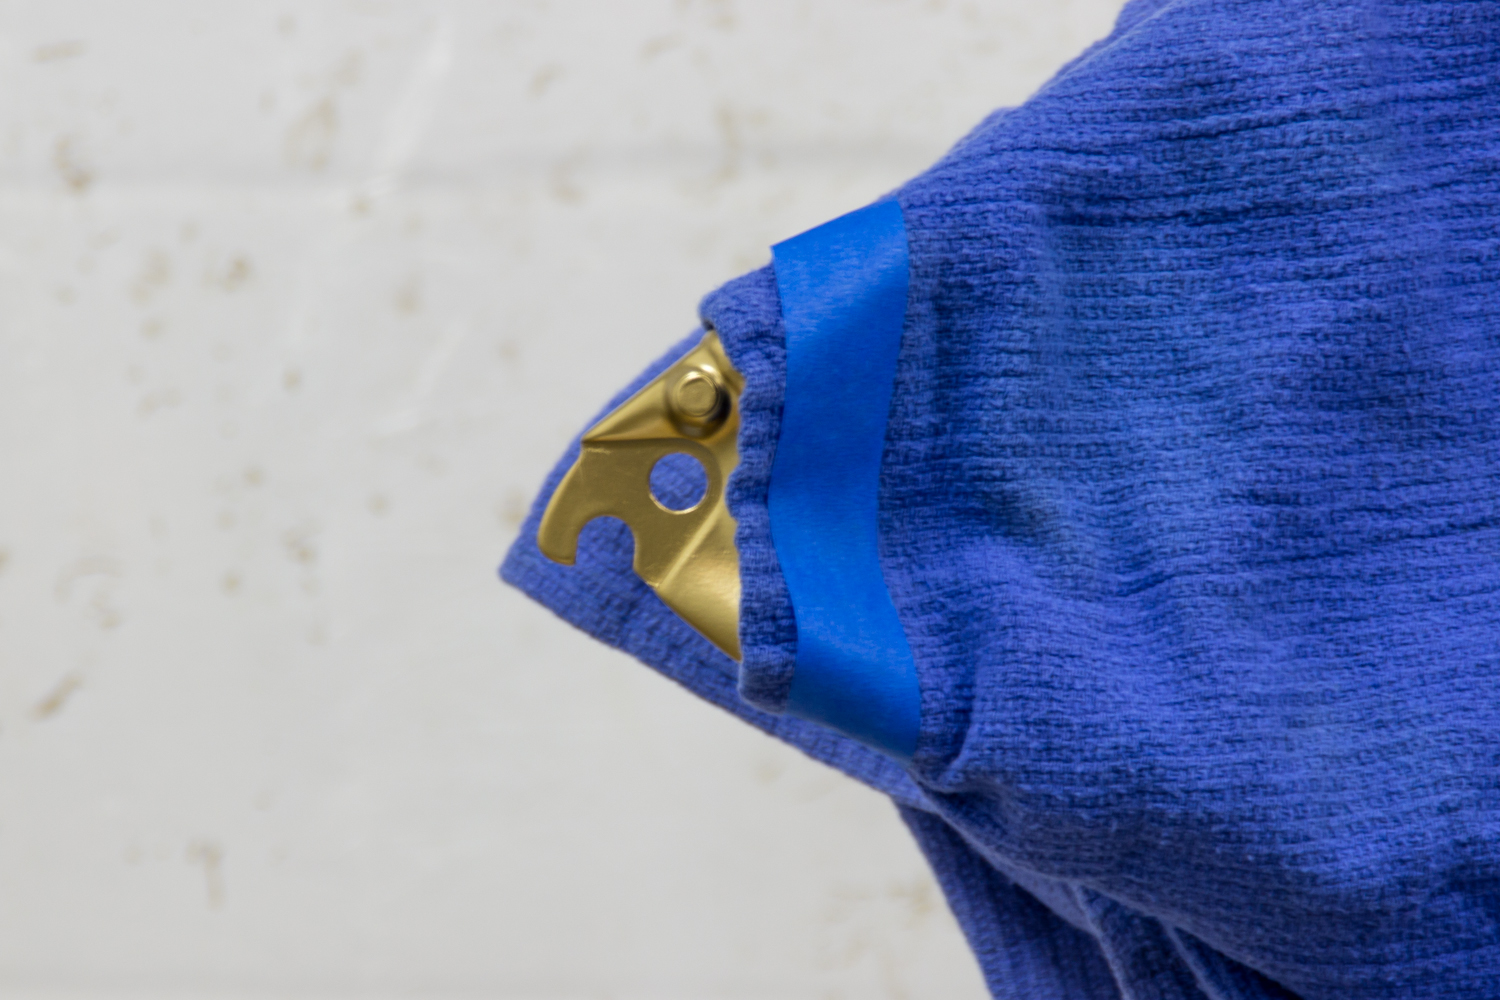
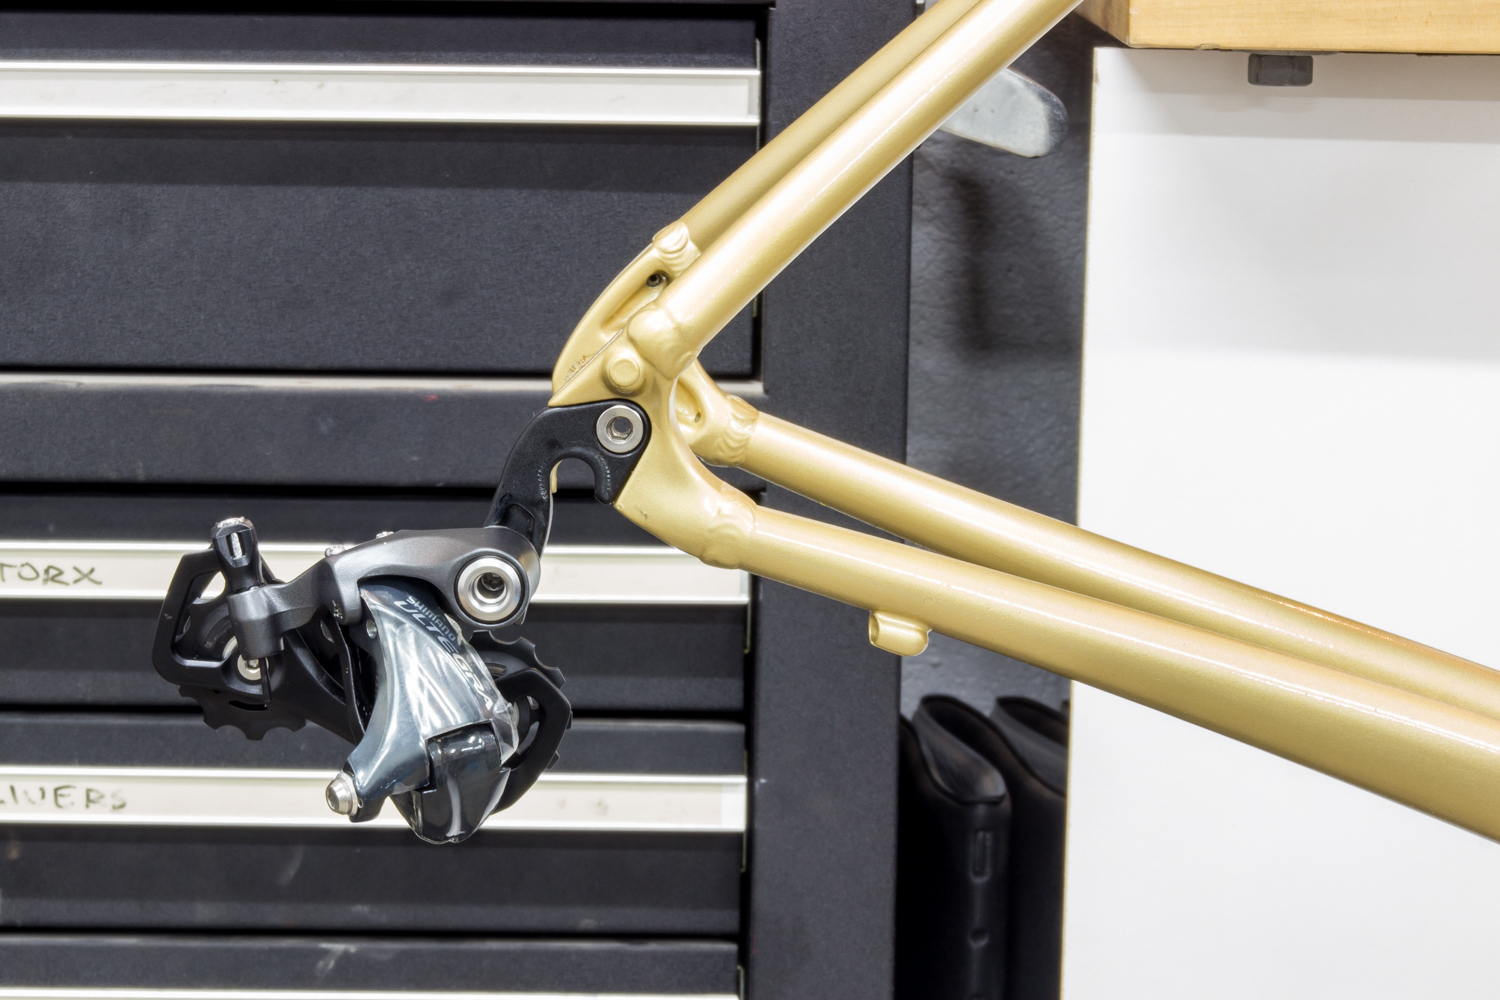
The rear derailleur hanger bolted right back into place.

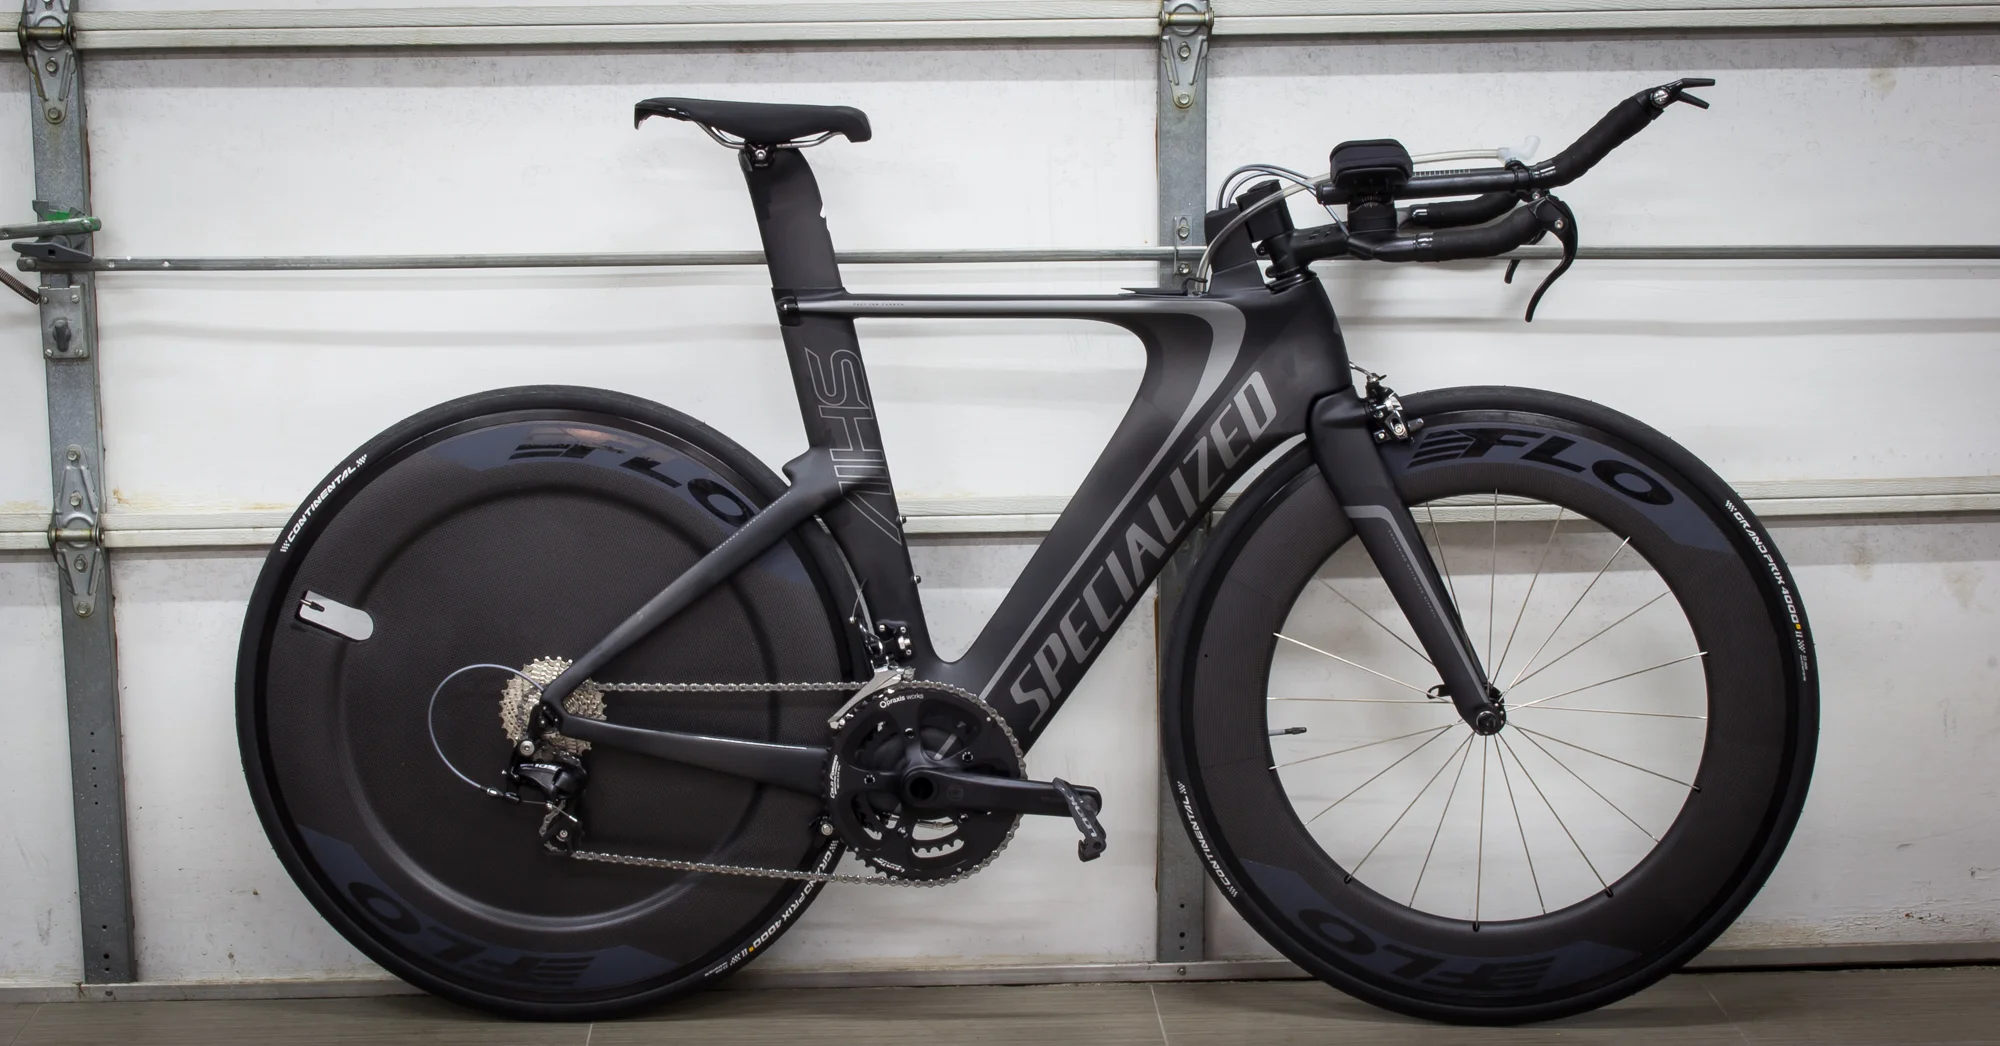
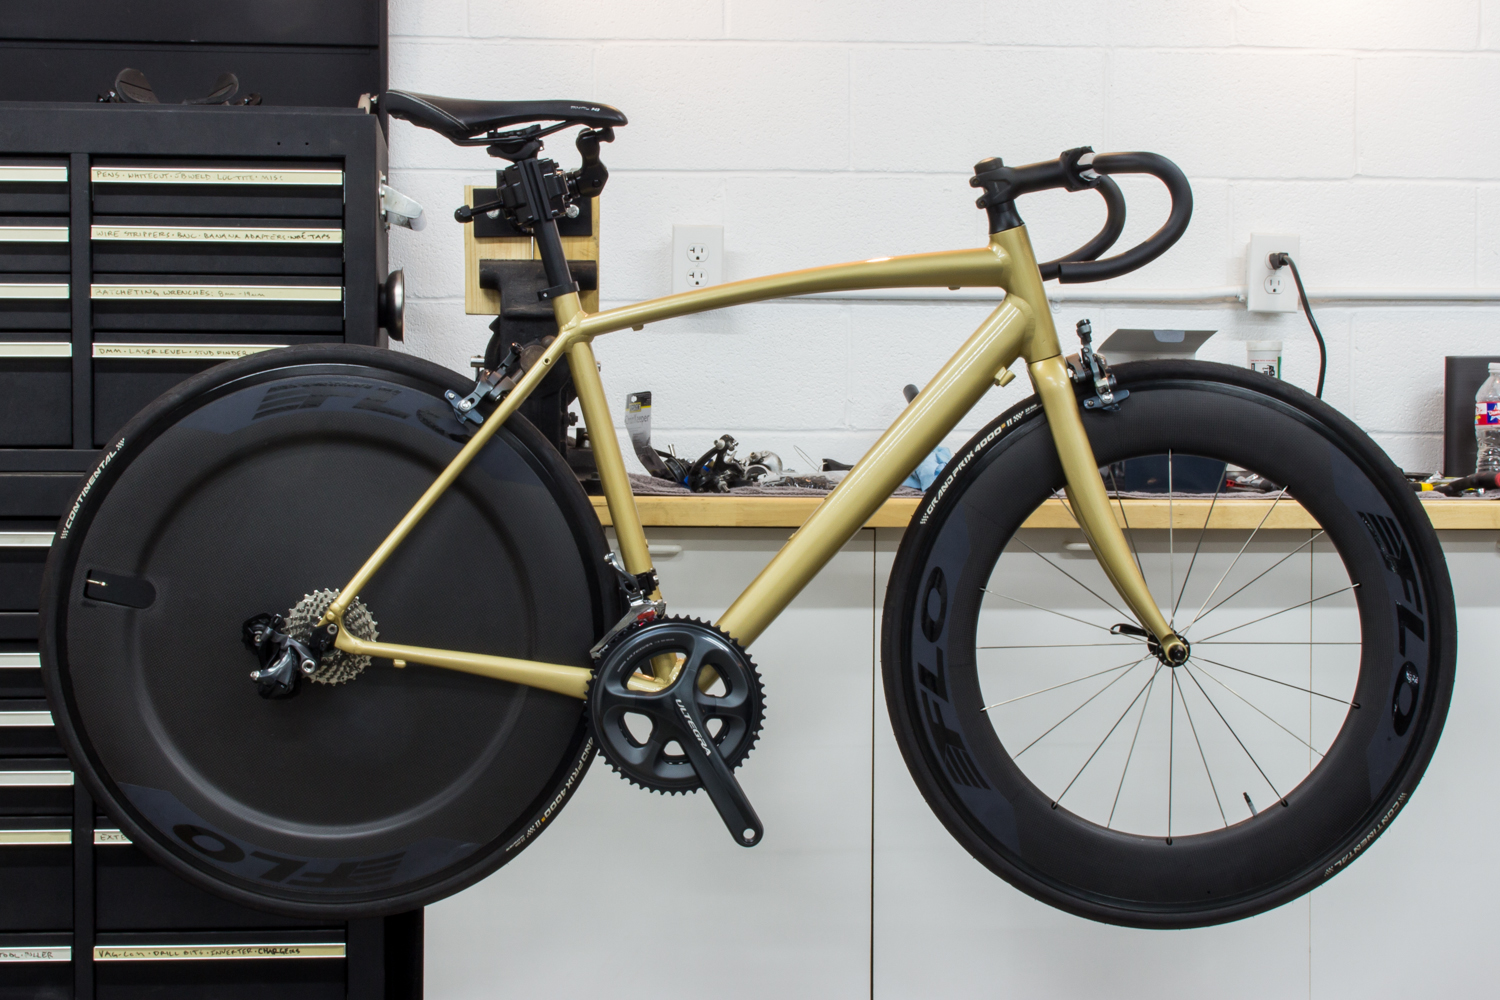
I couldn't resist mounting up my rear disc wheel that I use for triathlons, just to see how it looked. So sweet.

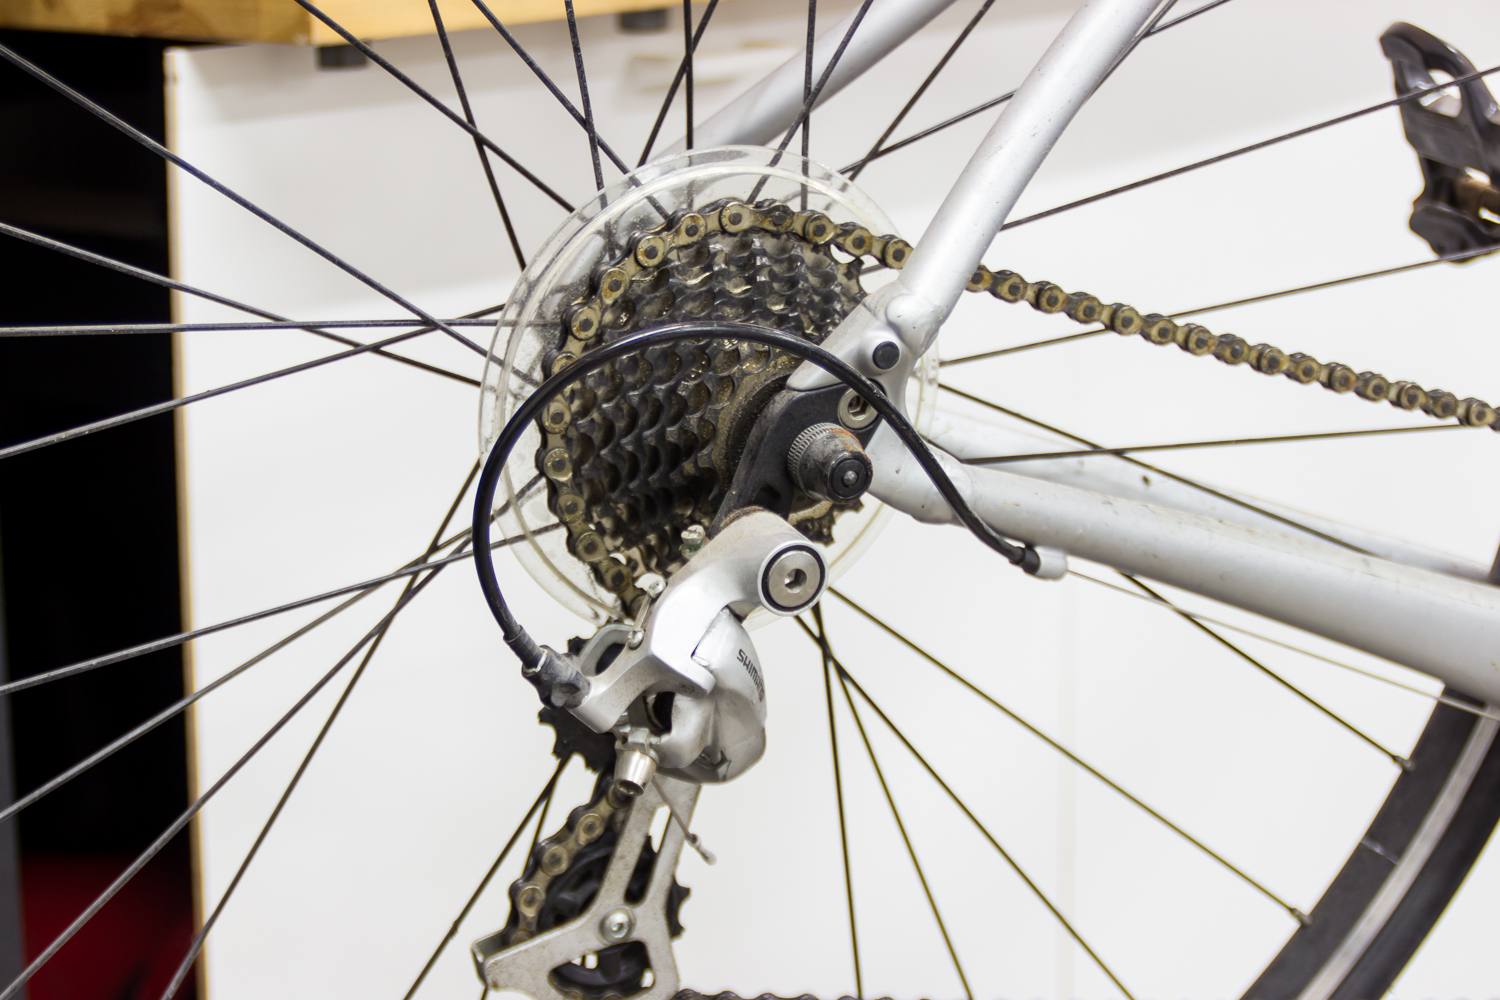
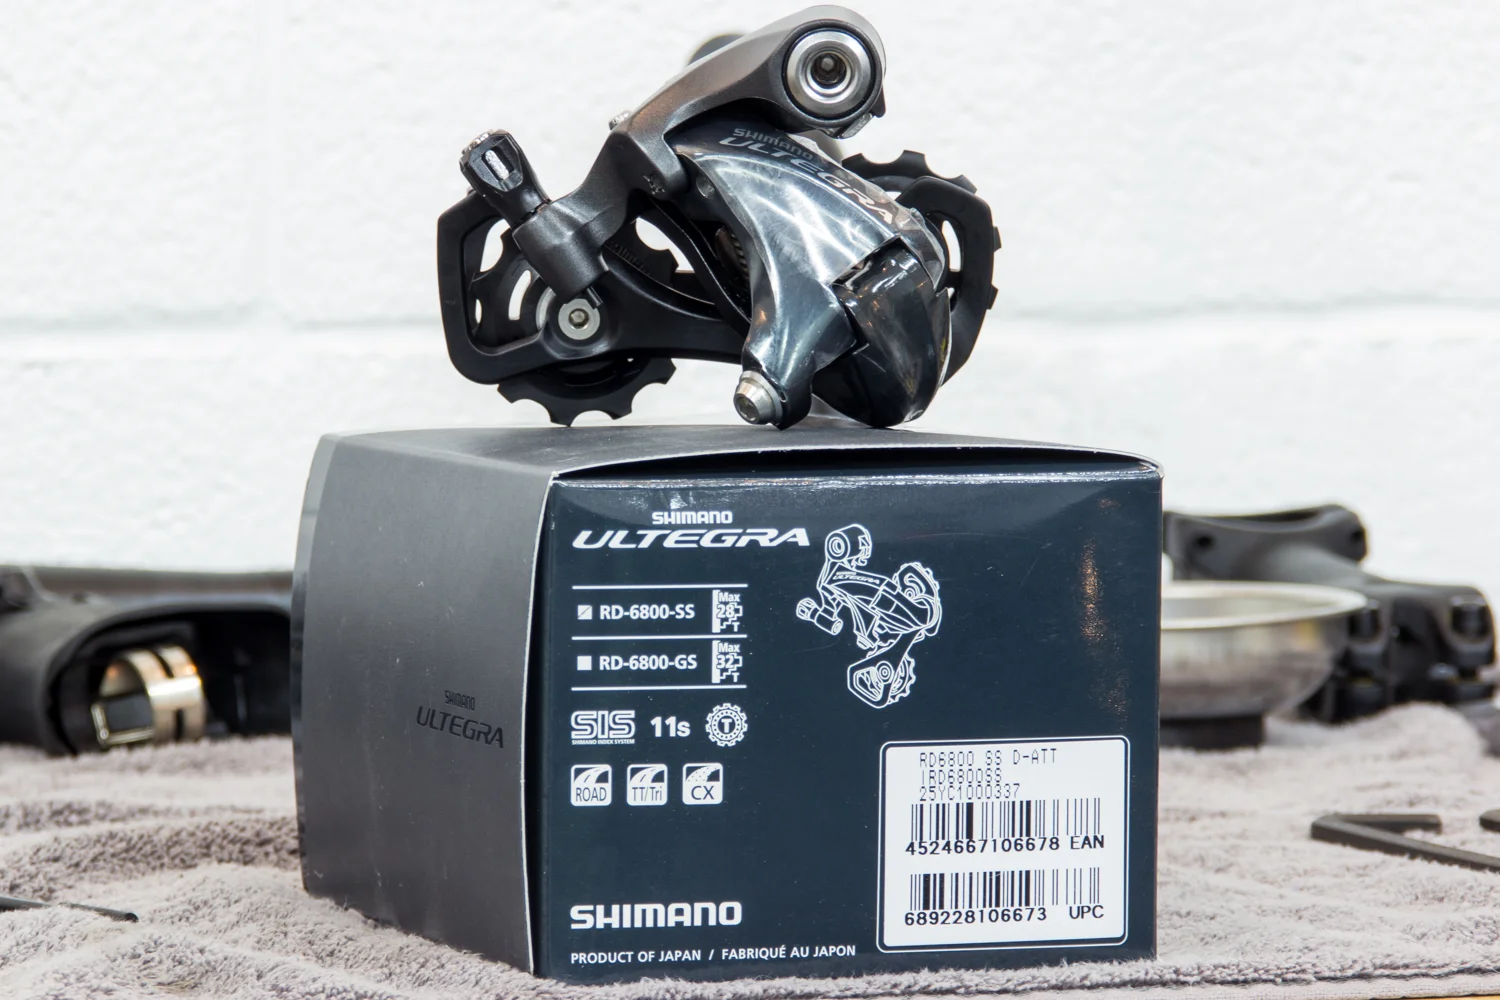
The rear derailleur went on next. I got the short cage (model number: RD-6800-SS)  as I'm only running a 11-28T cassette. The medium-long cage (RD-6800-GS) would be needed if I were running an 11-32T rear cassette. Considering my century rides contain less than 200ft. of total climbing, I don't really need that 32-tooth gear.

Component Old Part Weight (grams) New Part Weight (grams) Notes
Rear Derailleur 274 198 Old = RD-2300, New = RD-6800-SS

Weight savings: 76g. Cumulative Savings: 675g.

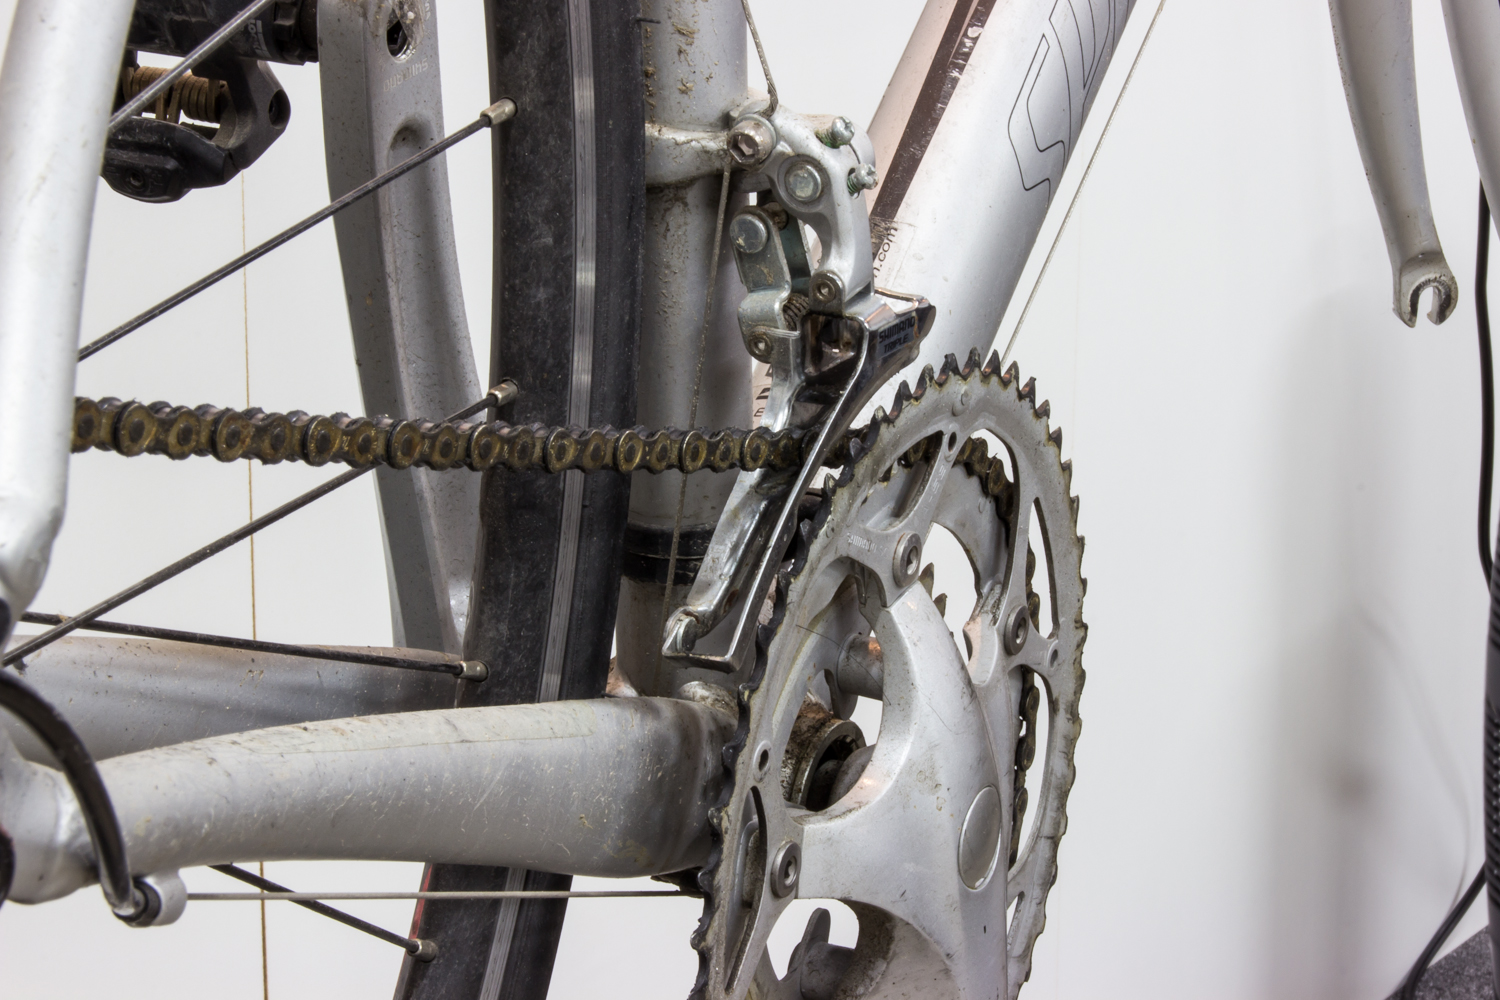
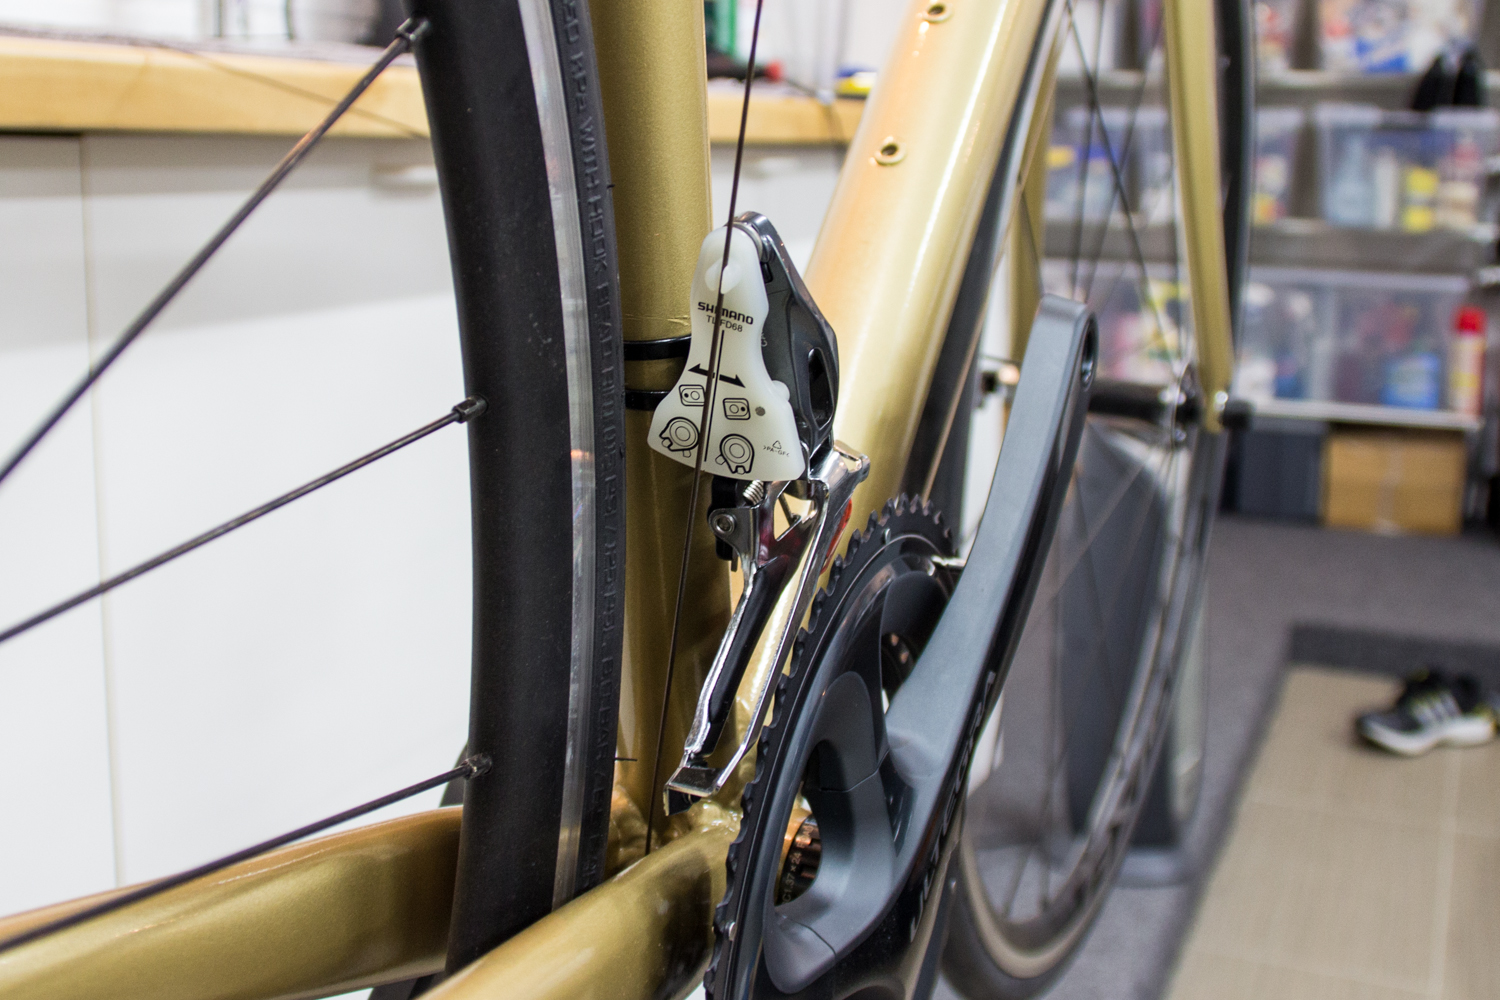
Next up: Front derailleur. I couldn't find any retailer that was stocking a band-on type front derailleur, so I ordered the braze-on version, then threw in an adapter clamp to mount it. A band-on derailleur has a clamp that is part of the front derailleur (for older bikes), while a "braze-on" just has a bolt that goes through a slotted tab that is part of newer bike frames.

Component Old Part Weight (g) New Part Weight (g) Notes
Front derailleur 128 103 Old = FD-2303 w/ chain catcher, New = FD-6800 w/ clamp

Weight savings: 25g. Cumulative Weight Savings: 700g.

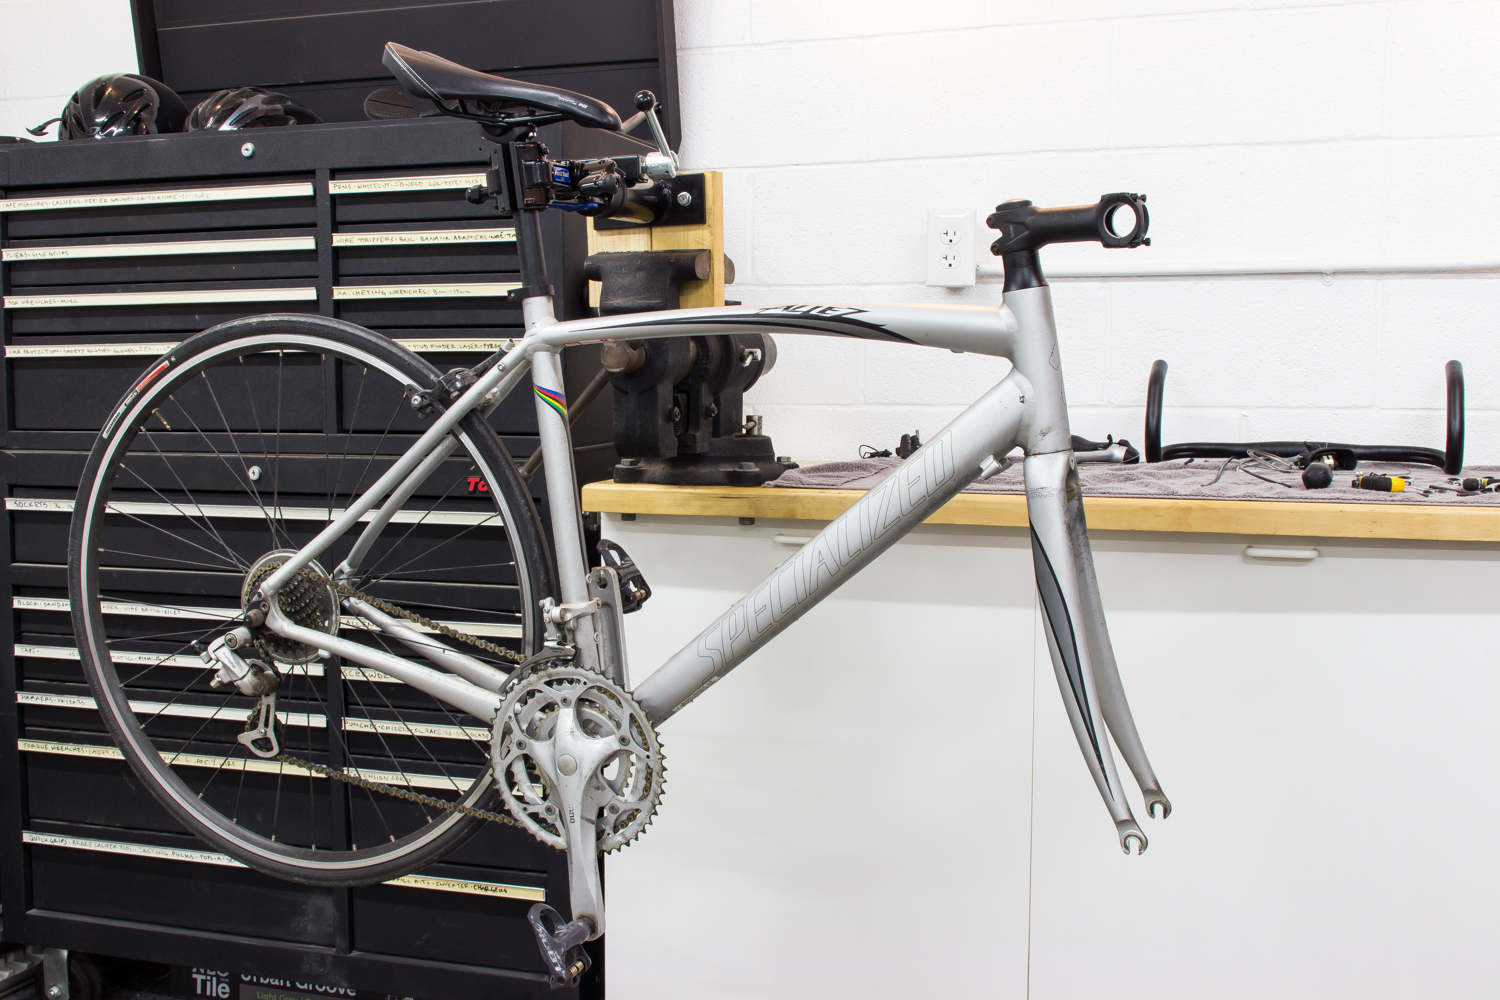
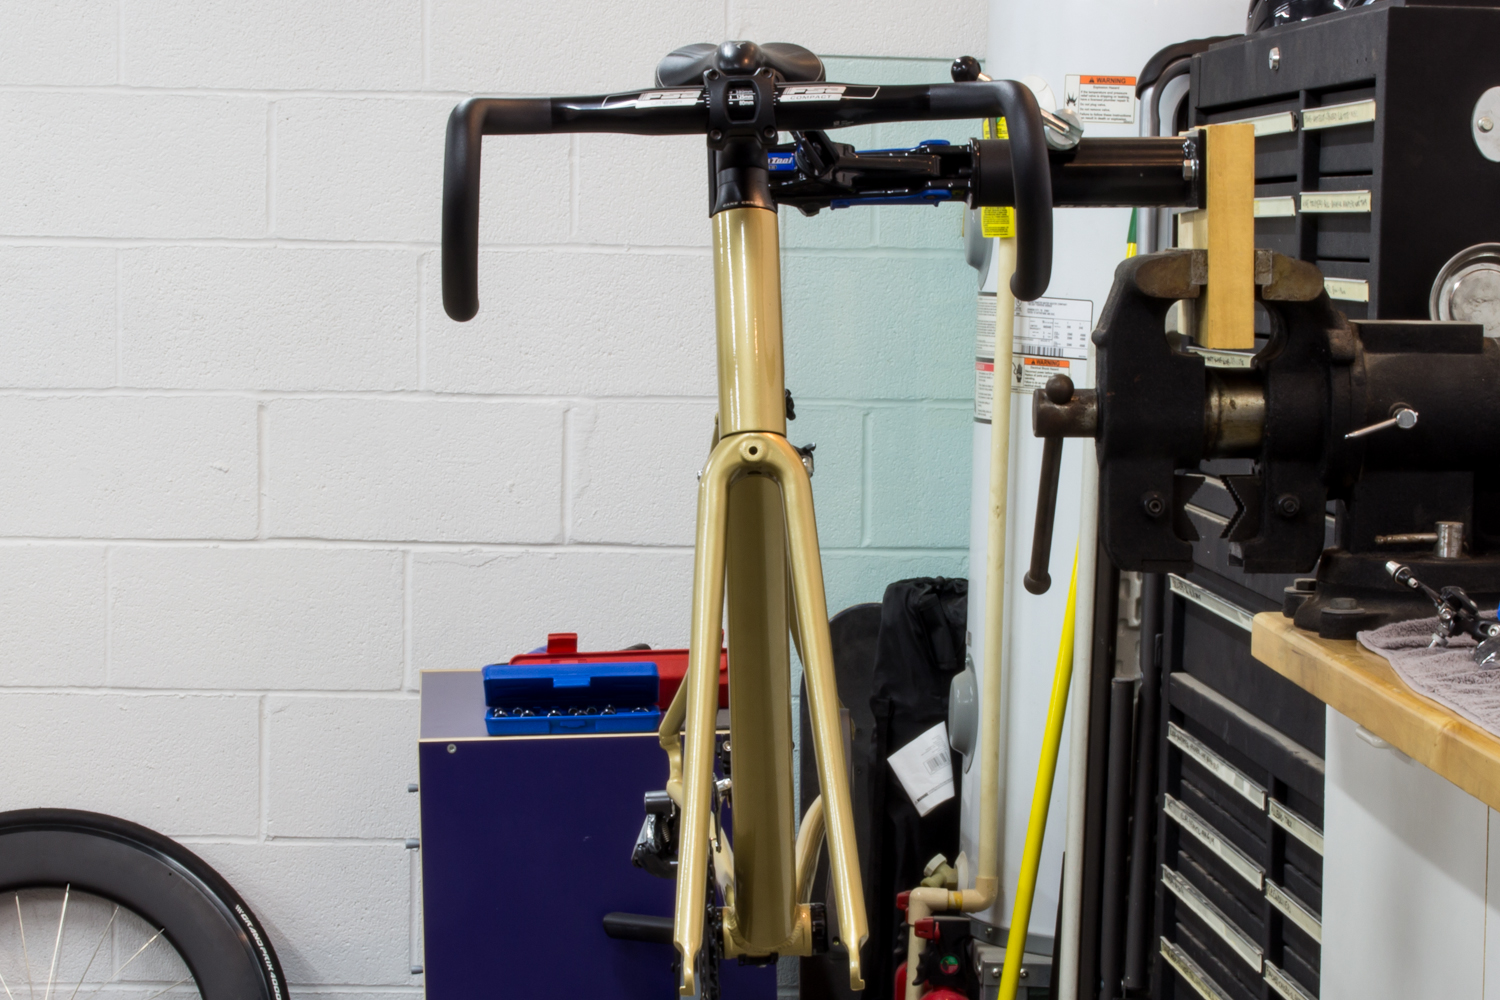
I reinstalled the fork and stem next. It was a little tricky to get the caged-ball-bearings in place, then slide the fork into the right position and tighten the top cap and the stem without something falling out of position. All of these parts are from the original bike, so no weight savings here.

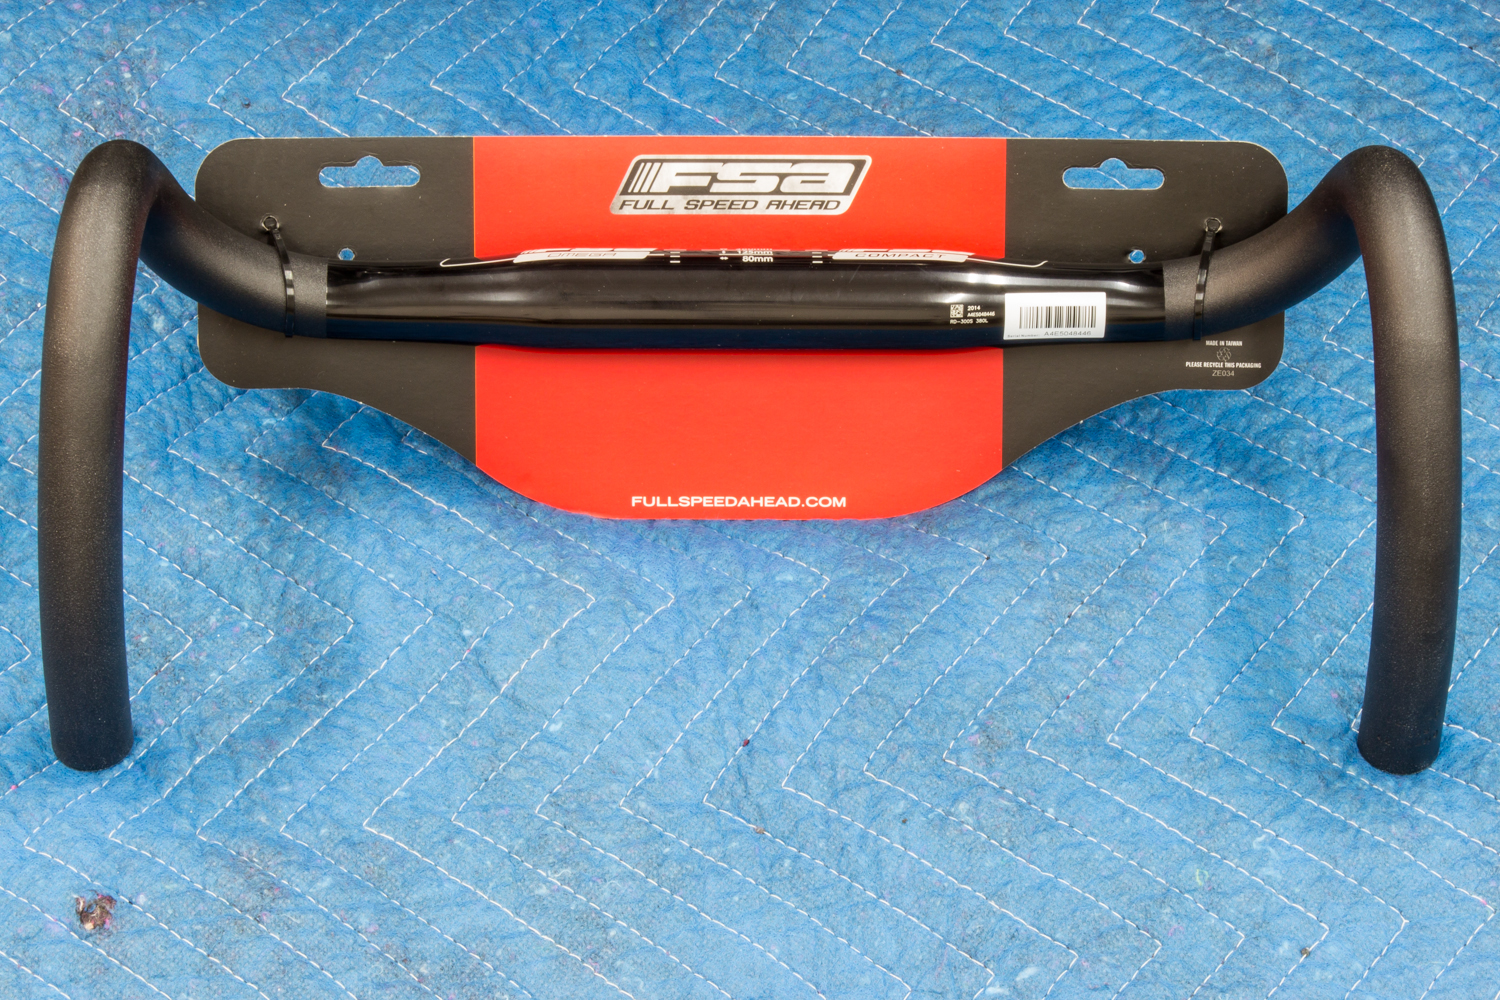
One of the (if not THE) largest contributors to aerodynamic drag is rider position. Part of your position is how far apart the hands and arms are. On the very aerodynamic side of the scale lies the aerobars seen on time trial and triathlon bikes, where the arms are as close together as possible. The other end would be mountain bike bars that are spaced super far apart. 

The original handle bars were 42cm wide at the top. I want to be as aero as possible on my road setup, so I decided to try 38cm wide bars. This will move my hands and arms closer in, and hopefully reduce the parachute effect. The disadvantage will be a lessening of control, as well as possibly comfort. Due to the fact that it might work out horribly, I bought a cheap pair of 38's to try: FSA Omega Compacts to try.

Component Old Part Weight (g) New Part Weight (g) Notes
Handlebars 352 296 Old = Specialized Alloy Comp 42cm, New = FSA Omega Compact 38cm

Weight Savings: 56g. Cumulative weight savings: 756g.

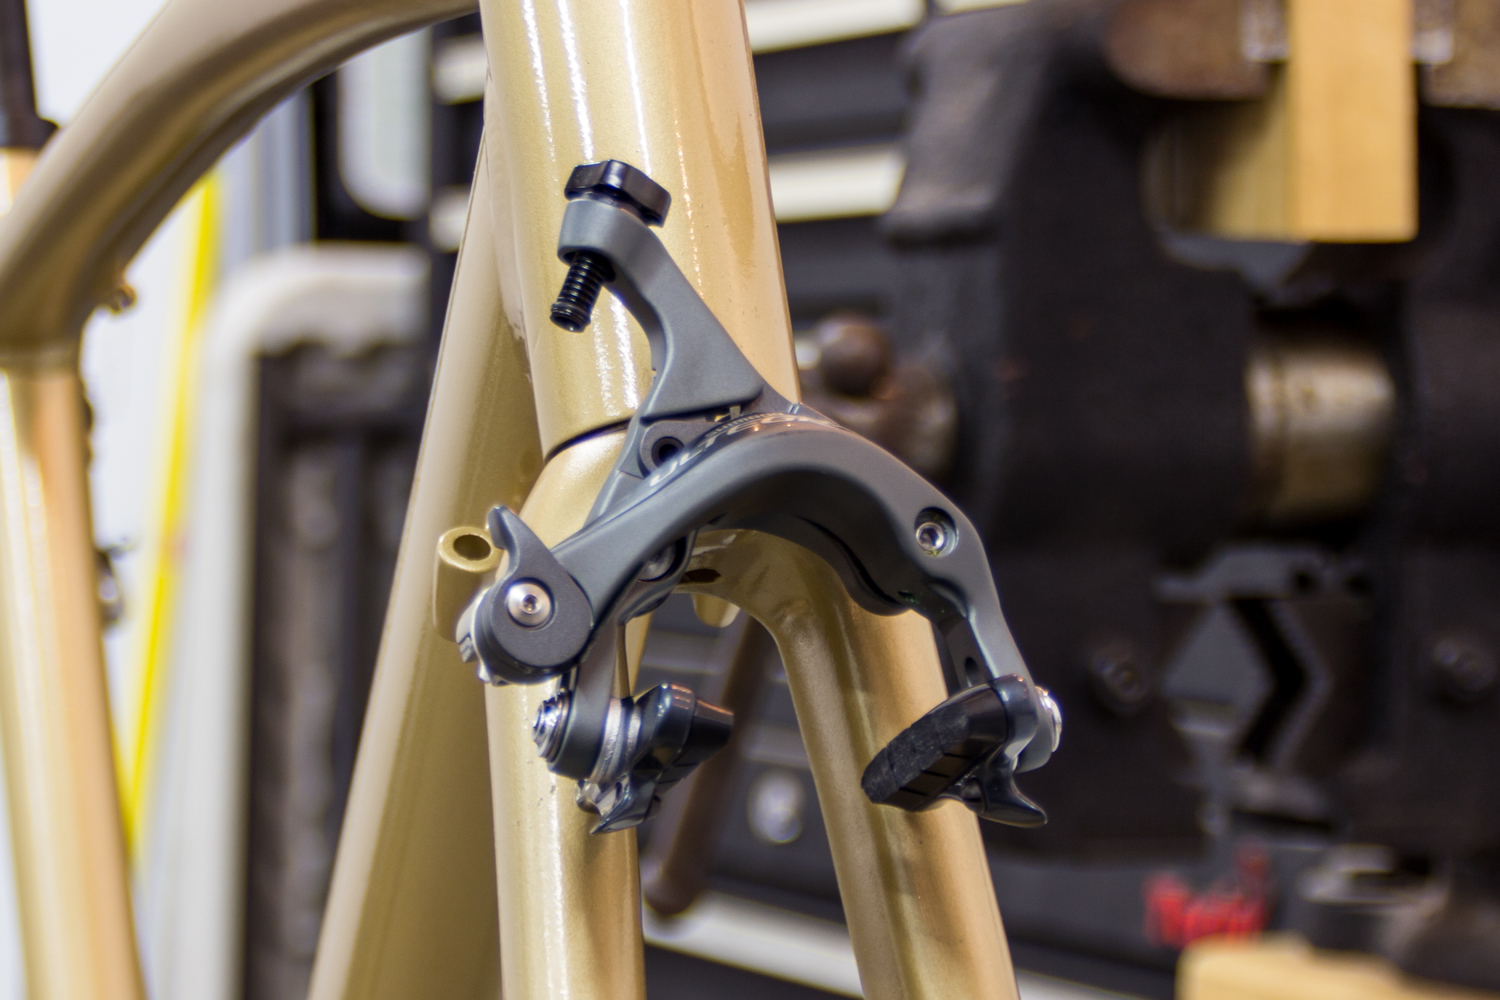
Front brake next. Installed the same as the rear.

Component Old Part Weight (g) New Part Weight (g) Notes
Front Brake 177 172 Old = ?, New = BR-6800

Weight savings: 5g. Cumulative weight savings: 761g.

Again, I couldn't help sticking my tri wheels on to see how it looked. Very track bike.

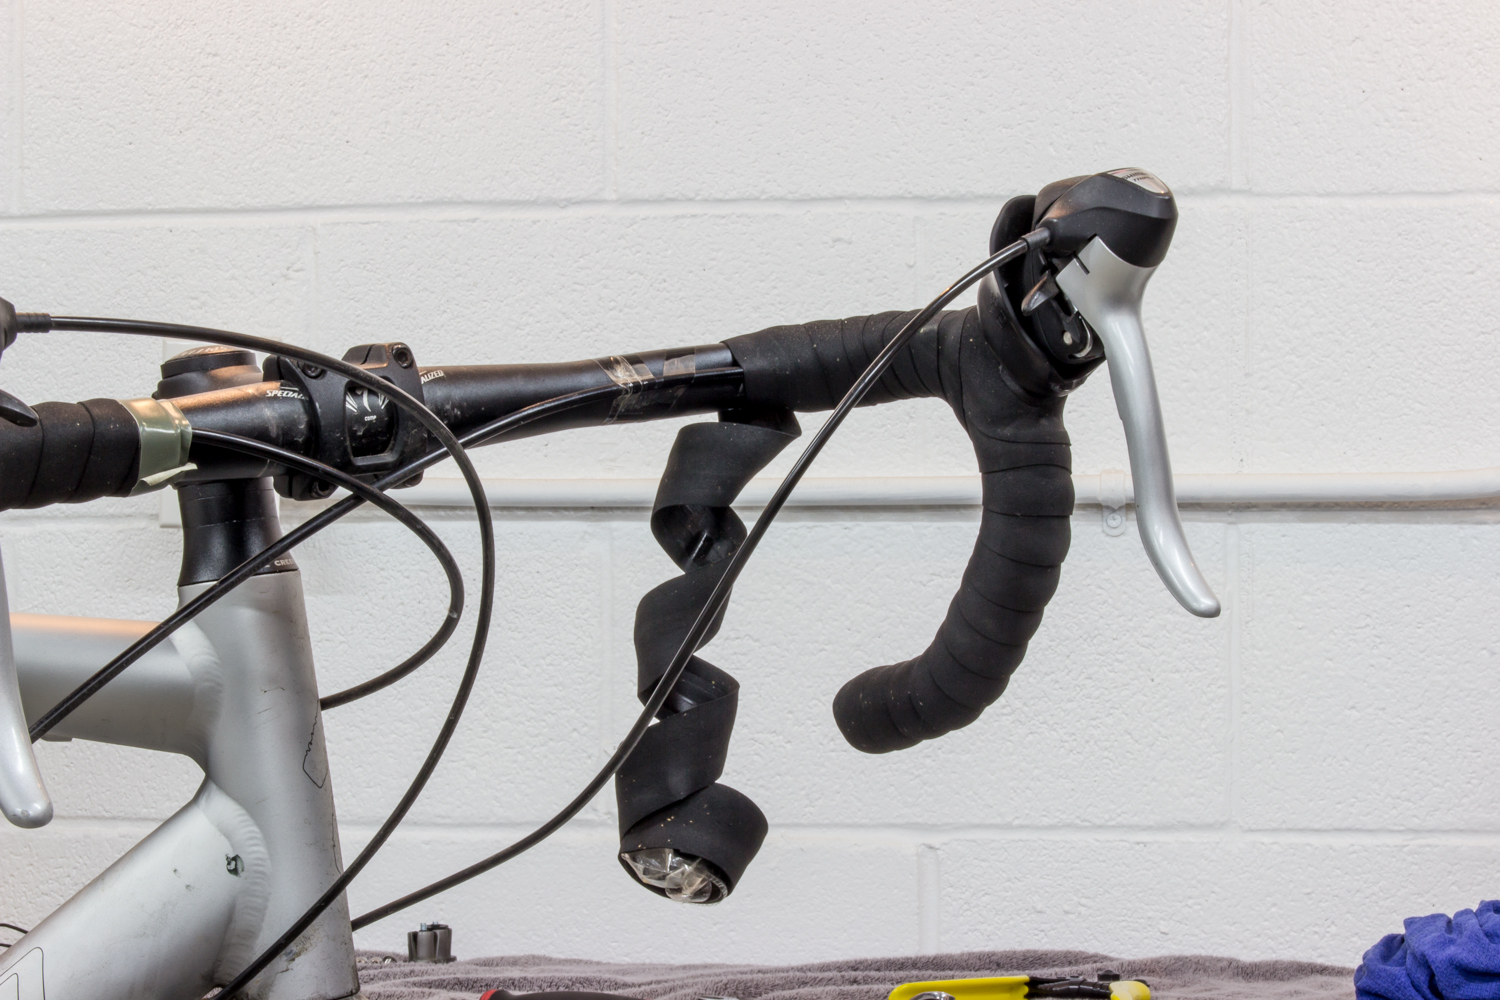
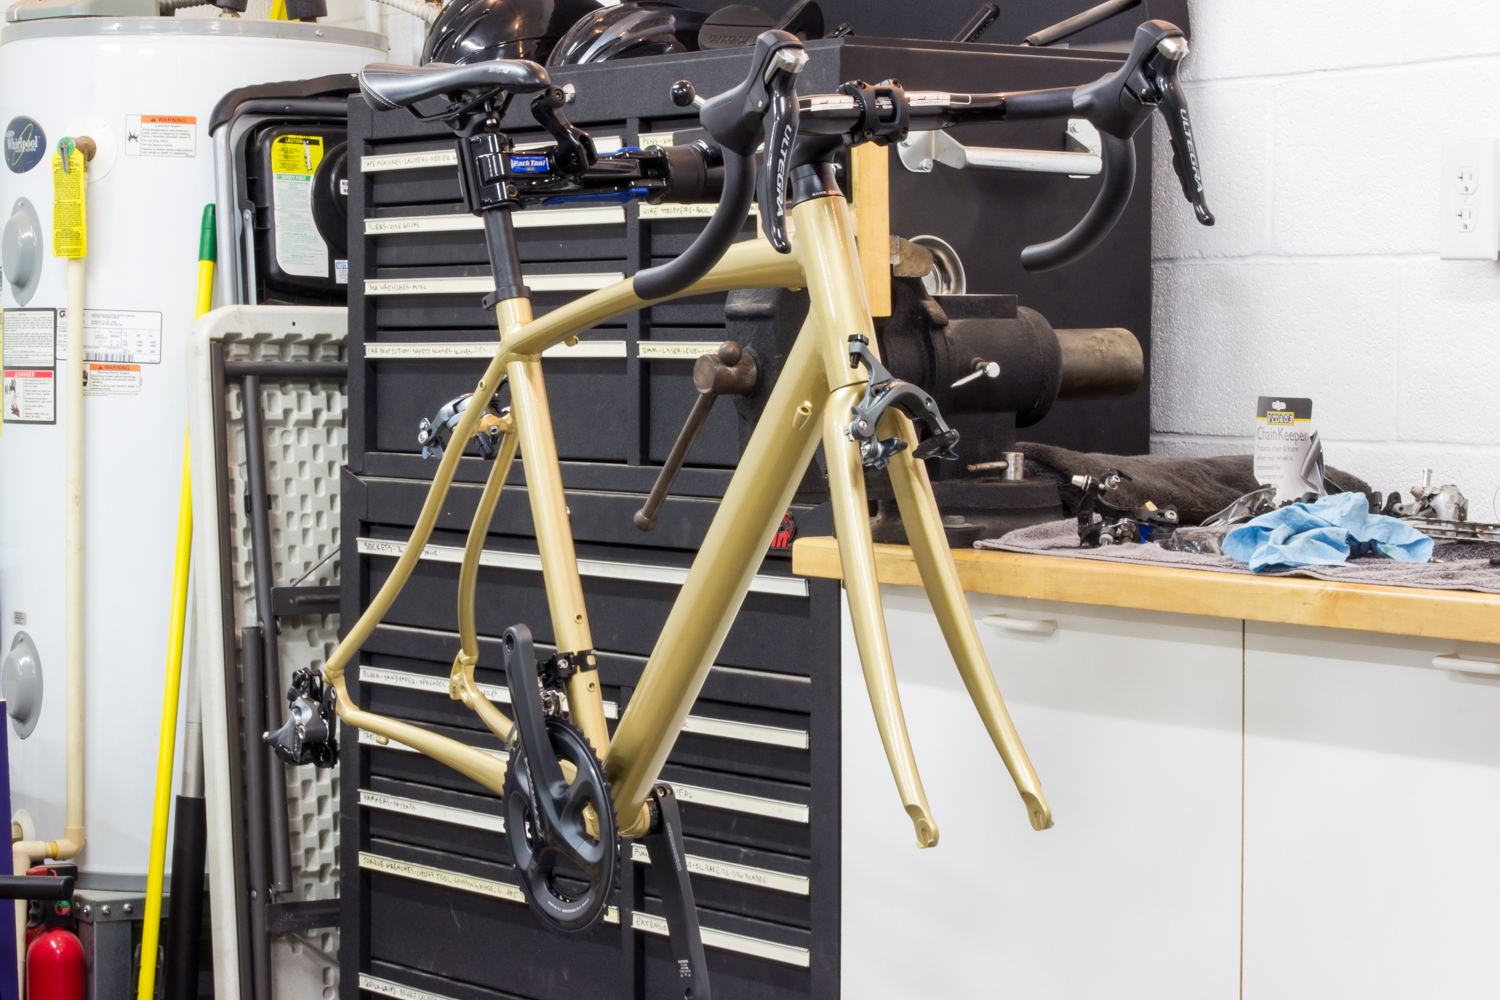
Finally it was time to tackle the brakes and shifters. I was a bit nervous about this, having never cabled a bike before.

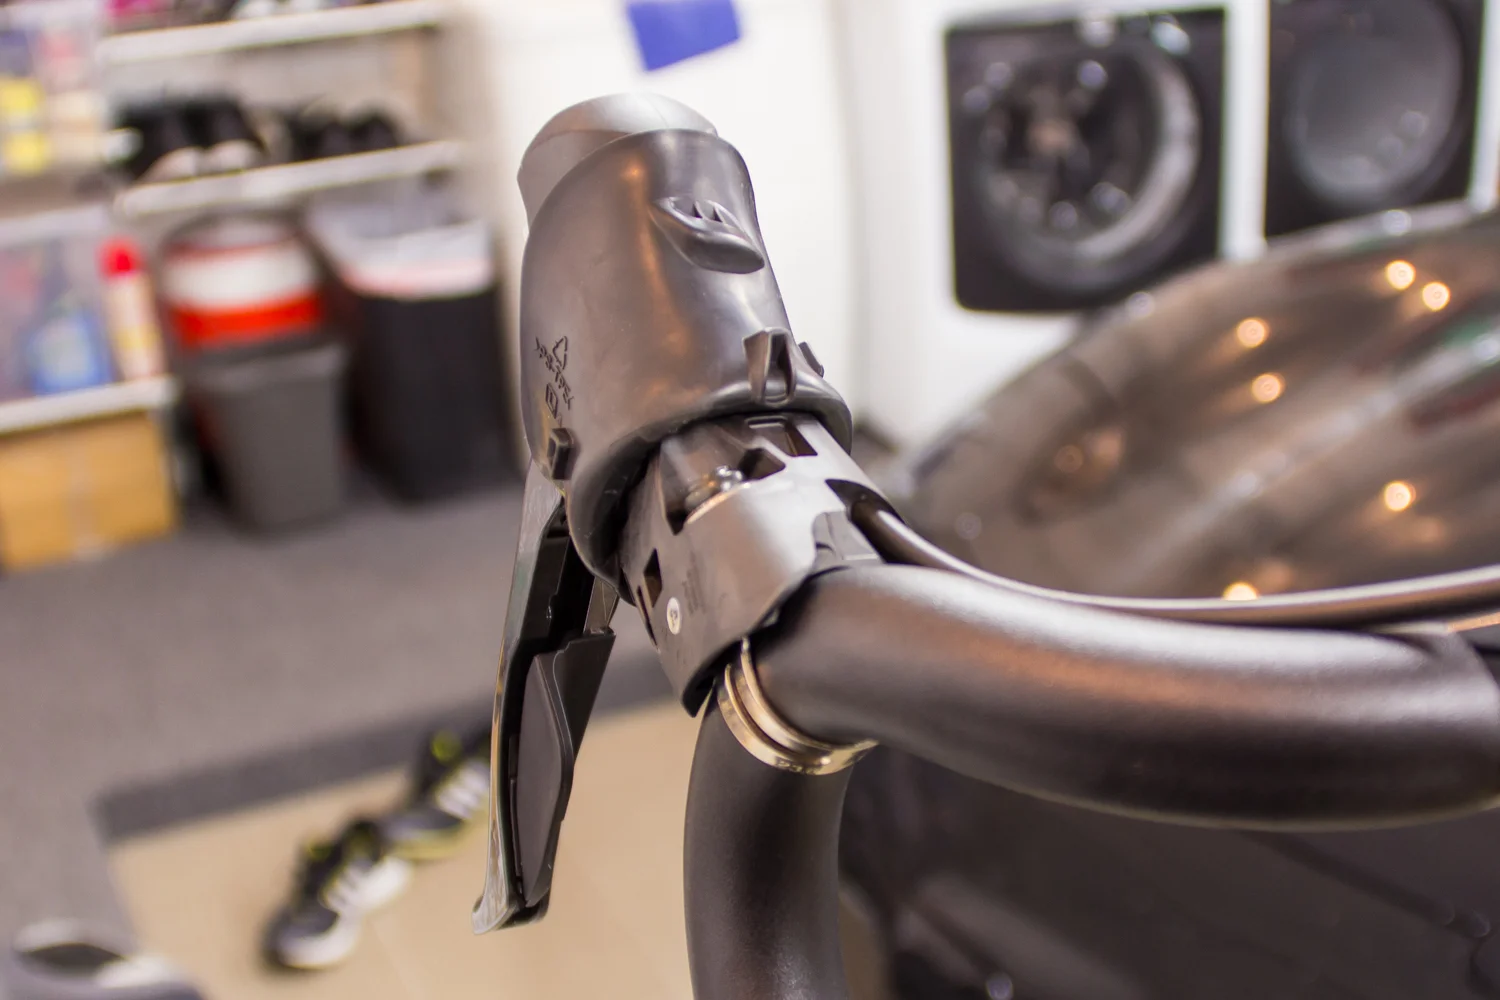
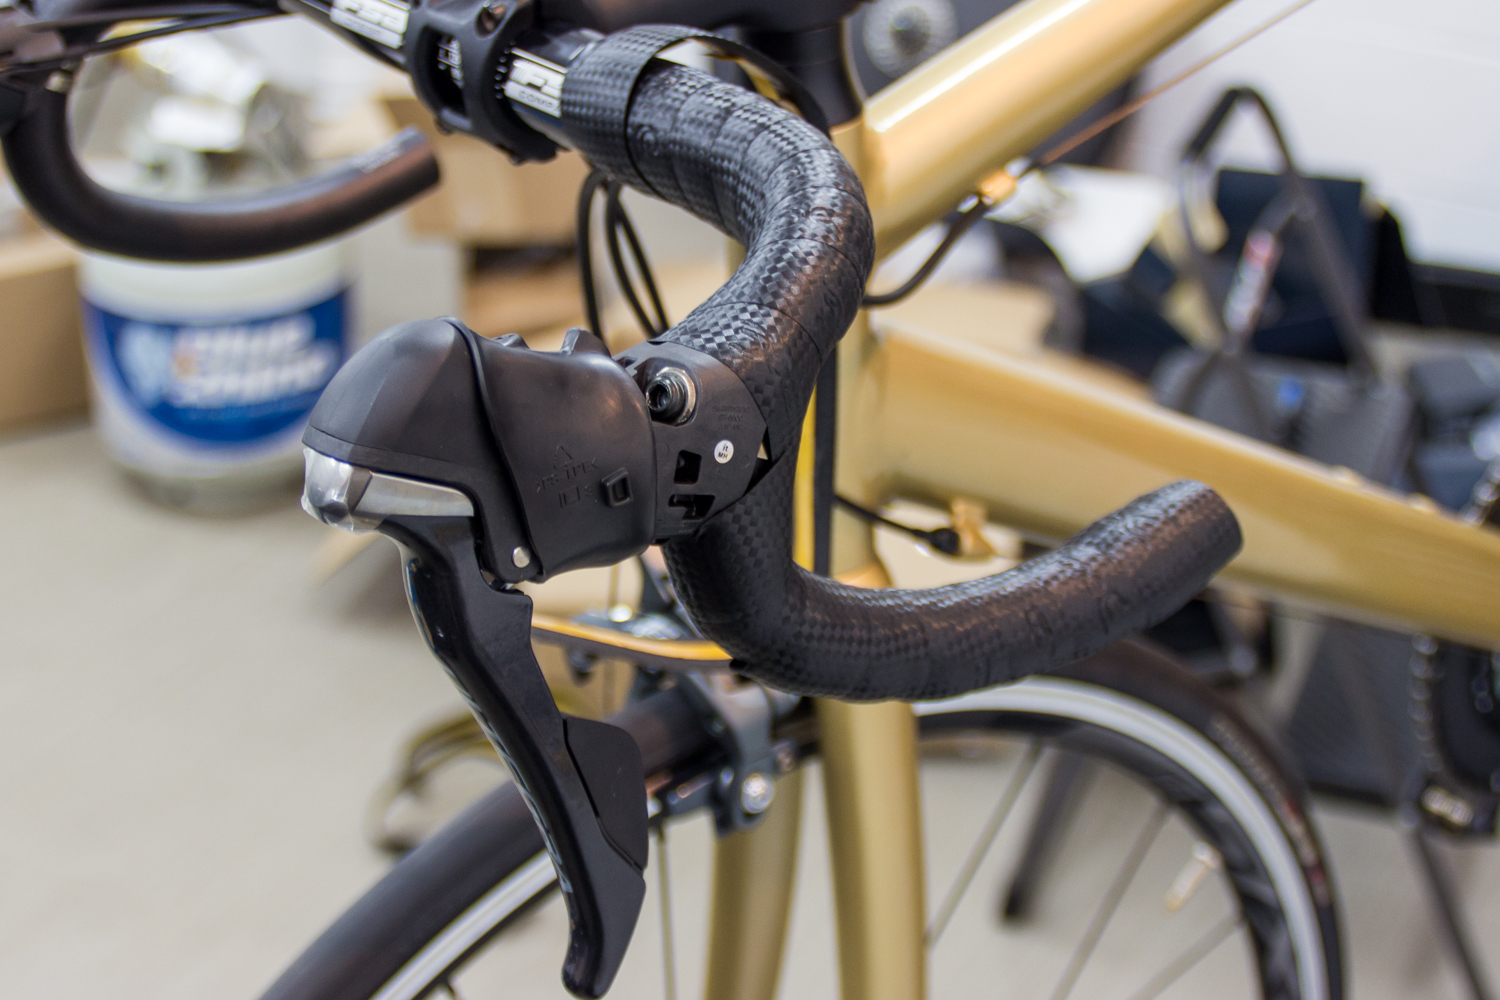
First, I bolted the "brifters" (brake/shifter) or, STI levers, onto the handlebars. They tighten with one bolt that secures the silver band clamps that you see above. I took my best guess at where they should mount on the bar. So far so good.

Component Old Part Weight (g) New Part Weight (g) Notes
(1) STI Lever 221 204 Old = ST-2303, New = ST-6800

Weight savings: 17g each. Cumulative weight savings: 795g.

I found that there were two different thicknesses of cable, as well as two different types of housing that came with the STI set. The thicker cable is for brakes, as seen below. I confirmed all the thicknesses with my trusty dial caliper.

The brake cable snakes through the front, like this.

The housing then slides over it and sits nicely in a pocket in the STI lever.

Kind of tough to see, but the shift cable threads through from the outside.

Then into the housing.

Cables everywhere! I didn't realize the garage was such a mess in the background. How embarrassing.

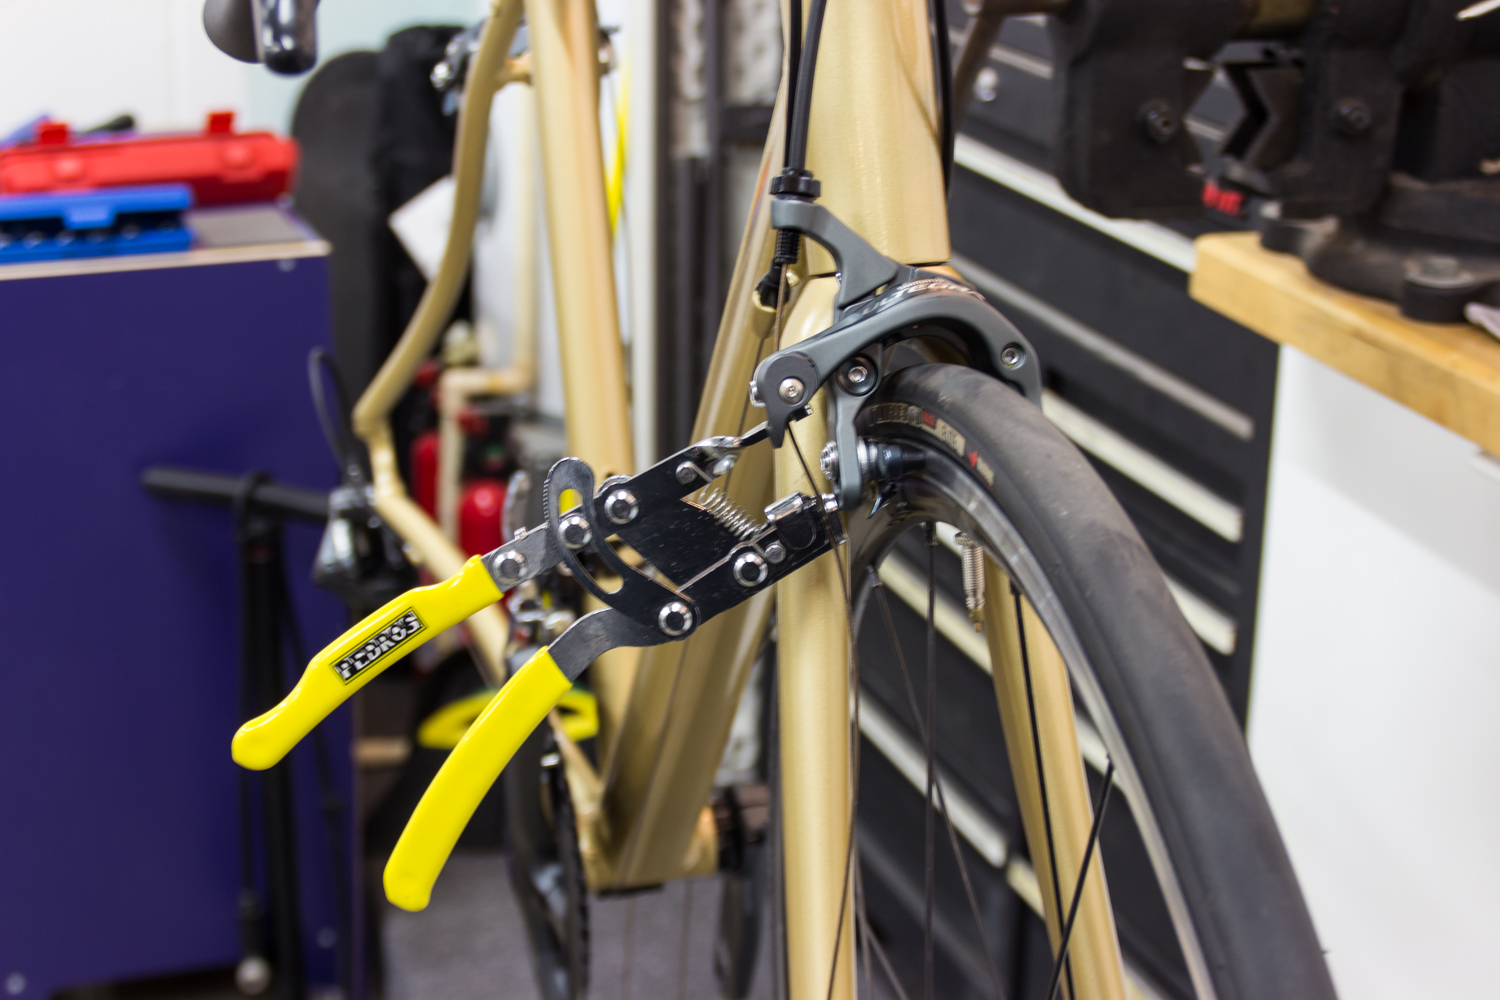
I used a Pedro's Cable Puller to help tension the cables. With external cabling, getting this all done was actually quite a straight forward task.

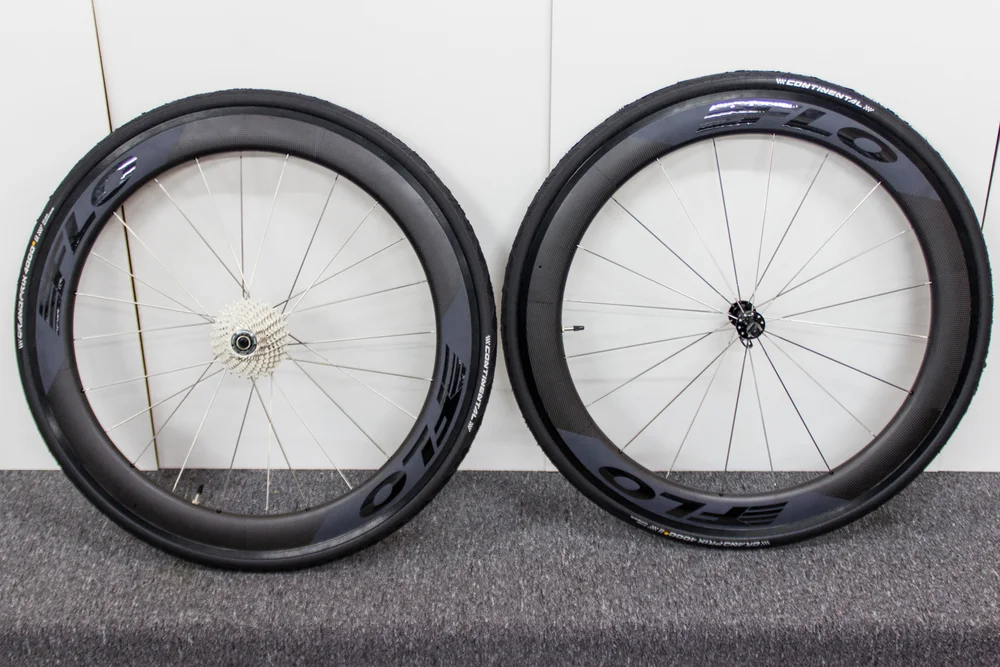
To help align the brakes, I installed the wheels that I'll be using for now. These are actually DT Swiss Axis 2.0's taken off my 2015 Shiv. I plan on getting some Flo 60's in the future, but these will work for now.

Component Old Part Weight (g) New Part Weight (g) Notes
Front Wheel w/ tire 1365 1265 Old = Alexrims S500, New = DT Swiss 2.0
Rear wheel w/ cassette and tire 1972 1839 Old = Alexrims S500 8sp, New = DT Swiss 2.0 11sp

Weight savings: 233g. Cumulative weight savings: 1028g.

Shimano provides this handy tool with the front derailleur to help align the cable for optimum shift performance.

I used the 6800 series chain that came with the groupset. Nothing too fancy (for now).

The last thing to do was wrap the handlebars. I used a Deda tape that I thought looked sweet.

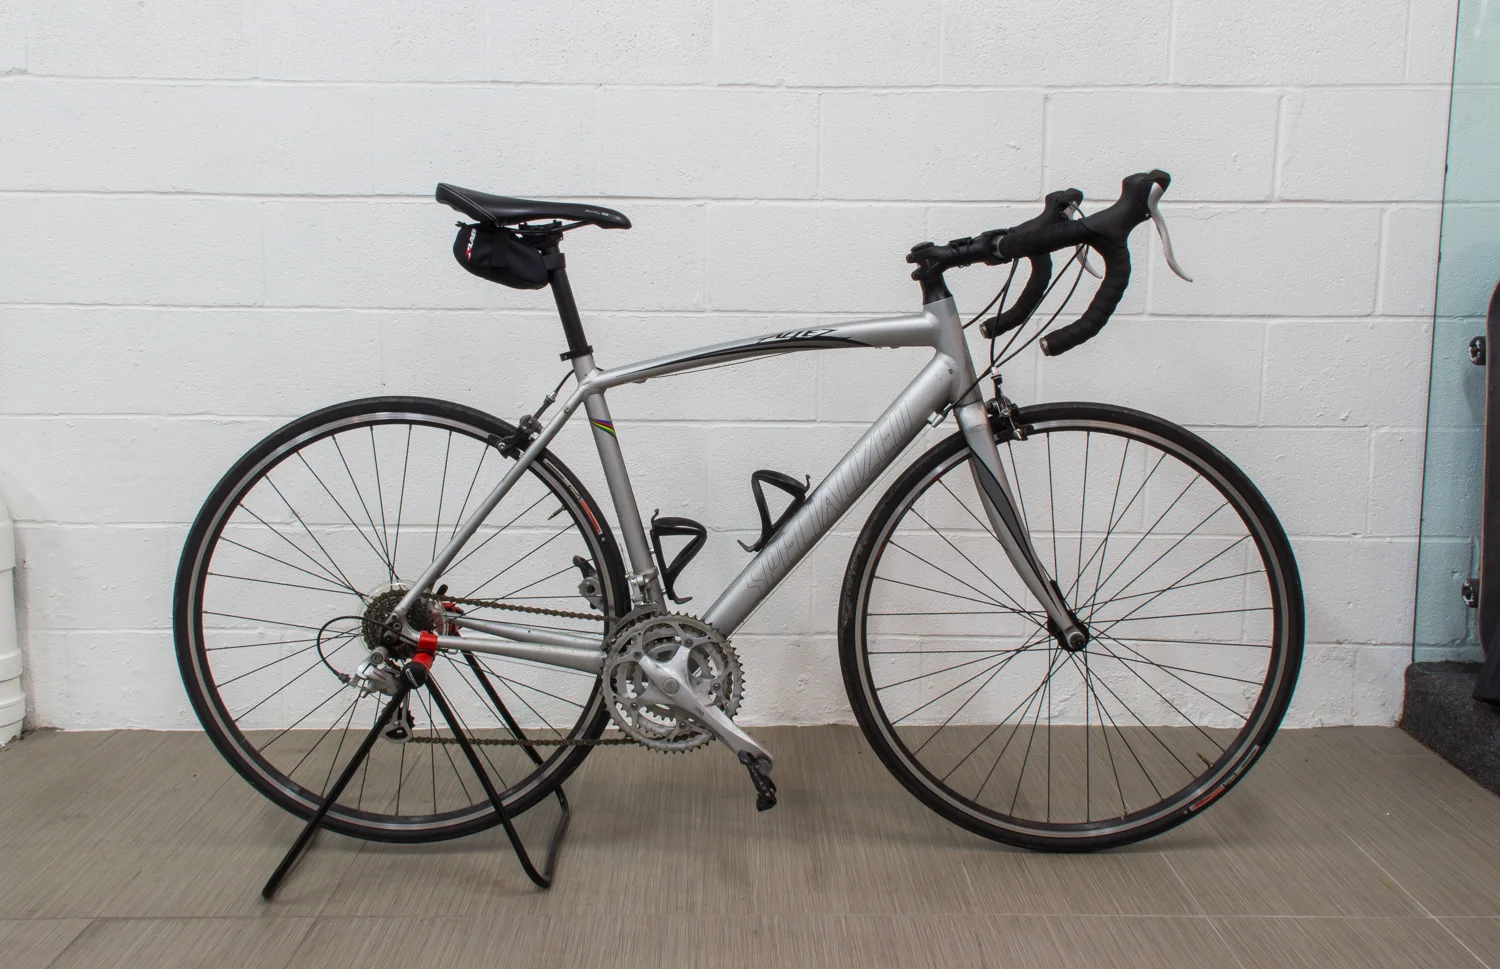
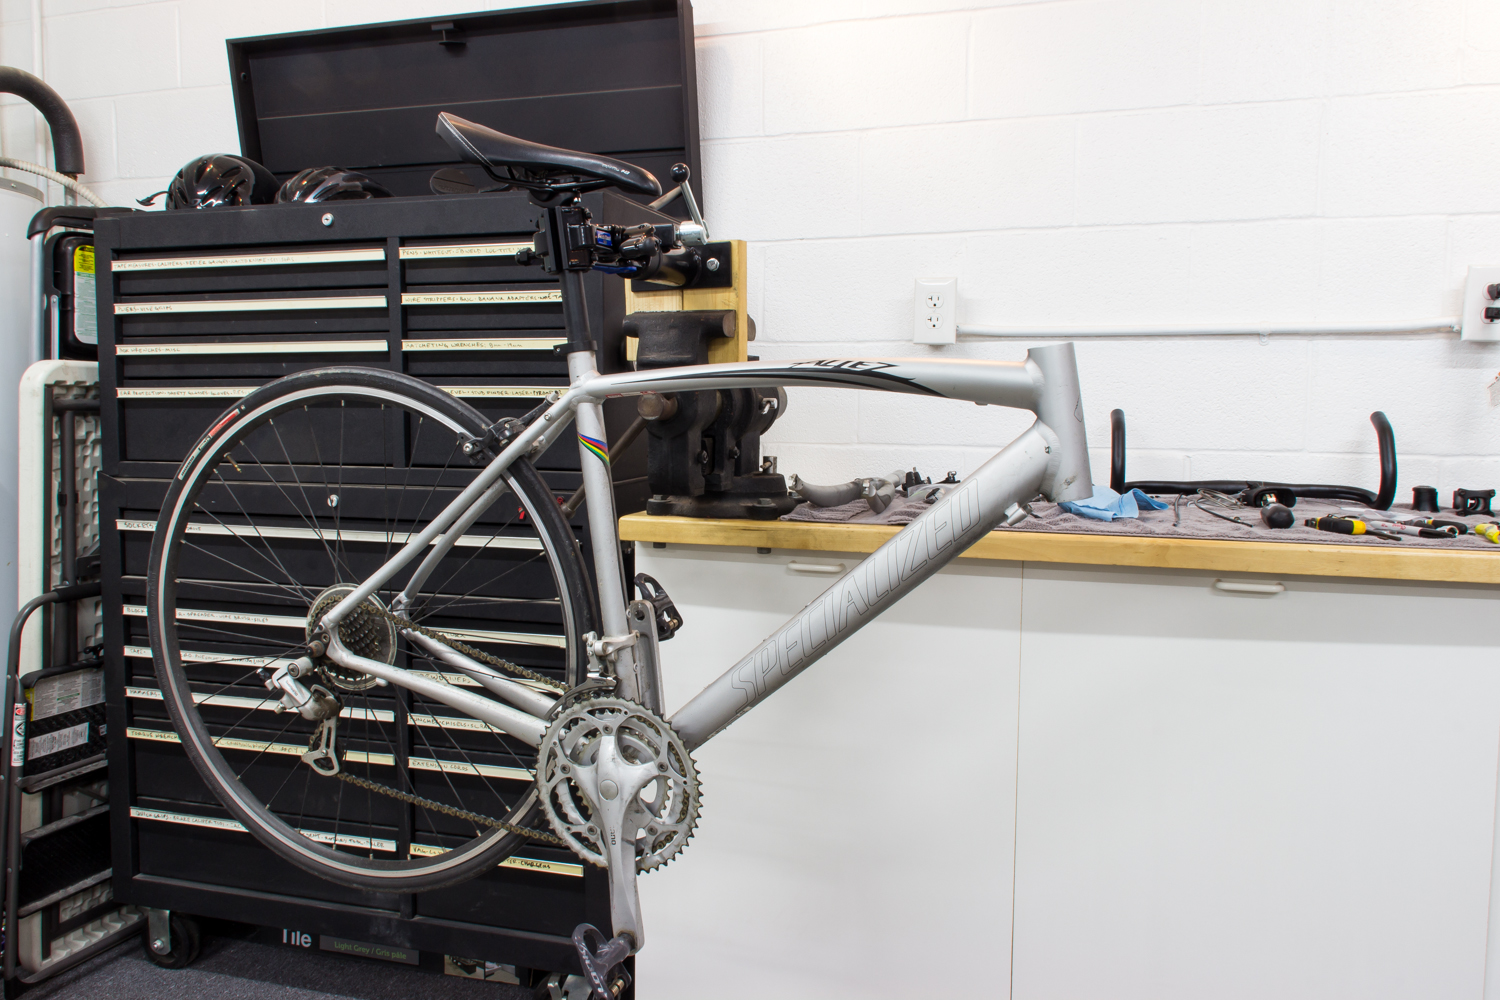
Done! I'm really happy with how it came out. It looks awesome and is so much nicer to ride, thanks to the new groupset. The next step is to get some aero wheels that suit the flatland riding found in my area. It's not a light bike, but I haven't put any effort or money into light components, so not too surprising there. I just took a guess at a position for the spacers, drop bars, and seat; I'll fine tune as I ride.

Component Old Part Weight (g) New Part Weight (g) Notes
Complete Bike 10,387 9,344 Old = 22.9 lbs, New = 20.6 lbs

1 Comment

Road Bike Refresh Part 2: Paint

Comment

Road Bike Refresh Part 2: Paint

Previously, in Part 1 of this series, I chronicled a bit of backstory and the subsequent disassembly of my 2010 Specialized Allez. 

My next step was a color change. I wanted a new look for the rebuilt bike, hoping for something unique that I loved. I considered going all black, but my Shiv Tri bike already has that look, so I ruled that out. I've been on a black and gold kick lately, how about trying that out? It would certainly be new and unique, but would I love it?

I ran the idea across a few friends and they almost universally rejected the idea as completely horrible. Controversy only adds to intrigue, so I made an executive decision:

Gold it is!

Not to mention, if I painted it and absolutely hated it, I could change it.

I commenced prep for the gilding. The first step was to thoroughly clean the frame of dirt, mud, oil, and anything else on the paint surface. I used the tried-and-true Non-chlorinated Brakleen found at any auto parts store and some lint-free surgical rags (found in any operating room).

Step 2 was to scuff the existing finish so the new paint would stick well. Nothing fancy used here, just a scotch brite pad, then another wipe-down with brakleen.

With the prep finished, it was time to move to the paint booth- i.e. the other side of the garage. The picture below explains the setup adequately. Sorry for the blurry photo, the frame didn't want to stay perfectly still due to the twisted-bungee-cord suspension method. Small wonder.

Selecting the gold paint was pretty fun. I went to Home Depot's spray paint section and looked for the GOLD-est paint I could find. I came up with the Rustoleum Specialty Metallic Gold (with actual metal!). I've always wanted to try this stuff, but never had anything to paint, so I was really excited to see how it looked.

To protect the color coat, I picked up some clear enamel in high gloss to spray over the gold.

Behold- A Gold Bike!

I was ecstatic with the look; couldn't have been happier. The last step was to add the clear coat on top, then it would be ready to reassemble with my new parts.

However, as I was reading the back of the gold paint can (to see how long to wait before adding clear coat), I read the following:

DO NOT ADD CLEAR COAT

Wait, what? Why not? I'd never encountered this on any Rustoleum spray paint before, and I've used the clear coat successfully over many colors, many times. What would happen if I did use it? There was no explanation on the can, and when I researched it online, it was pretty definitive from Rustoleum's website, as well as user-posted experiences, NOT to add a clear coat on top of this particular gold paint. There weren't any explanations on what happened to the finish, other than it would be "ruined".

Unsatisfied, I emailed Rustoleum's customer support to ask why. Their timely response stated that as soon as you spray clear coat over the specialty metallics, the metal powder in the paint actually starts flowing around in the wet clear coat and dries in a non-uniform, color-blotchy mess.

I was sad. They recommended a couple other gold products, among them, the Bright Coat Metallic in Gold. I just wasn't convinced, and I was so happy with the color, I decided to test it for myself. I taped off the section where the rear derailleur hanger mounts (which would be hidden, so pretty low risk), and sprayed some clear coat as lightly as possible, to reduce the chance of the metallic finish flowing around.

I just couldn't get a good picture of the results, but suffice to say it looked terrible. The gold immediately became non-uniform as the "gold powder" flowed around inside the clear coat. Back to the drawing board then.

But first, one last picture of the super-gold hi-bling finish:

Here's how the super-gold finish looked up close. It laid down really nicely:

I went back to Home Depot and picked up a can of the more traditional Bright Coat - Gold that I linked before, and re-set up the paint booth. I briefly considered not having a clear coat and leaving this glorious gold as-is, but a simple finger-swipe along the frame left gold on my finger, so there was just no way it would hold up on something like a bike frame that would see multiple car loadings and inclement weather. Adios, glorious gold.

 After testing out the new gold on the cardboard boxes, I could tell that it wouldn't be nearly as gold. Bummer.

And it wasn't. Here's the new gold, with the clear coat added on top. My wife told me the new gold looked "classier". Not what I wanted, but I'll take it.

It's closer to champagne than gold, but I still liked it. If I hadn't seen the previous gold, I would have been even happier, so definitely not a total loss here. The clear coat on top added a really nice finish as well. The pictures below are after the frame was completely dry; the clear is nice and shiny.

Here's the frame completely stripped down, ready for weighing and rebuilding. I'm excited to see how it looks with the black/gray parts that I have to go on!

Check out the rebuild!

Comment

Road Bike Refresh Part 1: Disassembly

1 Comment

Road Bike Refresh Part 1: Disassembly

Way back in 2011, a friend at work tempted me into signing up for a local spring triathlon. At the time, I hadn't done any serious swimming, biking, or running, but it sounded fun. The other issue I had was not owning a road bike. The idea of completing the 15 mile bike ride on a hybrid (which I did own) was very unappealing: it would be inefficient and slow. Unable to stomach the idea of handicapping myself in a race against a colleague, I decided to buy my very first road bike.

Although I know now I could have realized the best value by buying a used bike, I didn't know anything about bikes at the time. Therefore, I did what most people do and went into my local bike shop, Bike Barn, during one of their annual sales. I explained my situation, additionally expressing that I wanted to spend as little money as possible, and I was soon on my way with the lowest spec 2010 Specialized Allez for under $500.

I rode the bike for about a month, did a couple group rides, a couple triathlons, and within a few months, stopped all of it entirely to do car racing, boating, and all manner of other things which you can read about in many places elsewhere on the blog here.

Then, sometime in June 2014, another colleague at a new company for whom I work, invited me to do a duathlon (run, bike, run) with him and his neighbor. I was transitioning out of the expensive boating and racing hobbies and it seemed like a fun idea, so I dusted off the old Allez and my running shoes.

Again, I had a good time, so I signed up for a couple triathlons and started riding with the Space City Cycling Club out of Clear Lake, near Houston, TX. After completing the 2 triathlons, I continued to get more serious and bought a fancy triathlon bike. While it was great for time trial type efforts, it wasn't good for group riding. Riding in a paceline while positioned in the aerobars is not only dangerous (your hands aren't near the brakes, which is undesirable while riding 20+mph in a close line of cyclists), but usually strictly against club riding rules, so I continued to ride the old Allez when I went road cycling with the club.

After 6 months of riding decent mileage on a weekly basis, I started to consider purchasing a new road bike. Then, in early January, the group I rode with did an impromptu century (100 miles) ride, for which I was not prepared. Aside from the fact that I was in too poor of physical shape to enjoy such a ride, the old Allez wasn't performing very well. I couldn't get the shifting tuned nicely, the brakes weren't stopping very well, and the heavy, aerodynamically inefficient wheels were not helping. It was bike shopping time.

I consulted with fellow riders in my club, cyclist friends strewn about the country, local bike shops, and of course, the entire internet. I decided that I wanted a Specialized Venge. The only problem with the plan: I was looking at over a $5,000 investment (note: there are cheaper trim levels of Venge, but not with the groupset and wheels I liked). Yikes.

I scoured the depths of my consumerist soul to justify such a purchase, but I just wasn't able. Back to the drawing board.

Having test-ridden a number of bikes during this search, I found that actually, I didn't mind the frame of my Allez. Perhaps a good solution would be to upgrade the frame with all new parts, and in case I wanted a new frame later, they could all be moved over to said nicer, aero carbon frame (like a Venge...). And like that, the plan was in place. I chose and ordered my parts, and made the executive decision to do the entire disassembly and rebuild myself, with a fresh coat of paint in between, to freshen up the look.

The following is an account of the process, in multiple parts. The first part here is the disassembly, with paint and rebuild to follow. I've included component weights where I deemed appropriate.

It's said that any job can be done with the right tools, so I attempted to set myself up for success with a Park Tools PRS-4W mount for the process:

And here's the before image, all chucked up in the vise mount:

Component Weight (grams) Notes
Complete Bike - Before 10,387 22.9 lbs. Full saddle bag, 2 bottle mounts, Garmin mount

Front brake released, and wheel off:

Component Weight (grams) Notes
Front Wheel 1,365 AlexRims S500 with 700C x 23 Specialized Mondo Tire

As I've become more and more serious about cycling, I've realized that keeping one's bike clean is a crucial part of its proper functioning and maintenance. The before pictures here show the bike before I realized this. So it's shamefully dirty. I've earned any derision volleyed my way.

Here's an example of some learning I did the hard way:

As most anyone who's worked on a bike knows, and I know now, the brakes can be removed in one piece by removing the single bolt from the rear of the fork. I didn't see this until much later, so I completely disassembled the brakes from the front in order to remove them. I don't recommend this at all.

Component Weight (grams) Notes
Front Brake 178 I assume Shimano Sora, but no label = not sure. Worn pads included.

Even after 5 years, the bar tape wasn't in terrible shape. To prep for the brake/shifter (brifter) removal, I clipped the caps off the brake and shifter cables and released the tension from them as well.

Component Weight (grams) Notes
Bar Tape 32 Left side only. Brand unknown.

Before getting too carried away, I took a bunch of pictures of the cable routing to reference when I string it all back together.

It's a triple! 8-speed derailleur in back:

One band clamp with a 5mm allen screw holds the brifters to the handlebars. Once you loosen that, the whole thing slides right off.

Component Weight (grams) Notes
Front (left) Brifter 221 Shimano ST-2303 STI
Front brake cable and housing 35 -
Front shift cable and housing 28 -

I liked this shot of the mechanical internals of the STI lever. The red indicator moves left and right as you shift up and down:

I repeated the process for the right side, then unbolted the (4) 4mm allen bolts holding the stem cap that retains the handlebars.

Component Weight (grams) Notes
Handlebars 352 2009 Specialized Comp alloy 420mm

I removed the single 5mm allen bolt from the top cap on the fork and steerer, then loosened the (2) 4mm bolts clamping the stem, and removed the stem and spacers.

Component Weight (grams) Notes
Stem 198 105mm Alloy -6deg
Spacers, Stem, Bolt 5 Alloy spacers

Although the fork wasn't being held in with any bolts, it took a small measure of medium-soft hammering on the top to get it to release out the bottom of the headtube.

Component Weight (grams) Notes
Fork and Steerer 576 Carbon fork, alloy steer tube
Bearings, seals 28 Non-sealed bearings; 22ct. 3mm balls in cage.

Pedals off. Here's the setup I used to weigh everything. It's a food scale that I zero'd with the blue rag:

Component Weight (grams) Notes
Pedals 257 Look Keo Classics. Weight is for both pedals combined.

Next off was the rear wheel.

Component Weight (grams) Notes
Rear Wheel with Cassette 1972 8 speed. 700C x 23 Specialized Mondo Tire

To remove the cranks, I used the Park Tool CCP-22 on the non-drive side. It took some effort, but it came off. This bike had the square taper crank and bottom bracket.

Component Weight (grams) Notes
Drive-side crank with gears 795 170mm FC-2303. Triple chainring set.
Non-drive crank arm 227 170mm FC-2303

I didn't have a proper chain breaker tool, so I made a couple ill-advised attempts to push a chain pin out with clamps, center punches, and sockets. It didn't even come close to working, so I popped over to a local bike shop down the street, HAM Cycles, and bought a chain breaker tool. Much easier. After who knows how many miles and zero maintenance, the chain went straight in the trash.

Component Weight (grams) Notes
Chain 303 KMC Z Narrow

The front and rear derailleurs came off quickly and easily with just a couple bolts. Note the black rear derailleur hanger in the picture below. I set that aside, because it's going back on.

Component Weight (grams) Notes
Front derailleur 117 Shimano FD-2303 band-on
Rear Derailleur 274 Shimano RD-2300

Rear brake off. As you can see by the allen wrench position below, I still hadn't figured out that the whole assembly could be removed at once by taking the bolt out of the center on the other side of the frame when I took this picture. I actually realized this right after this picture. Much easier.

Component Weight (grams) Notes
Rear brake 176 -

Only the bottom bracket left. The seat and seatpost are staying in for painting. I plan to tape them off, then hang the frame from them.

The bottom bracket was stuck pretty good, so I pulled out some power tools to assist. The socket on my Bosch impact driver is the Park Tool BBT-22 for Shimano 20-tooth BB's.

Component Weight (grams) Notes
Bottom Bracket 317 RPM BB-7420 68mm square taper

That completes the disassembly! Next, it's cleaning and paint. Wait until you see the color I've chosen; controversial at best!

Check out part 2!

1 Comment

Corvette For Sale

Comment

Corvette For Sale

UPDATE: SOLD

It's the end of an era. This hobby is too expensive for my taste at the moment and to let this excellent car sit and rot would be criminal, I've therefore decided to sell it. Below are the specs as it sits now. May it find a worthy owner.

2003 Corvette Z06 For Sale
Black Exterior/Black Interior
32,452 miles
Houston, TX

5.7L V8
Vararam VR-B2 Air Intake
Dyno-tuned by Advanced Racing Dynamics in Houston, TX
External Oil Cooler w/ Thermostat

6-speed Manual
Tick Adjustable Master Cylinder
MGW Short Shift Kit
Royal Purple Syncromax Transmission Fluid
Redline Differential Fluid

AP Racing 4-piston Front Brake Caliper
Ferodo DS1.11 Pads Front
Carbotech XP10 Pads Rear
Spiegler Stainless Brake Lines Front

Penske 7500 Non-adjustable Coilovers
Dual-rate Springs
18x10.5 Wheels All-around

Corbeau FX1 Pro Driver's Seat
Stock passenger seat
Hardbar Harness Bar
G-Force 6-point harness (Driver's Side)
Sparco Ring Steering Wheel w/ Quick release
CCA Pyramid Pedal Cover set    
Column Lock Bypass


Comment

New Triathlon Bike

Comment

New Triathlon Bike

I made a deal with myself (and my wife) that if I completed 2 triathlons and still wanted to do more, I could get a triathlon bike for my birthday.

I did my 2 triathlons, and still want to do more, so without further ado:

My new 2015 Specialized Shiv Elite, with Flo Cycling wheels (90 front, disc rear). Happy Birthday to me. Here's the specs:

2015 Specialized Shiv
Model Elite
Frame Specialized FACT10r carbon, Size S
Fork Specialized FACT Aero carbon
Stem Specialized Comp Multi, alloy, 12-degree rise
Handlebars Specialized Shiv Hydroformed Alloy Aerobar
Front Brake Tektro Aero
Rear Brake Specialized Aero Side-pull
Brake Levers Tektro TL720, Aero TT
Front Derailleur Shimano 105
Rear Derailleur Shimano 105, 11-speed
Cassette Shimano Ultegra, 11-speed, 11-28t
Chain Shimano 105, 11-speed
Crankset Praxis Works, Turn Zayante, BB30, 52-36t
Pedals Look KEO Blade Carbon Ti, Black, 12Nm
Front Wheel 2014 Flo 90, Continental GP4000SII 23mm tire
Rear Wheel 2014 Flo Disc, Continental GP4000SII 23mm tire
Saddle Specialized Sitero, Black
Seatpost Shiv Aero, FACT Carbon, +/- 12.5mm setback

Comment